


You may remember my post from a couple weeks ago here on NextReality about the magical scaling ratios for typography from Dong Yoon Park, a Principal UX Designer at Microsoft, as well as developer of the Typography Insight app for Hololens. Well, his ideas have been incorporated into the latest version of HoloToolkit, and I'm going to show you how they work.
The biggest problem this new addition to the HoloToolkit is solving is the default Unity text sizes. Previously, when you'd load up Unity and start building a menu or something that required words, you'd have to go through a series of resizing to get the wording comfortable. Thanks to Park's contribution to the HoloToolkit, we can now drag and drop a prefab, assign a font, and type the text we need it to say.
The steps are really simple, so this one will be short and sweet. There really is not much to this, but I will take my time to make sure everyone understands.
Before proceeding, I assume that you have followed the various other tutorials we have here in NextReality, especially the ones on building a basic HoloLens application, installing the HoloToolkit, and Unity Editor basics.
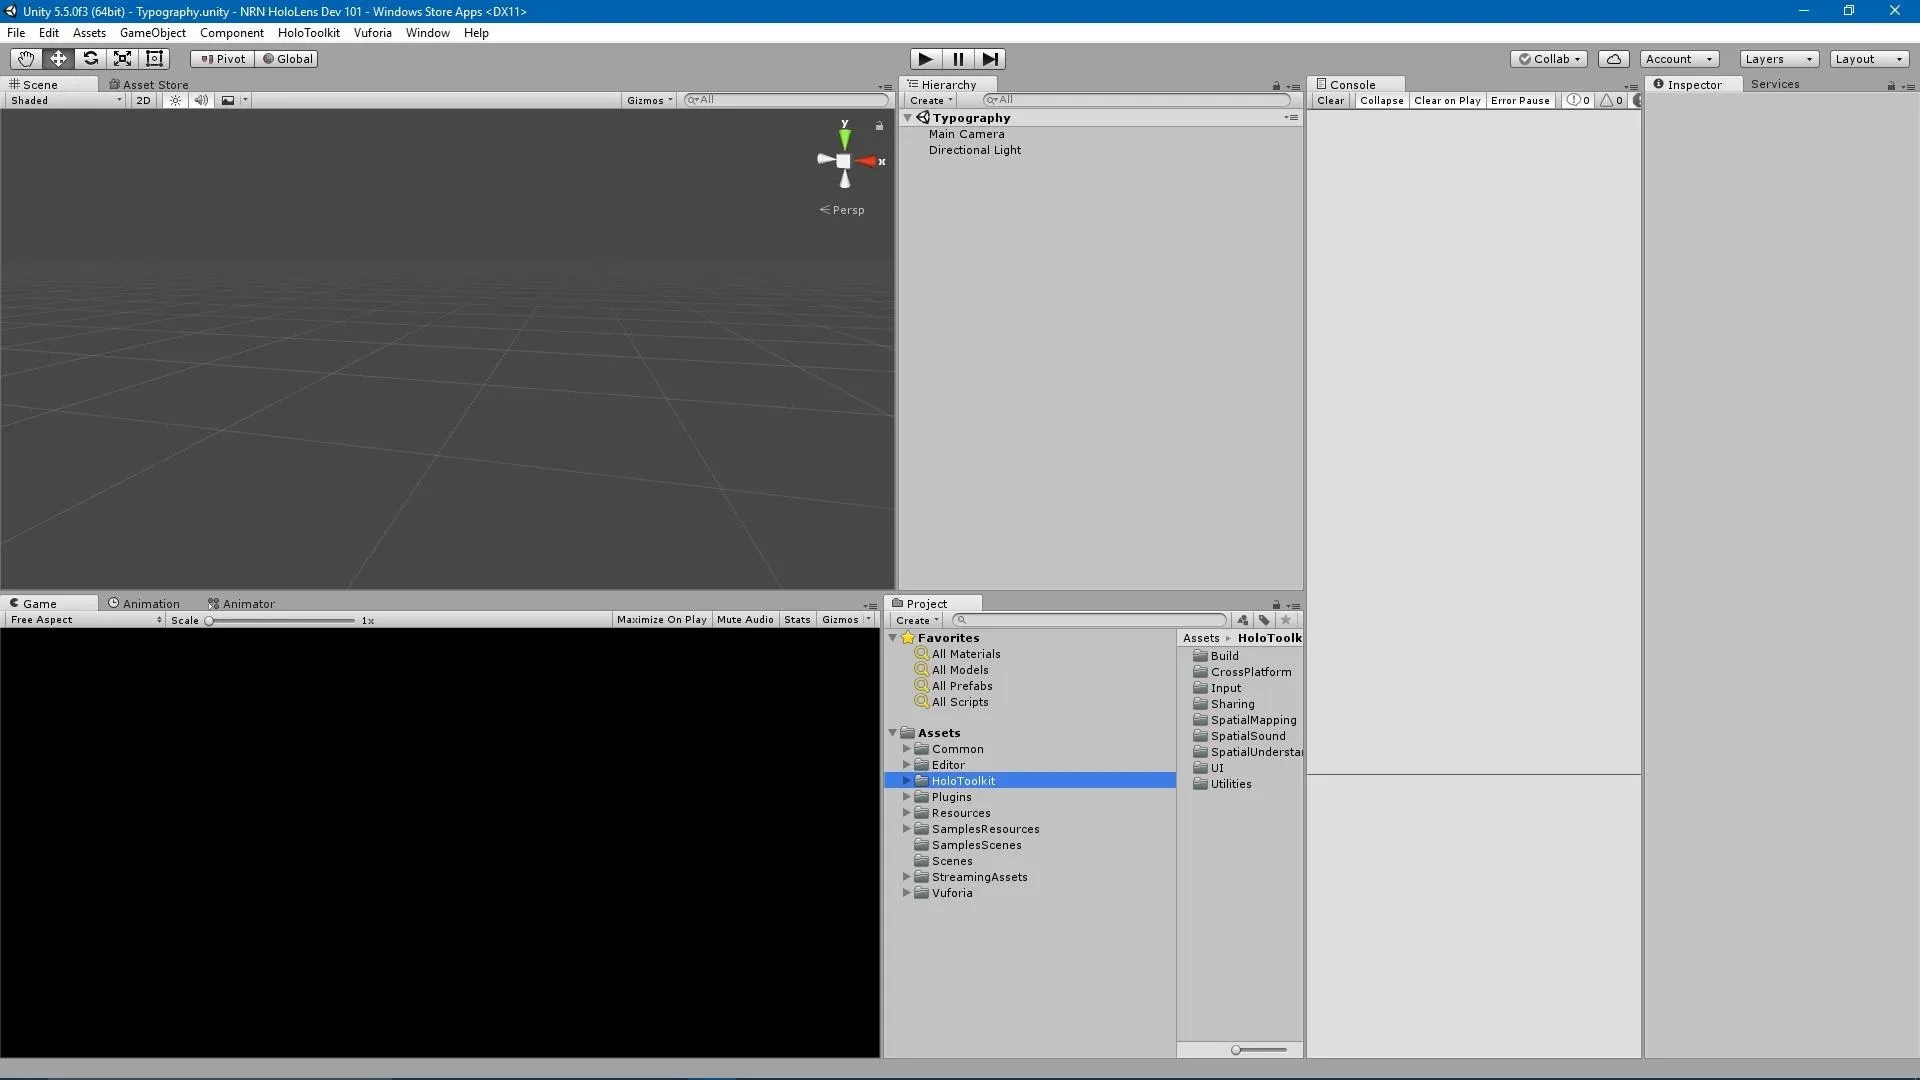
Our starting view in Unity.
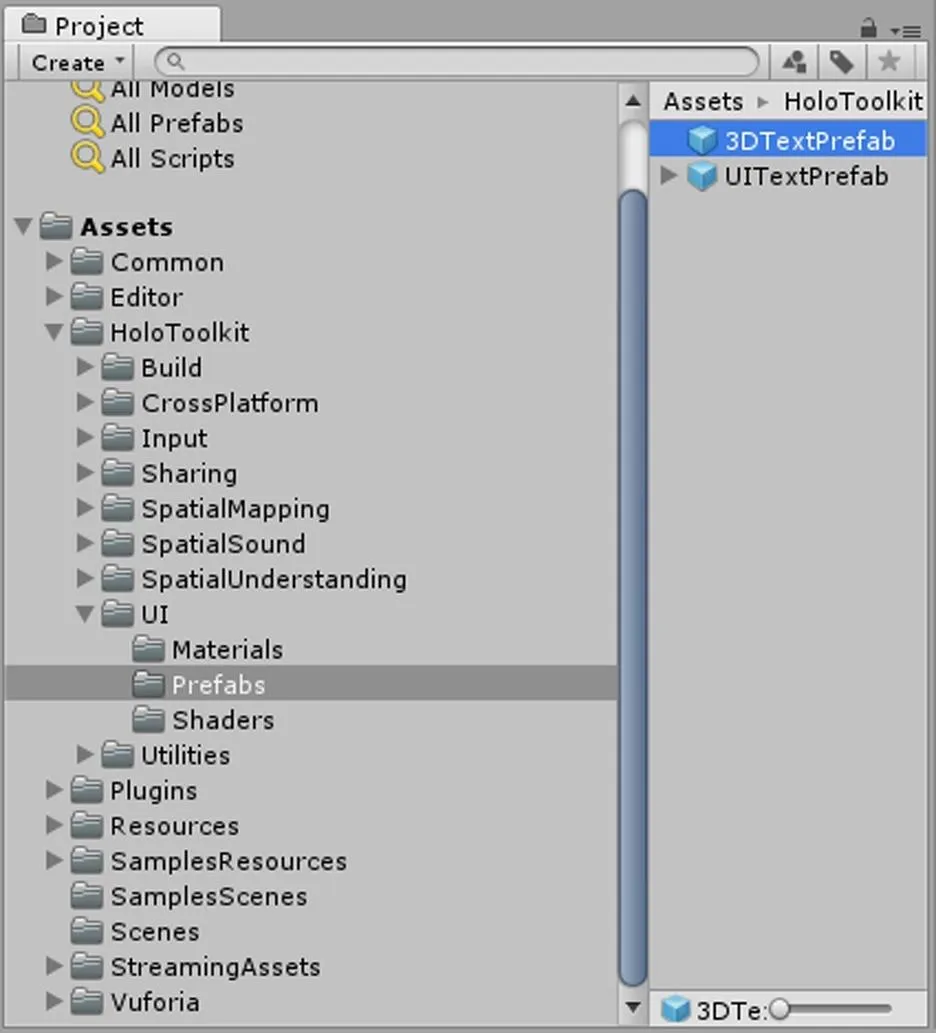
Find the 3D Text & UI Text Prefabs
In the Project window, expand the HoloToolkit directory by clicking on the black arrow next to HoloToolkit, then open up the UI folder and head to the Prefabs directory. You should see two prefabs on the right side of the window.
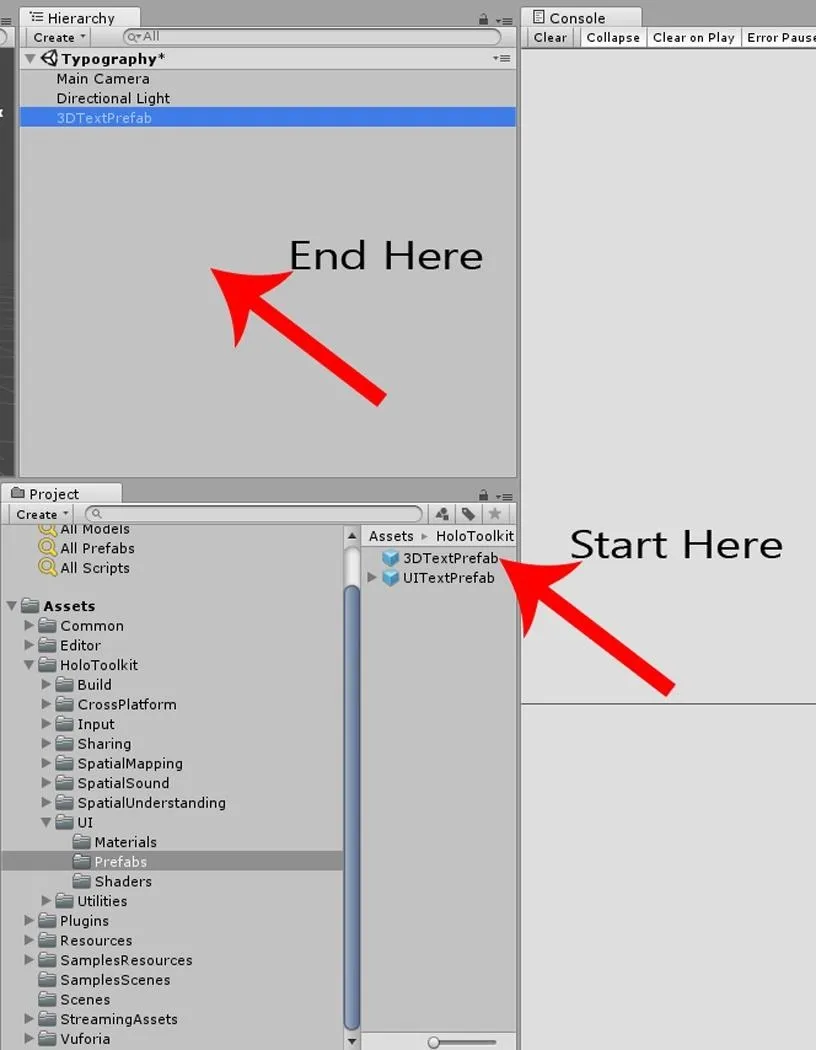
Put the 3DTextPrefab in the Scene & Set It Up
Click on the "3DTextPrefab" object in the window and drag and drop it into the Hierarchy window.
When the prefab comes into the scene, it will not have a font associated with it. We must remedy that by selecting a font.
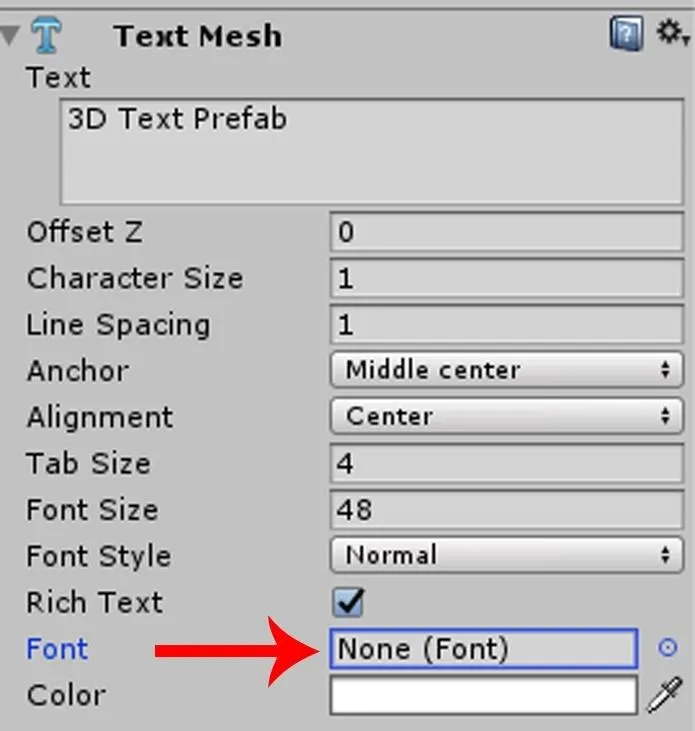
Fortunately, this is a really easy process. Simply click on the small circle on the right side of the empty font box. The "Select Font" window will appear—click on "Arial," since that will likely be the only font you have available.
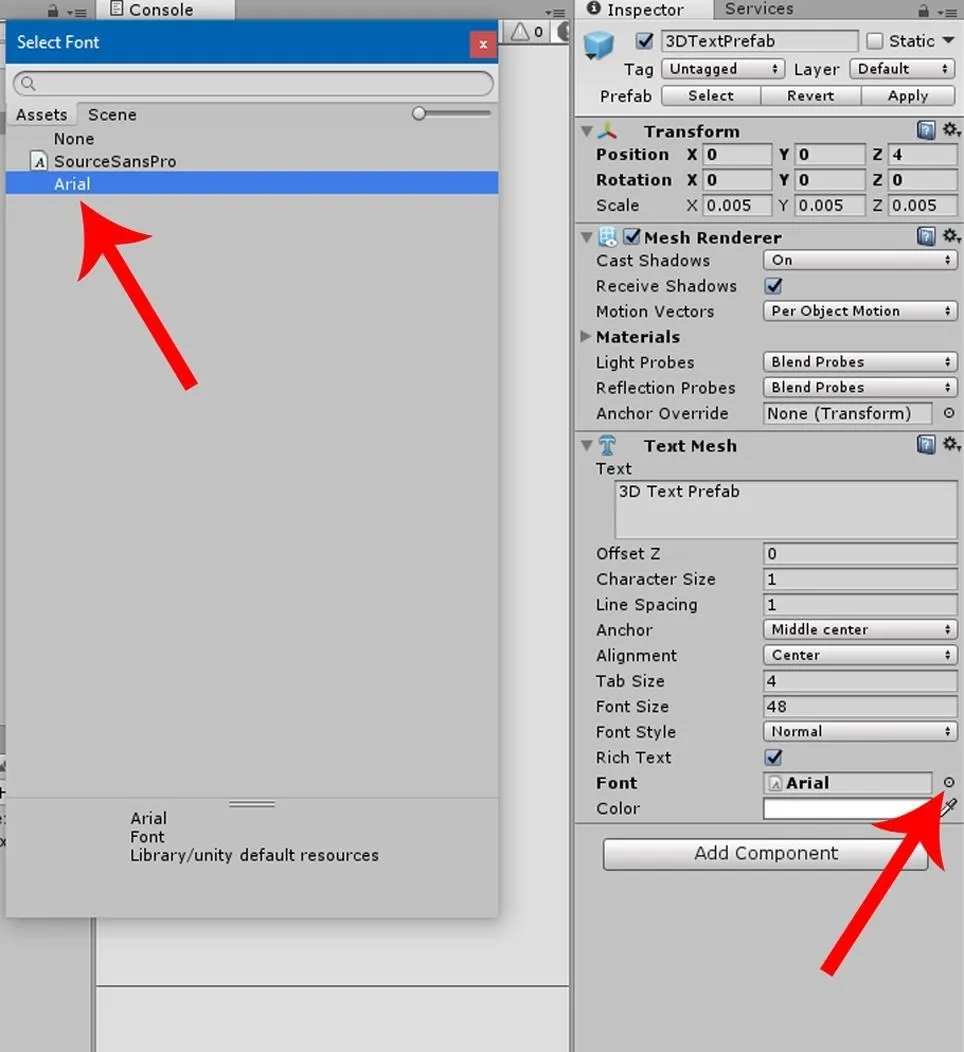
Make sure your position in the Inspector window is set to X = 0, Y = 0, and Z=4. Keep in mind if you want the object to be closer to the camera and therefore bigger, you can change the Z to 2.

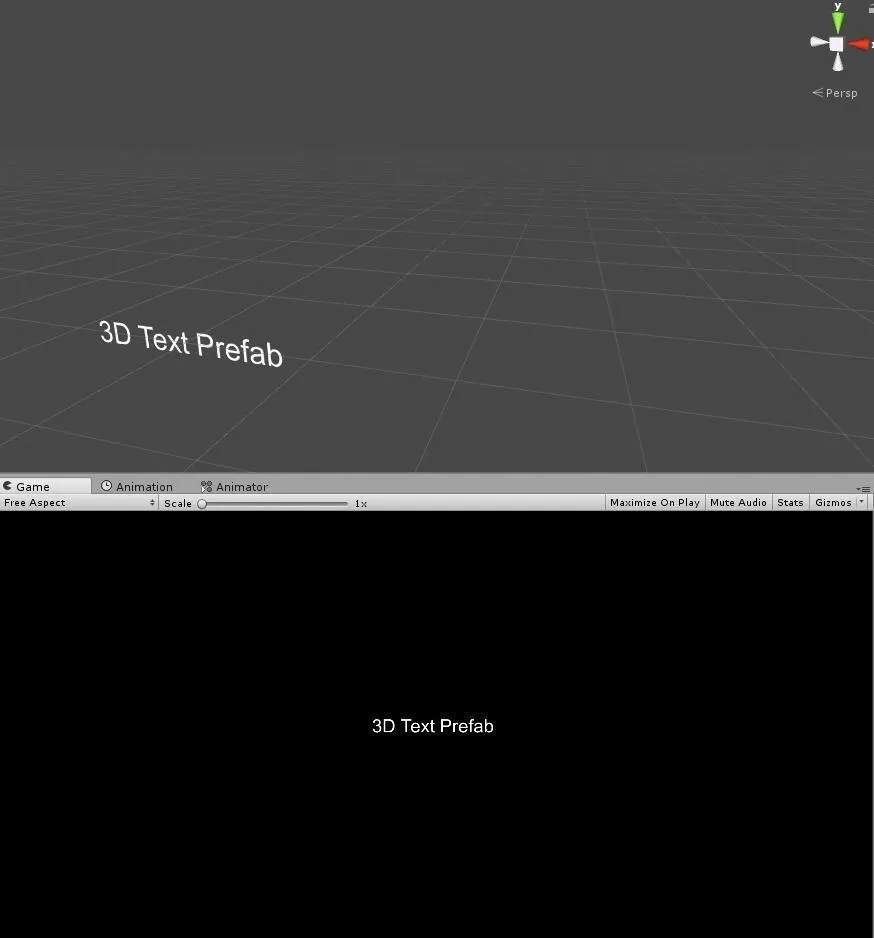
Once that is done, you should see your text appear in the Game View.
Put the UITextPrefab in the Scene & Set It Up
If you are working with the Unity UI system, then you can use this prefab instead. The steps are identical to using the 3DTextPrefab with one exception.
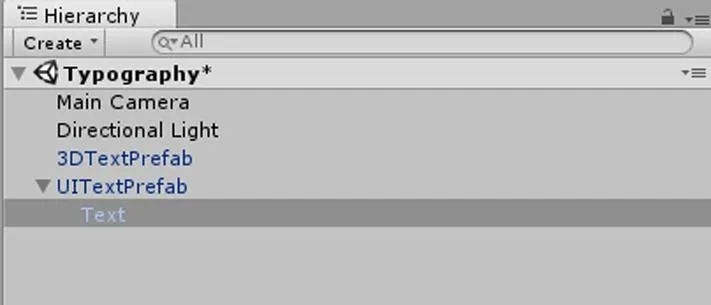
Once you drag and drop the UITextPrefab into the Hierarchy window, select the UITextPrefab and make sure its position is set so you can see it in the Game View, like in the end of the previous step. Now you will have to click on the dark gray arrow next to UITextPrefab to open up its hierarchy, then select the "Text" object.
A quick note for clarity: The reason we set the position first, in this case, is because UITextPrefab is a hierarchy and the parent object sets the position. (See the Unity Basics tutorial and the section on Parent-Child Relationships.)
The UI component may look a little different than the Text Mesh component, but the steps are the same.
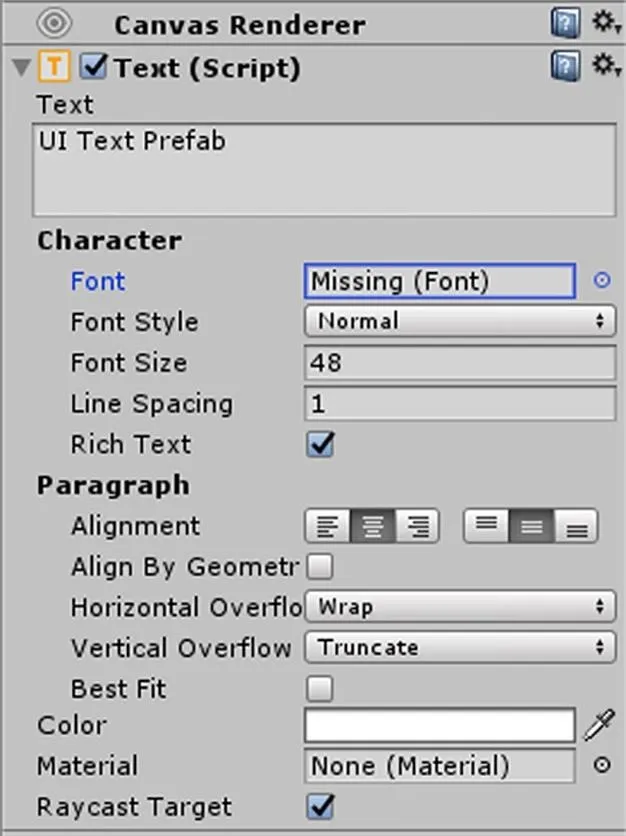
Once you select the "Arial" font, your UITextPrefab text should appear in the window.
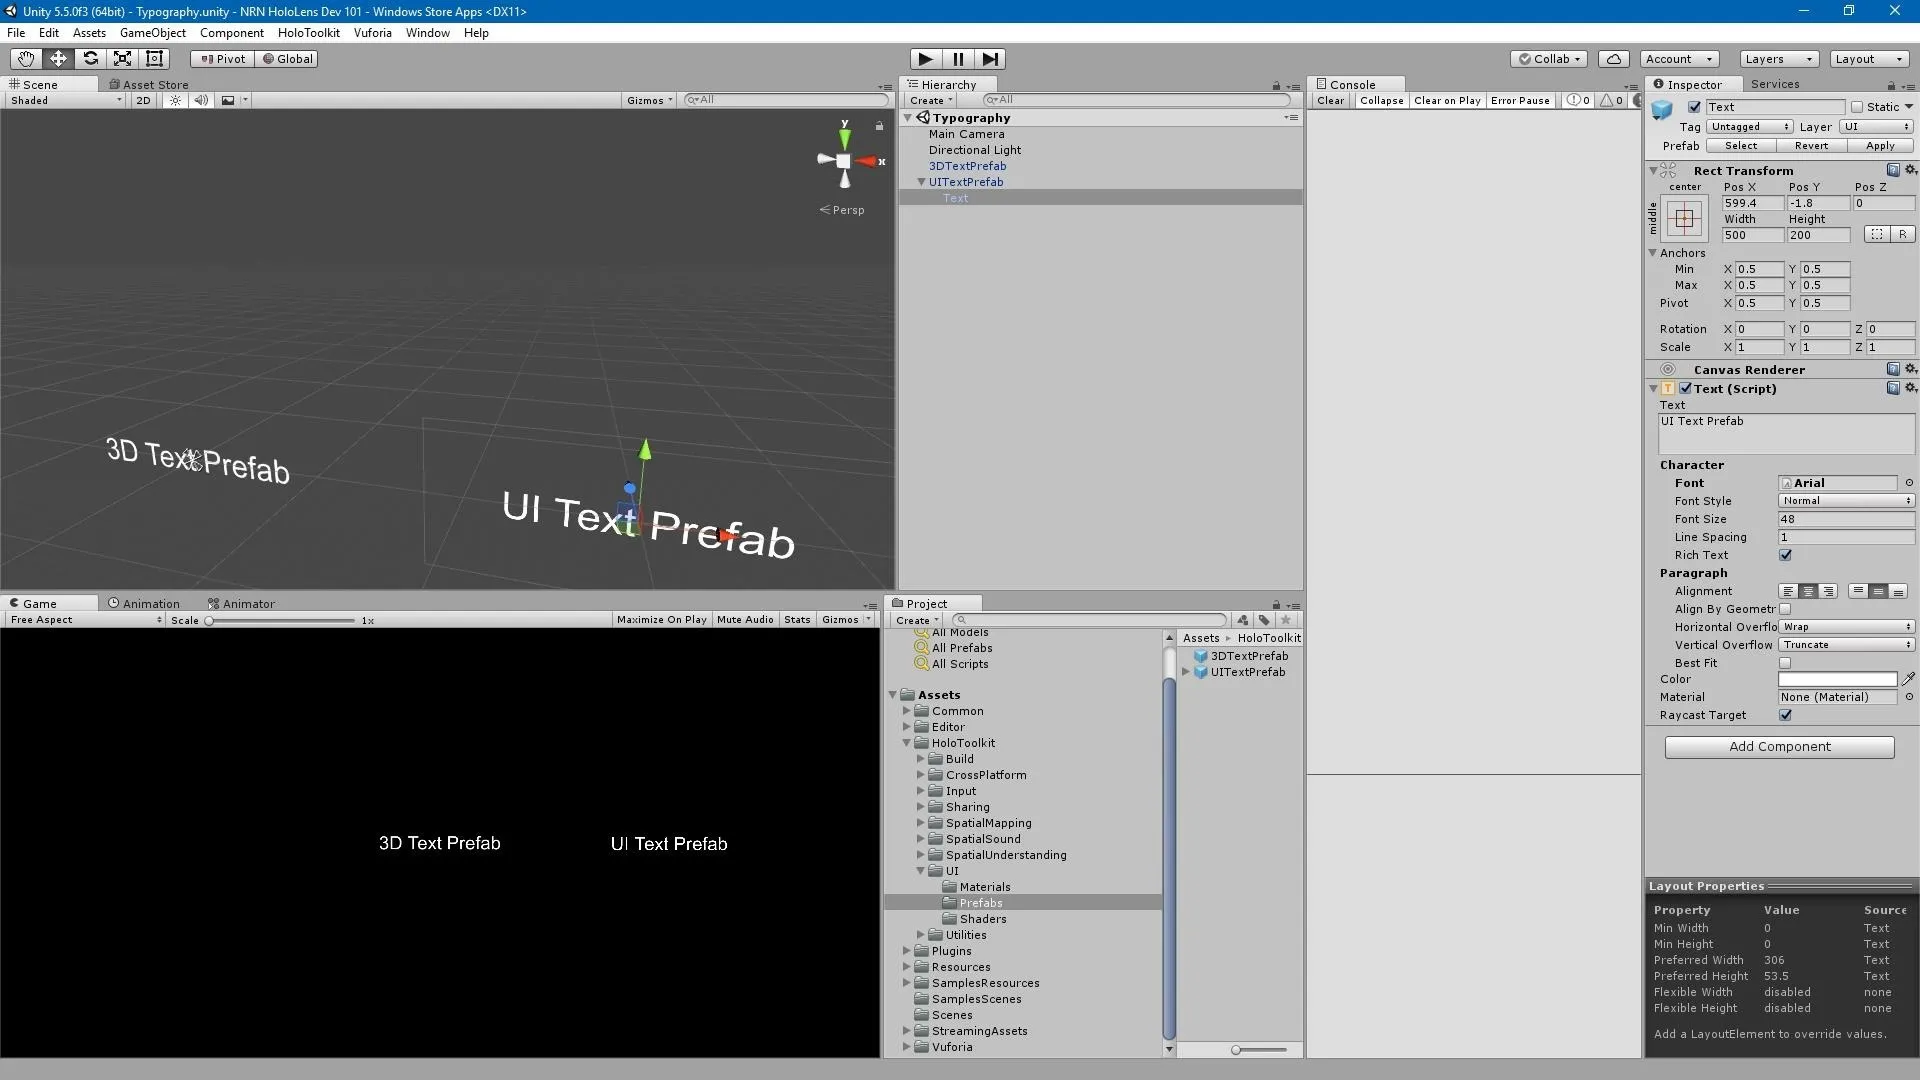
Now you can explore these components and change font sizes, colors, or alignment to your heart's content, and you can just drag and drop as many of these in that you need to make pages and pages of words.
See, I told you this was simple. I really hope that it helps someone out there. You know what you should do now, right? Go make something cool—and then share it with us!
Did you find this helpful? What would you like to learn next for developing apps for the HoloLens? Let us know.
- Follow NextReality on Facebook, Twitter, and YouTube
- Follow WonderHowTo on Facebook, Twitter, Pinterest, and Google+
Cover image and screenshots by Jason Odom/NextReality


Comments
Be the first, drop a comment!