


In the previous section of this series on dynamic user interfaces for HoloLens, we learned about delegates and events. At the same time we used those delegates and events to not only attach our menu system to the users gaze, but also to enable and disable the menu based on certain conditions. Now let's take that knowledge and build on it to make our menu system a bit more comfortable.
One of the best practices that come up with HoloLens development is to avoid locking UI elements to the user's gaze. While heads-up displays are common in first-person games, they don't seem to translate very comfortably into the real world. Due to a shortcut, which was planned ahead of time in the series, we are committing that very sin and we will fix that here.
Before we proceed, based on feedback from our readers, from here on out I will add the version of the software tools I am using so you can sync up to each of the tutorials.
Version Information:
- Visual Studio 2017 15.3.5
- Unity version 2017.1.1.p1
- a version of HoloToolkit from 5.29.2017
Understand Parameters of Comfort
Comfort is a big factor in mixed reality and is a major point of decision-making when designing for the holographic space. People are less likely to use applications are not comfortable. Here are a few guidelines:
- Maintain proper distance of the 3D objects and UI elements to the user. 1.2 meters to 5 meters is considered the ideal range of distance. With a preference toward the 2-meter mark due to how the optics of the HoloLens are designed.
- Avoid filling the entire display. Aside from a user not being able to make sense of what is going on and having to move their head around to find context, it can also cause issues with the HoloLens display fill rate.
- No user locking. As mentioned above, head locking is not recommended. I can't stress this enough. If you need to lock an object to the user, use body locking instead.
The approach we are going to take to get our menu away from being locked to the users every gaze is more about loosening the movement to the cursor. Similar to the Tag Along class in the Mixed Reality Toolkit, when the user's gaze moves outside of a certain range of the tool object, the object will move toward the user's gaze.
Here is how we will do it.
Currently, our transformation tool object is three separate objects with three separate colliders. They are all attached to a single parent.
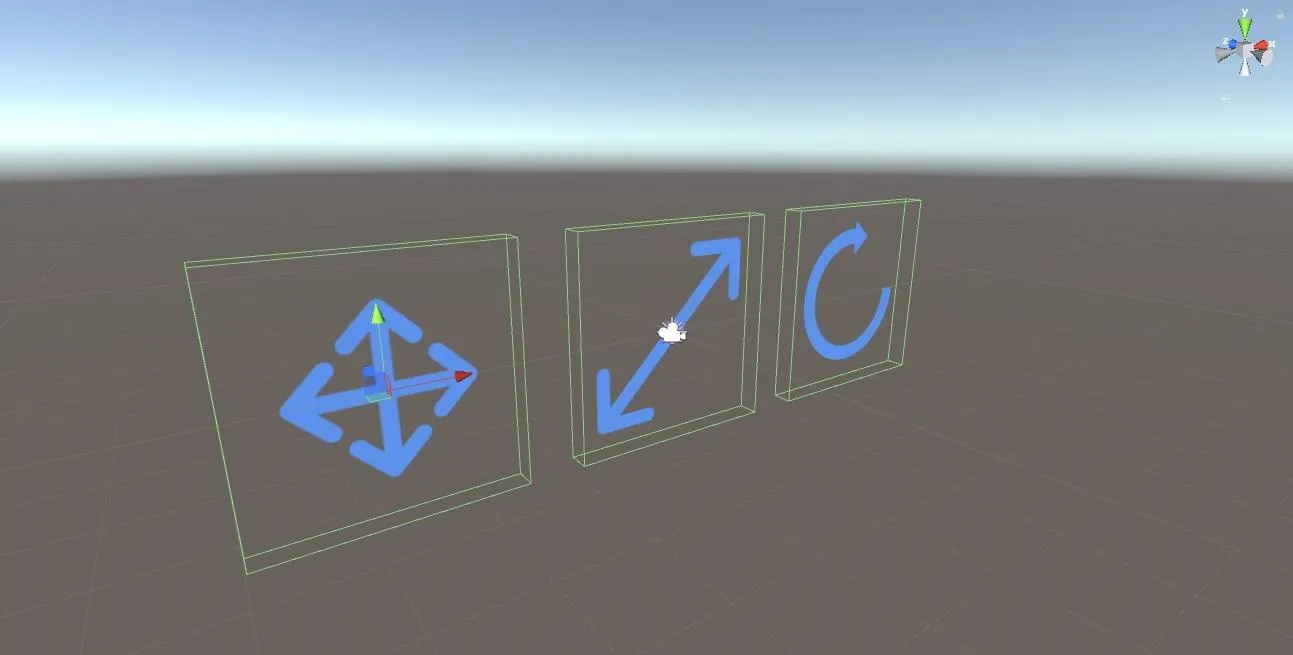
Using a function similar to what we do when creating the BoundingBox, we are going to get the bounds of all of the colliders of the children from our parent object. Then, we will combine them to get something that will behave more like what we see in this image.

At this point, we can test our the distance between of our cursor object and the transform tool object, and determine if we need to move the tool or not.
Adjust Previous Work
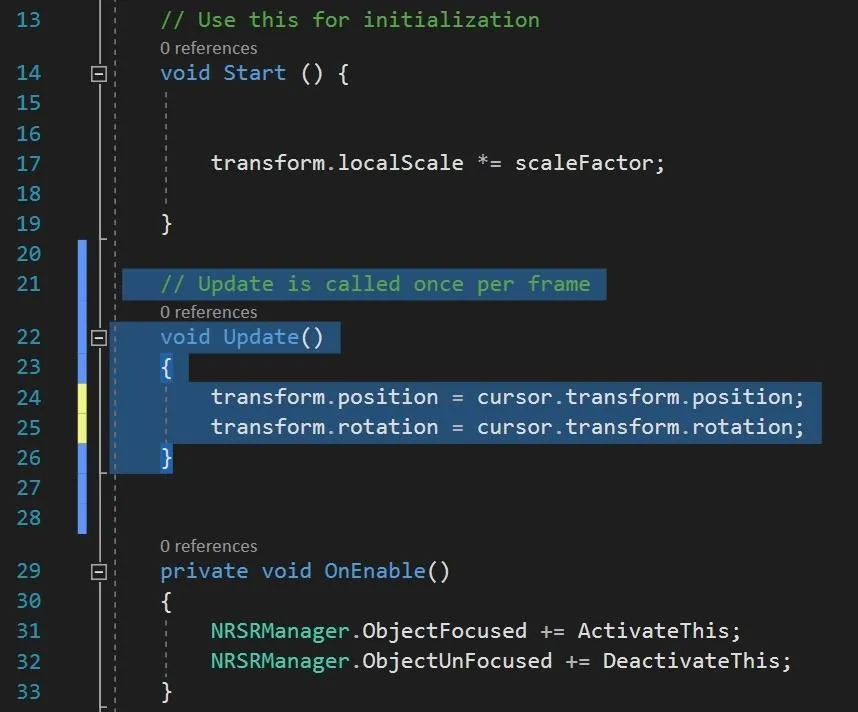
Open up the ActivateToolSet class and delete the Update() function that we created in the previous lesson, as it was a temporary measure to tie us over until this lesson.
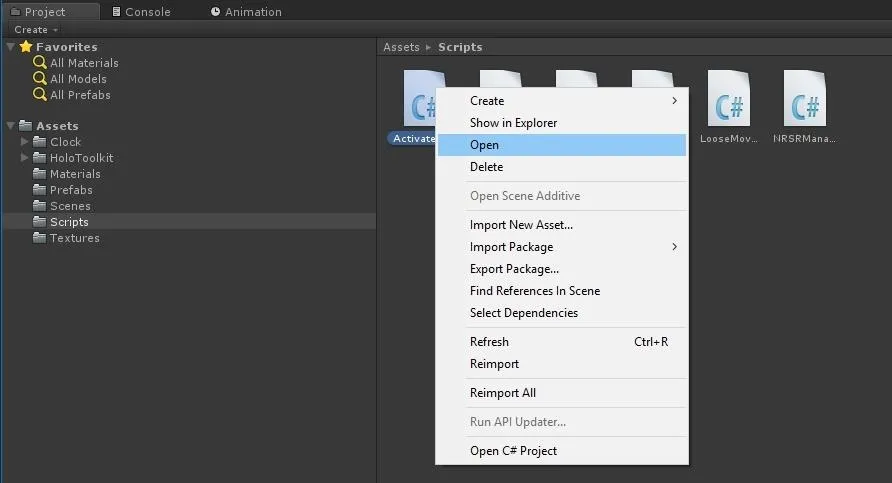
In your Project view, in the scripts folder, right-click "ActivateToolset.cs" and then click on "Open."
When Visual Studio opens up, scroll down to the Update() function. Select all of the lines — 21–26 if you copy and pasted from Pastebin in the previous chapter — hit the "Delete" key.
Create the Transform Menu Movement Class
With our "TransformUITool" selected, click on the "Add Component" button. The click on the "New Script" option.
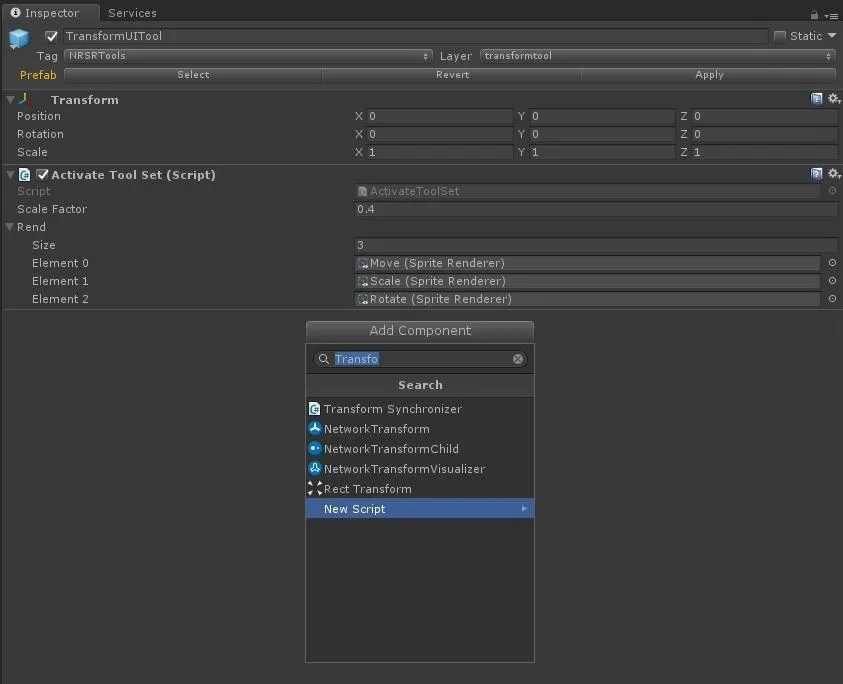
In the "New Script" window, type "TransformMenuMovement" into the Name field and then click "Create and Add."

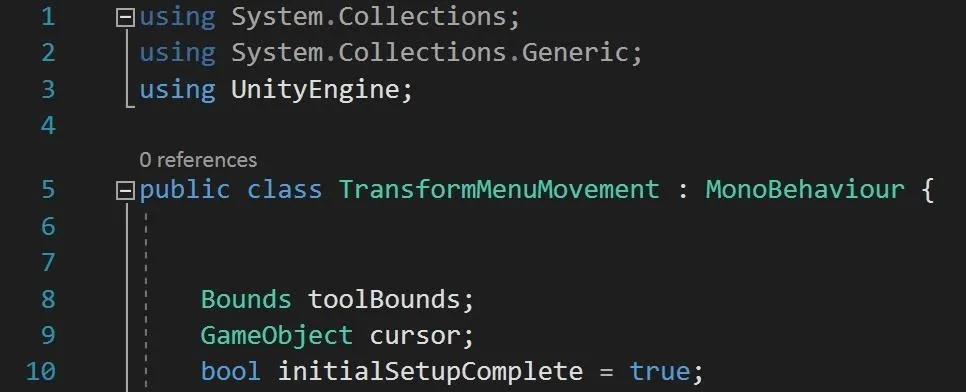
Create the Fields
As mentioned above, this class will be using the bounds of the parent and children objects to determine when and how the menu will move. So that will be our first field, which we'll label toolBounds.
We will next need a reference to our cursor, being the catalyst for our movement. Basically, we have just moved it from one class to another.
And finally, we need a bool to help us not repeat processes unnecessarily. Since our initial state for what we will use the bool for should be yes, we set it to true.
Tie in Delegates
Instead of the constant update for our position and rotation like in the previous lesson — the very reason for the headlocked UI — we need to change how we handle it up a bit. We need to create conditions in which the menu will move and won't move.
We also need to set and reset the initial positioning and rotation when the user's gaze connects with an object. Fortunately, we already have the perfect trigger for this setup and reset — our delegates.
Type in the following function.
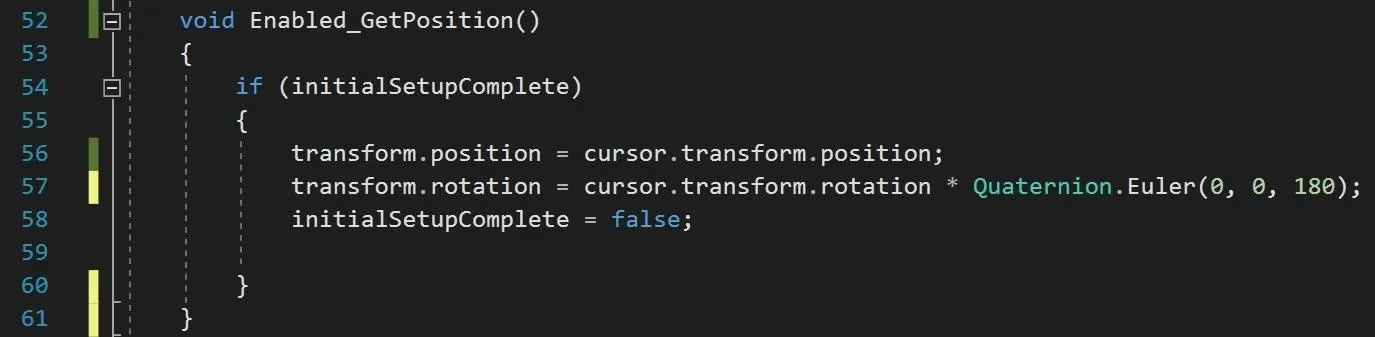
When the user sets off the OnFocus delegate this will trigger. Since our bool initialSetupComplete is true, it will run this code once, which gets the position and rotation of the cursor, then moves the transform menu to the same place.
I was running into an issue where the menu was coming in backward. This is why we have the (asterisk) Quaternion.Euler(0,0,180); addition to our rotation; it is a 180-degree flip on the z-axis.
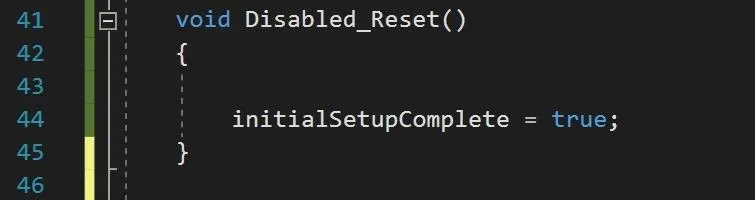
I also ran into an issue where the OnFocus was constantly firing when an object was gazed upon, which is the reason for the initialSetupComplete trap. However, for it to work, we need to reset it when OnFocusExit happens, which is the purpose of the next function.
Now we can create our OnEnable and OnDisable functions and tie them to their appropriate delegates. In addition, in the OnEnable function, use the Function GetBoundsForAllChildren(gameObject) to create our bounds and then we use GameObject.Find("Cursor"); to get a reference to our cursor object.
As previously mentioned, Find is pretty much the slowest way to find an object available, but also the easiest, in many situations. And while you often want to be as efficient as possible, it would not be here as an option, if it did not pass certain criteria of quality. So while you definitely want to use it sparingly, do not be afraid to use it.
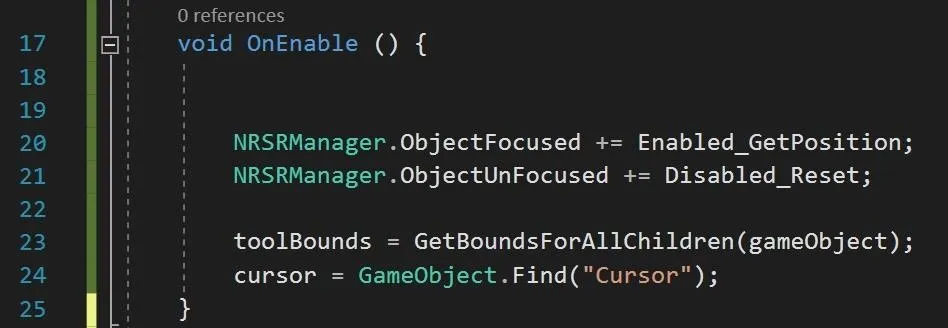
As normal with delegates and events, in our OnDisable() function we are simply unsubscribing to the ObjectFocused and ObjectUnFocused events as to not create any potential memory leaks.

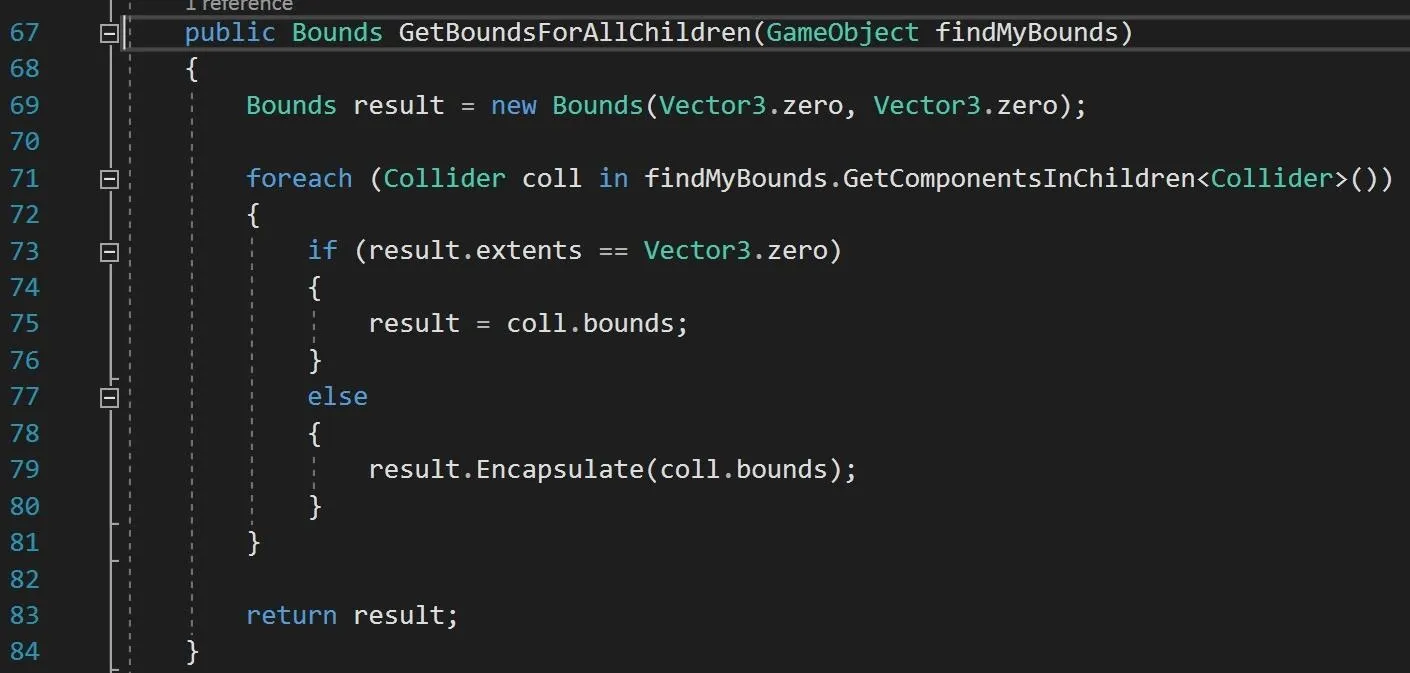
Get the Bounds
Now we need to set the outline that our cursor can travel before initiating movement from the menu system. To do that we are using the Bounds of the menu, which include its children, the meat of the menu.
This function takes in a GameObject as a parameter and returns its Bounds. This is a utility function that I keep for many projects I work on, and I often keep it static, though in this case it would work perfectly well as private. This is almost exactly the same process we used in our BoundingBox class to get the MeshFilters of the children objects, we are just using Colliders this time and it is inside a function.
Making the Menu Movement Work
Here is the main thrust of this lesson, our update function. This is where we set the conditions for movement I talked about earlier.
The If statement looks like a long and scary expression, but it is really not so bad once you drill into it. Here is the breakdown:
- The four separate expressions for direction (left, right, up, and down) check the distance between the GameObject transform and the transform of the cursor.
- If the distance, or deltas, are further away than their appropriate extent of the bounds divided by 3.
- By using the operator / in between each of these expressions we are telling the system, "if any of these conditions are met, run the code in the brackets."
Note: Often when dealing with bounds you are working with the center, extents, and size. Halfs and wholes, which leads to using even variables, generally speaking. When I got this part working 2 just did not feel right, hence the 3. You are welcome to try for yourself.
The code inside the bracket is using linear interpolation, or lerp, to move the menu from its current position to the cursor's position at a rate of 0.02f. The movement rate should likely be a public float so that it can be changed in the editor. You, of course, are welcome to modify it. I would love to see some of the other solutions that people come up with.
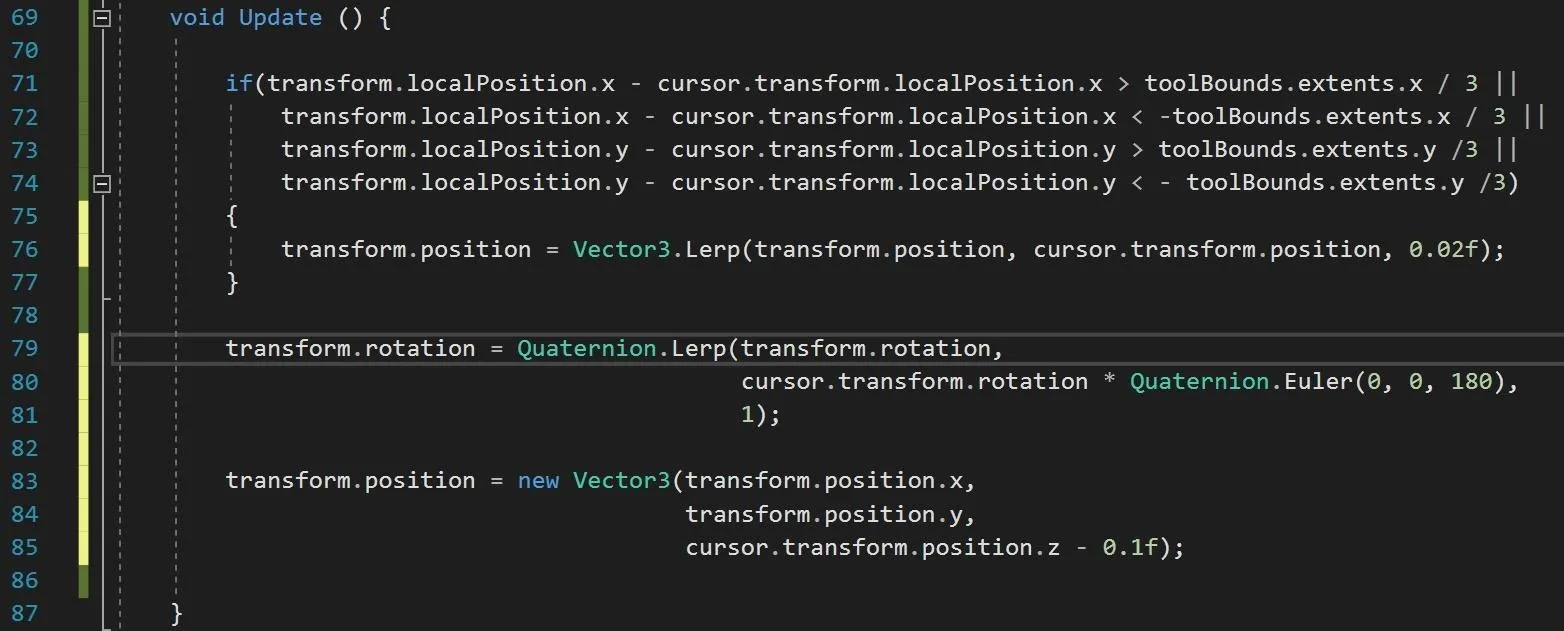
After our if statement, we have the rotation being set using Quaternion.Lerp in much the same way as the position, but at a much faster rate.
And finally, because we want the z of our menu to be out front at all times we are updating the menus Z on every frame instead of only when the conditions are being met. And because there were a few situations that I saw the menu sink into the object, I have pulled it 0.1f further off of the object.
Now if you run the app you should see something similar to this.

Here is the Pastebin link for anyone that wants to copy and paste or just compare your outcome to what I have.
Now, we are going to work on the raycasting and the gaze manager.
- Follow Next Reality on Facebook, Twitter, and YouTube
- Sign up for our new Next Reality newsletter
- Follow WonderHowTo on Facebook, Twitter, Pinterest, and Google+
Cover image and screenshots by Jason Odom/Next Reality


Comments
Be the first, drop a comment!