


Alright, calm down and take a breath! I know the object creation chapter was a lot of code. I will give you all a slight reprieve; this section should be a nice and simple, at least in comparison.
In this series on building dynamic user interfaces, what we are eventually creating is a tool that will appear directly into view on an object that is movable, scalable, or rotatable. It will lag behind the users gaze so it is not always directly in front of the user, which would be annoying. The tool will disappear completely when the user takes their gaze off of the object.
In this lesson, we will build the actual UI elements for our new tools set. We could build something elaborate for our UI system, and while we will likely add some cool behaviors to it, for now, we want to keep it simple. We are just going to build the prefab that will be our base UI for this project.
Find UI Elements
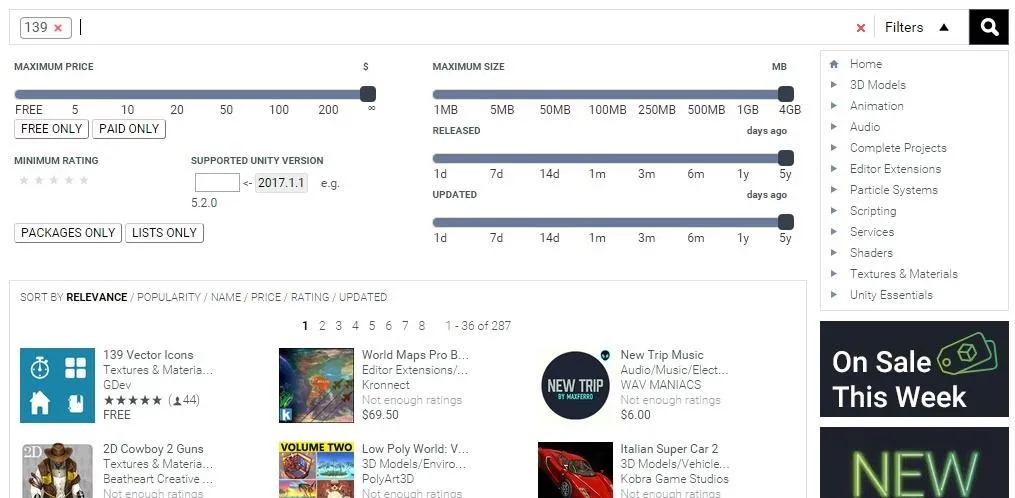
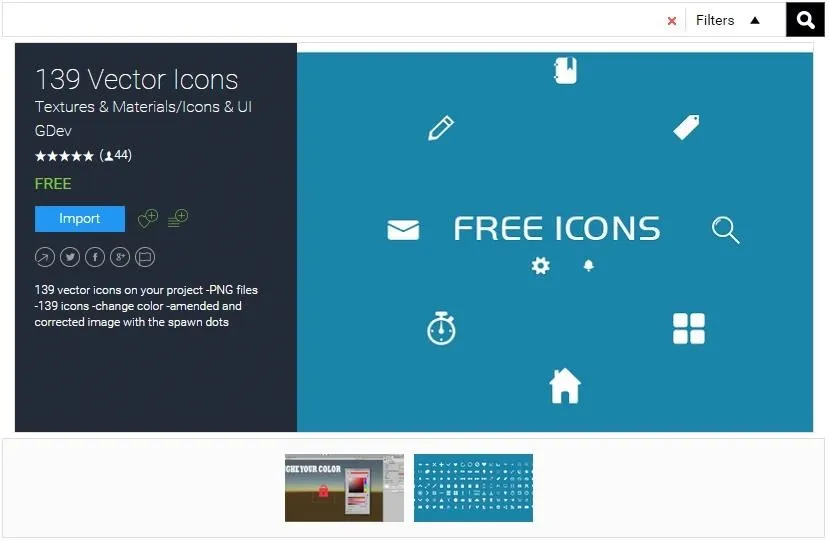
First and foremost, we need a few icons to illustrate movement, scale, and rotation. Fortunately, there is a free asset pack in the Unity store called 139 Vector Icons that has a few such items that will suffice nicely.
Open up the Unity Asset Store Browser and type 139 into the research bar.
Click the "Download" button, and click it again once it turns into the "Import" button.
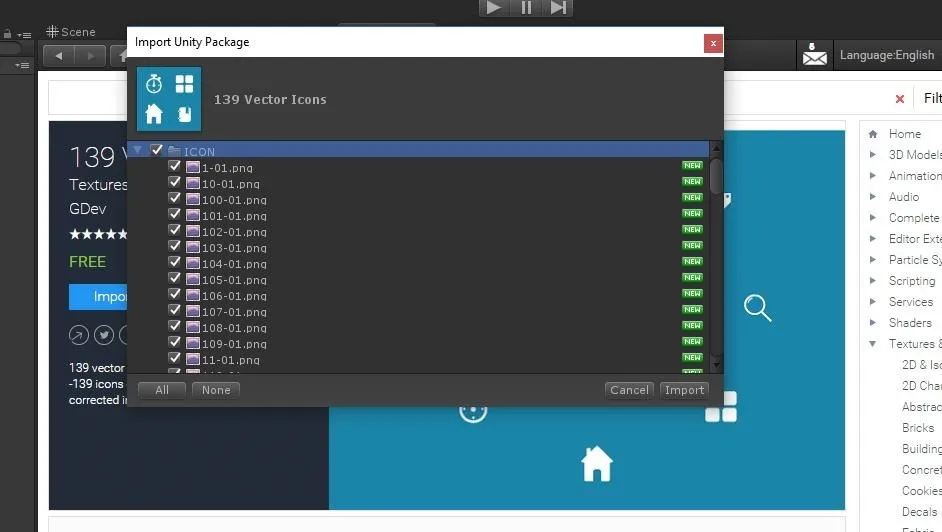
When the "Import Unity Package" window appears, you have a few choices here.
- Click the "Import" button to import them all.
- Click the "Import" button and when they all import, delete all of them except the files numbered 79-01, 35-01, and 37-01.
- Click the checkboxes for files 79-01, 35-01, and 37-01 and click "Import."
Once you have the three needed files downloaded, create a Textures directory and drop them in there.
Create UI Prefab
Now let's start building our UI element.
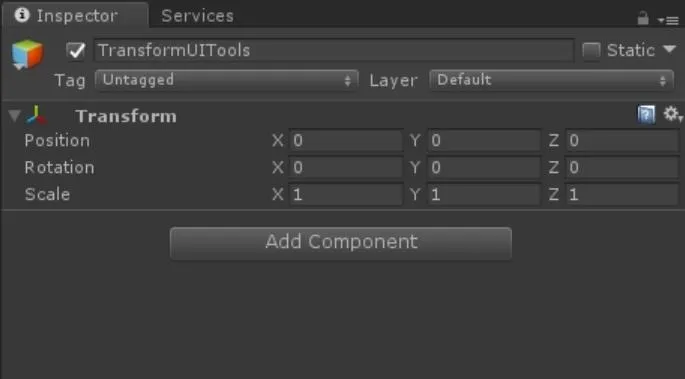
In the Hierarchy window, click "Create" and select "Create Empty." Then name the newly created object "TransformUITools". Make sure its position is X:0, Y:0, and Z:0.
Inside the Textures folder grab the 79-01 file and drag it over to the newly created TransformUITool game object.
Next move 37-01 to the same object. Followed by 35-01.
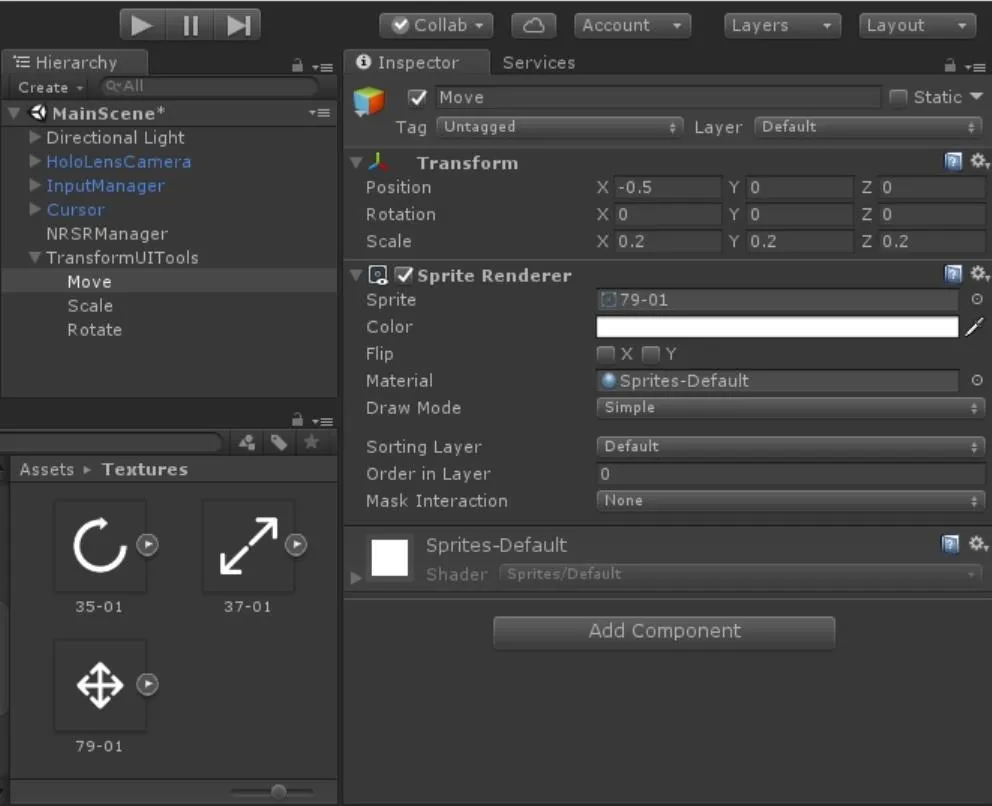
Rename 79-01 to Move and set its Transform properties to:
- Position: X: -0.5, Y:0, Z:0
- Scale: X: 0.2, Y:0.2, Z: 0.2
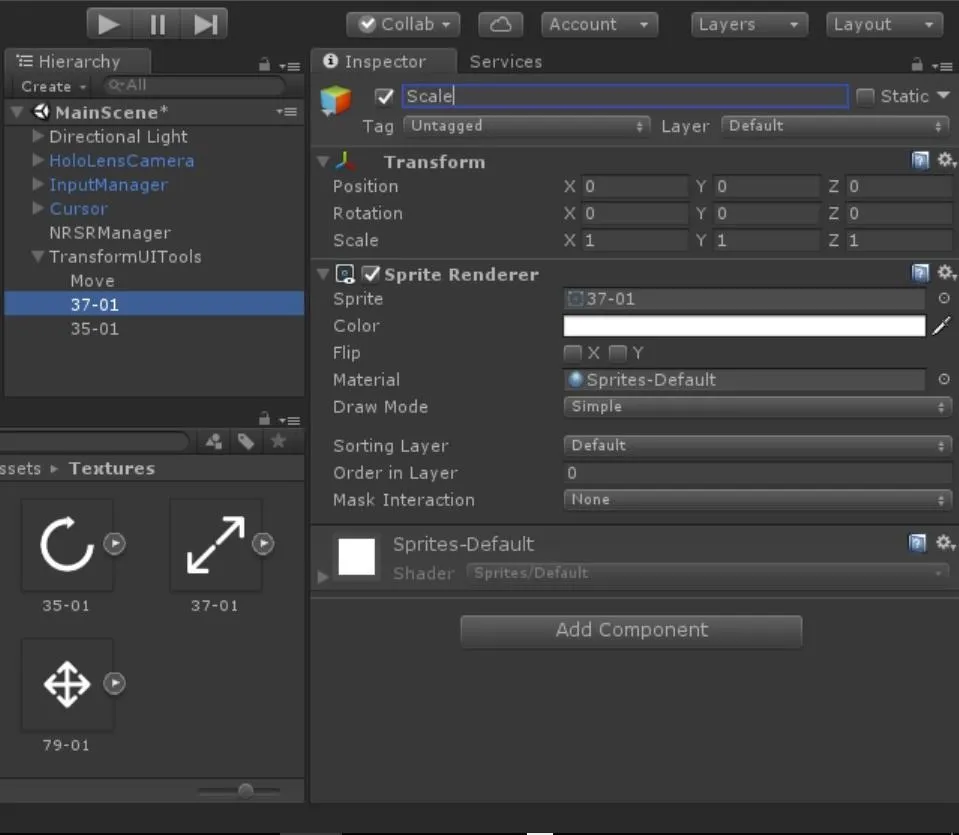
Repeat this process for 37-01 , renaming it to Scale and set its coordinates to:
- Position: X: 0, Y:0, Z:0
- Scale: X: 0.2, Y:0.2, Z: 0.2
Finally, rename 35-01 to Rotate and set its position and scale to:
- Position: X:0.5, Y:0, Z: 0
- Scale: X:0.2, Y:0.2, Z:0.2
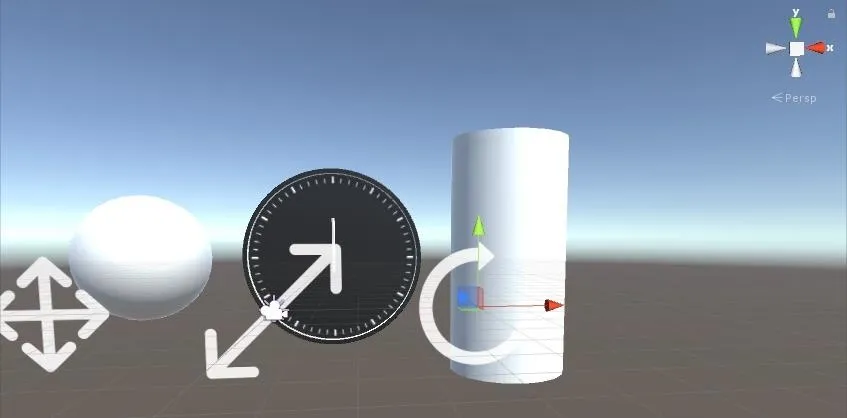
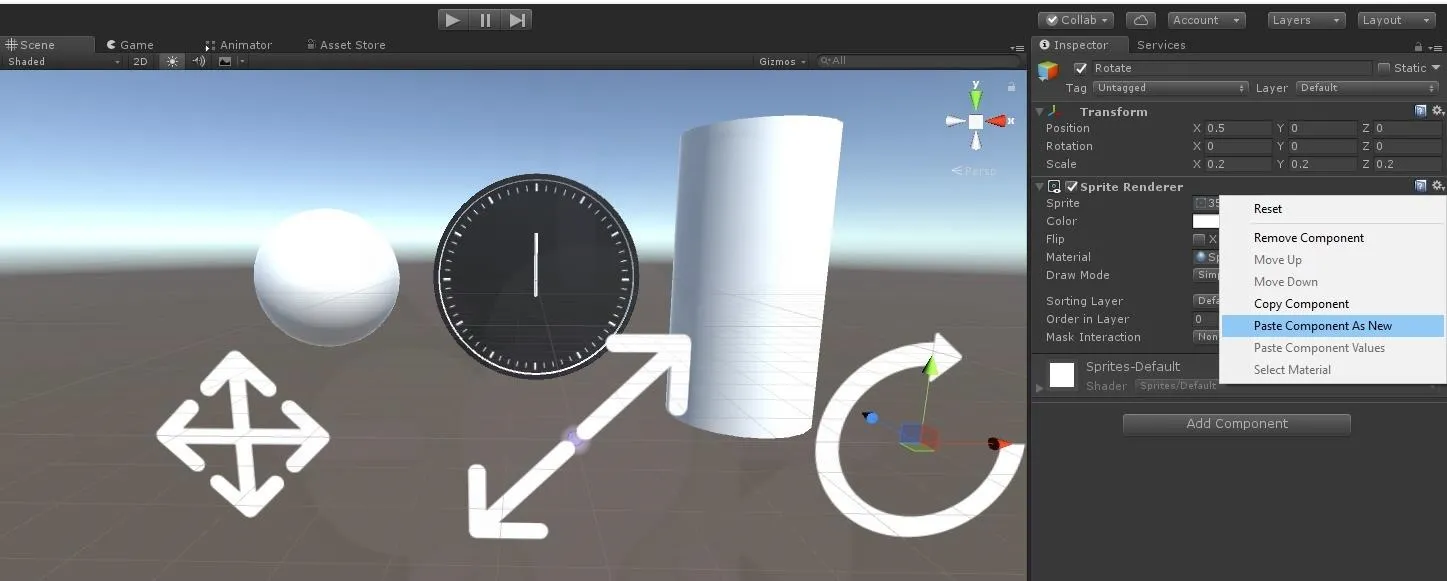
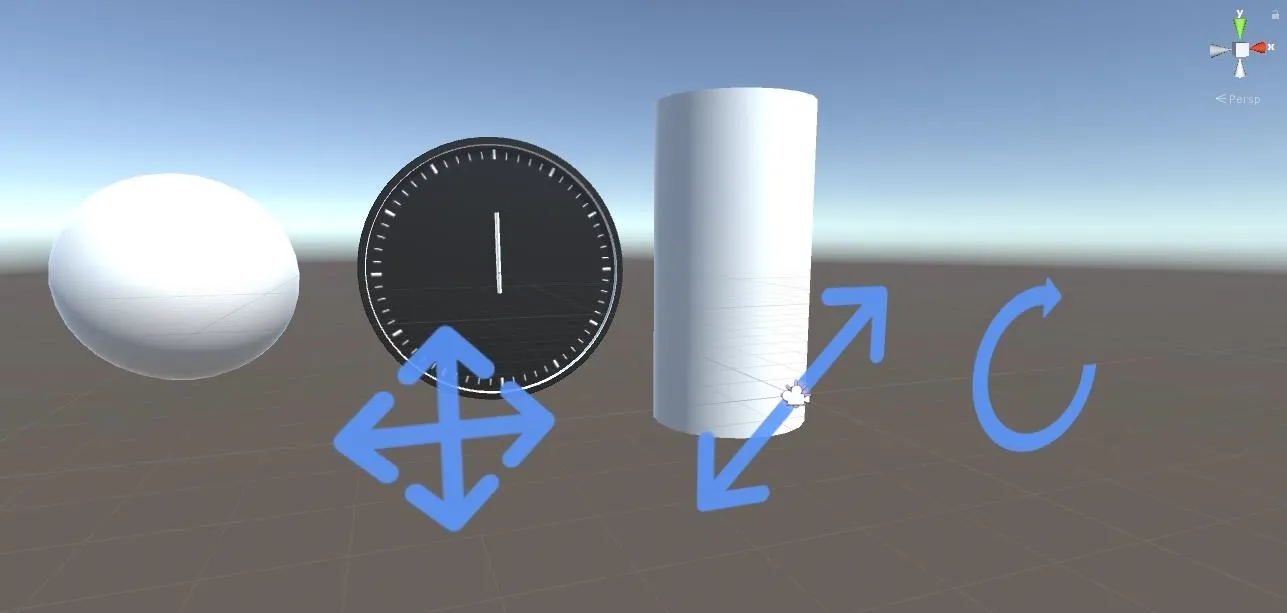
And this is more or less what you should see. Once our position and scale is set for each.
Make Textures into Buttons
For this tool to be successful, we eventually need to interact with the UI elements that should be considered buttons.
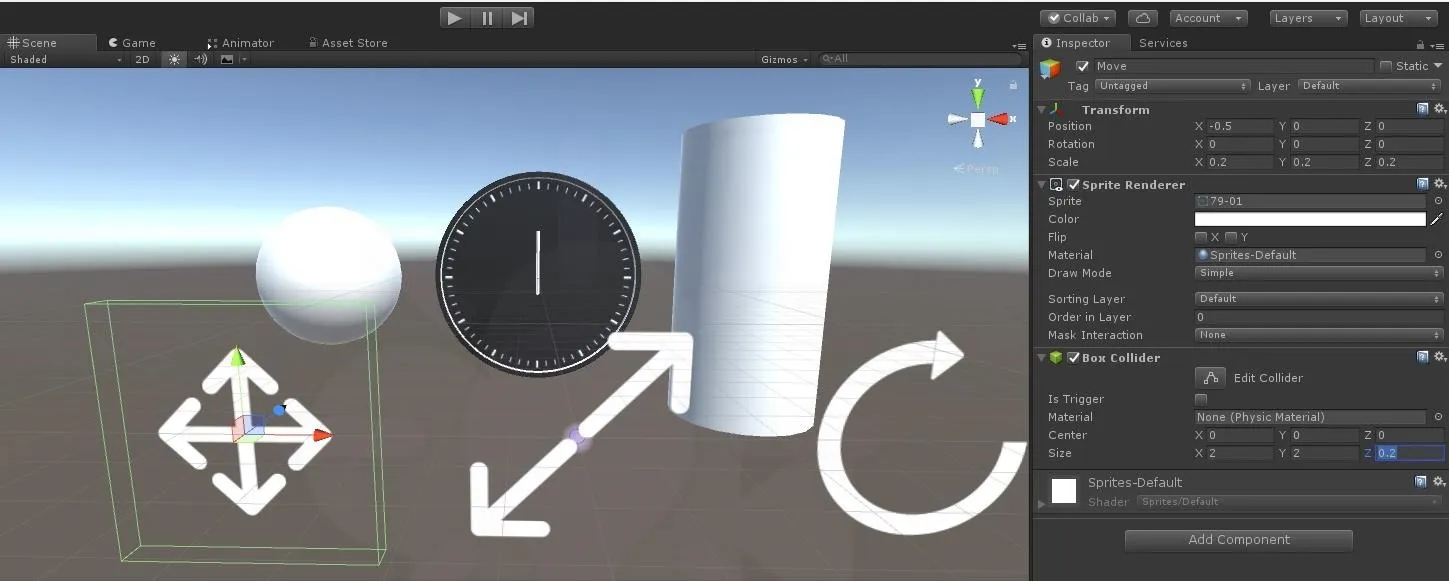
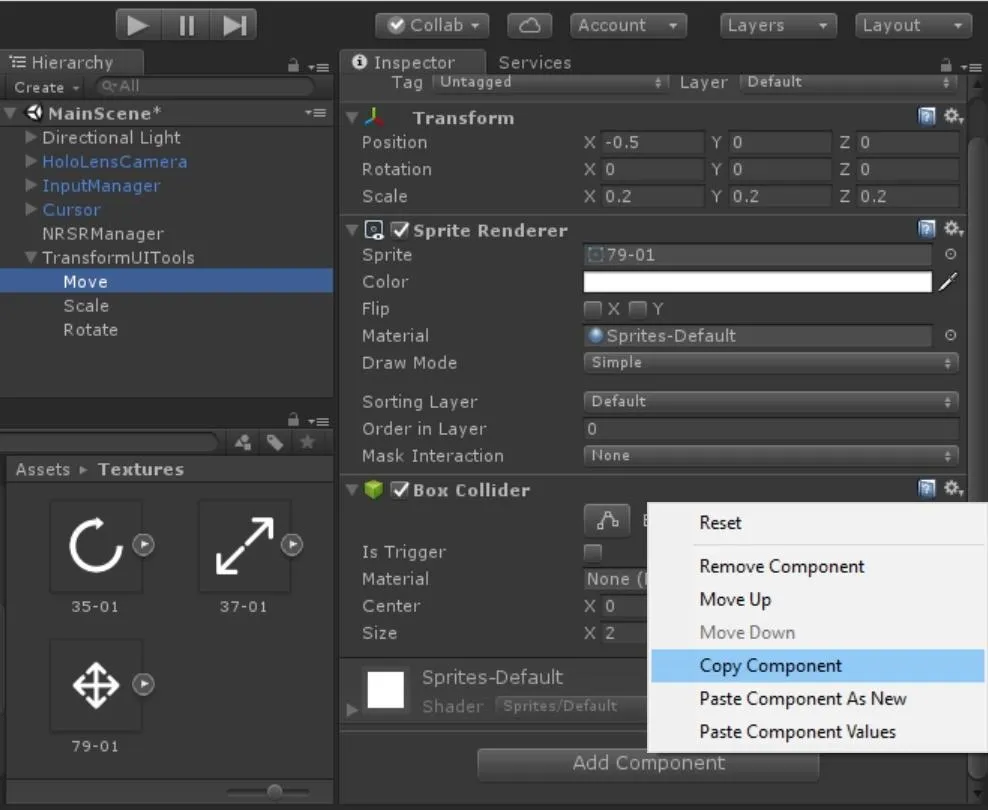
In the Inspector, click the "Add Component" button and type box into the search field. Select the "Box Collider" option that appears. In the "Box Collider" component that appears, make its size to:
- Size X: 2,Y: 2, Z:0.2.
Click on the "Settings" icon, the little gear in the upper corner of the Box Collider component and select "Copy Component."
Now select the Scale sub-object and, in the Sprite Renderer component, click on the "Settings" icon again. This time, though, click on "Paste Component As New."
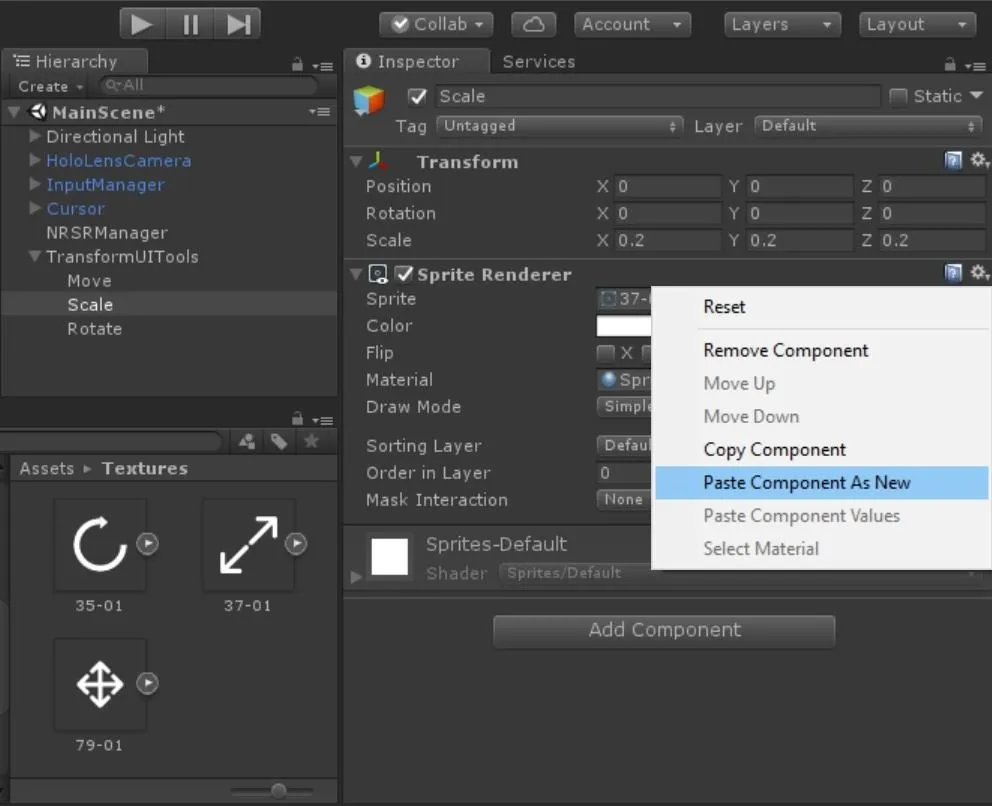
Repeat the last step for the "Rotate" button as well.
Add a Few Finishing Touches
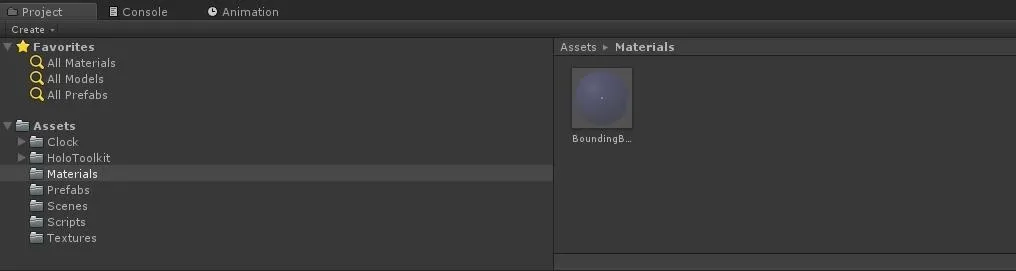
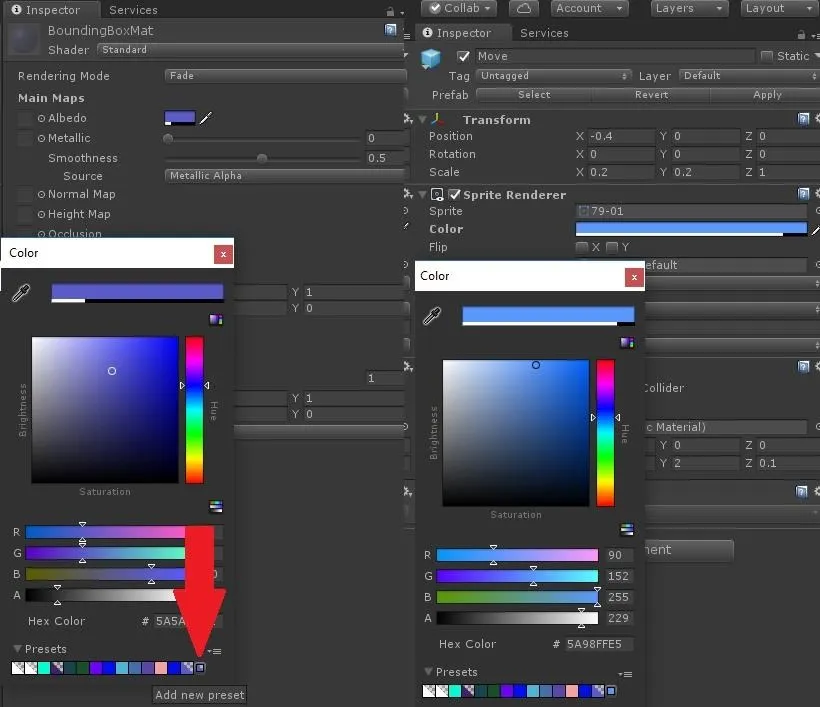
Find your BoundingBoxMat in the root Assets directory. Create a Materials folder and drop it in there.
With our material still selected, click on the color box to pull up the "Color" window. Let's save our color for the material for easy reference as a preset.
Now go to our "Move" button and select it and click on the "Color" box in the "Sprite Renderer" component. Click on the preset we just created. As you will notice, this color, even with more alpha, will blend too well with our bounding box. Adjust the color to:
- Color: R: 90, G:152, B:255, A: 229
This seems like a fairly complementary color.
Create a Prefabs folder. Click on the "TranformUITool" object we just finished making the drag and drop it into the Prefabs folder.
Alright, we have a simple UI element ready to go. Next up, we are going to attach it to the currently viewed object in direct connection to our gaze.
- Follow Next Reality on Facebook, Twitter, and YouTube
- Sign up for our new Next Reality newsletter
- Follow WonderHowTo on Facebook, Twitter, Pinterest, and Google+
Cover image and screenshots by Jason Odom/Next Reality


Comments
Be the first, drop a comment!