If you have Snap Spectacles 3, the dual camera-equipped sunglasses capable of capturing 3D photos and video, by now you've likely jazzed up the videos you've captured on the wearable with Lenses via Snapchat.
You've probably also realized that the available AR effects are relatively limited compared to Snapchat's vast library of Lenses.
But did you know that you can also add effects from Lenses created and published from Lens Studio as well? Maybe, maybe not, because it isn't exactly an obvious process. We're here to reveal the secret tricks to expand your AR creativity.
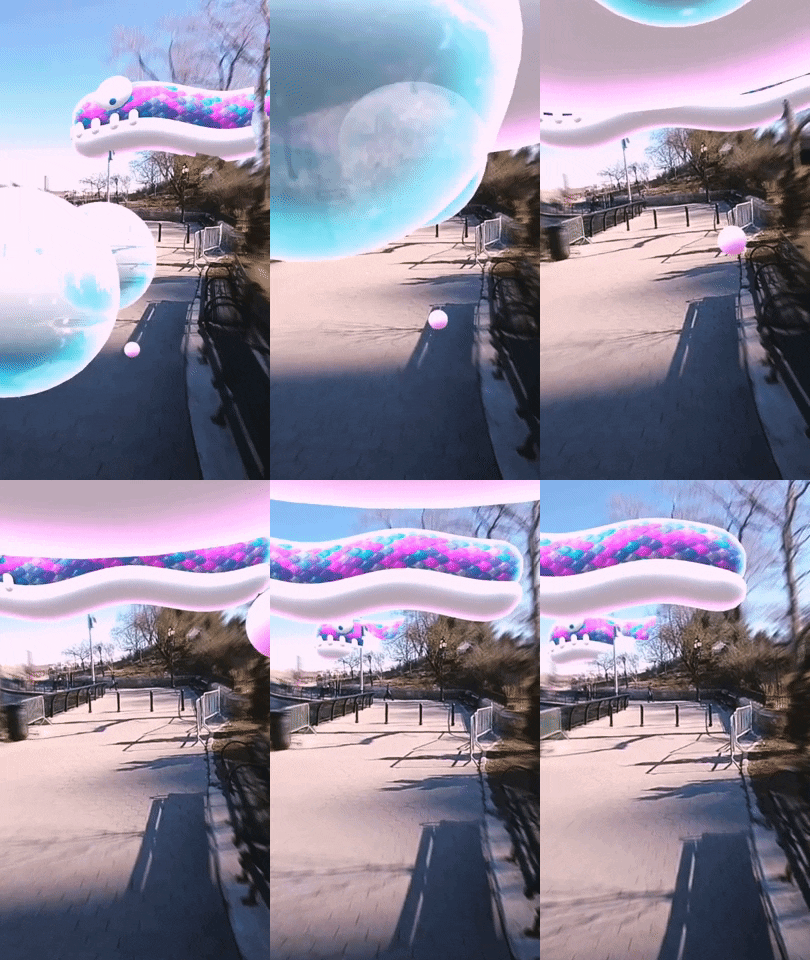
3D effects from Flying Kraken by Velvet Spectrum
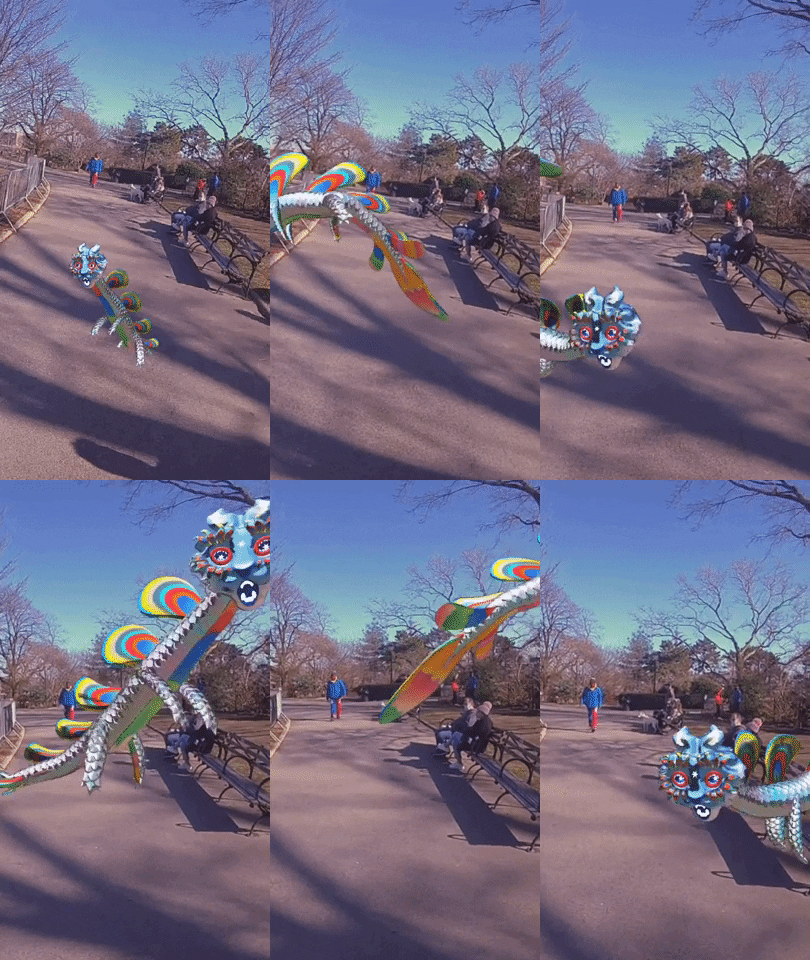
Crystal Dragon by Clara Bacou
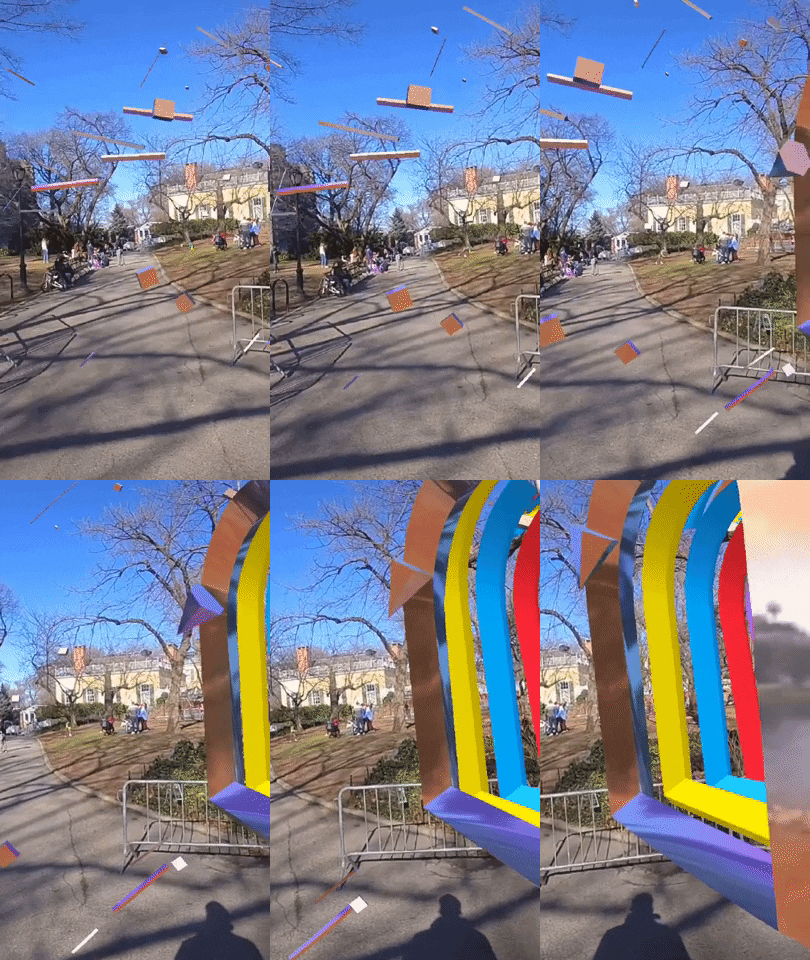
Mind Holes by Velvet Spectrum

3D effects from Flying Kraken by Velvet Spectrum

Crystal Dragon by Clara Bacou

Mind Holes by Velvet Spectrum
Capture & Import Content
We've established that you've likely recorded 3D videos and edited them with AR effects. But, if you haven't, or if you need a refresher, hop on over to our How to Add Snapchat AR Effects to Your Spectacles 3 Videos guide. Once you complete step 4, hop back over here before proceeding to step 5.
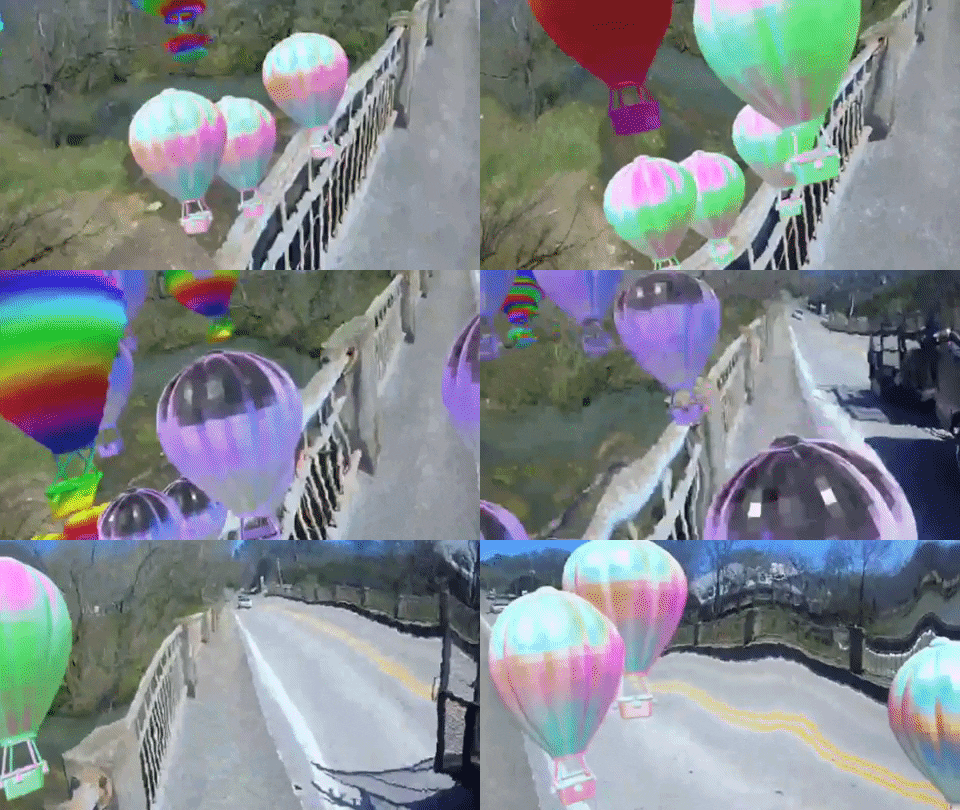
3D effects from Balloon Party by Wayne Lambo
Scan Snapcodes
Creators have to specify whether their Lenses are made for Spectacles 3 in Lens Studio, and you can then search for those effects in Lens Explorer.
For starters, Snap has curated a selection of Lenses from its creator community.
ViktoriaModesta01F by Pitch Studios

Flying Kraken by Velvet Spectrum
Abstract Collage by Alie Jackson
Balloon Party by Wayne Lambo
Lauren Halsey by Snap Inc.

Butterfly Sky by Clara Bacou

Crystal Dragon by Clara Bacou

Mind Holes by Velvet Spectrum
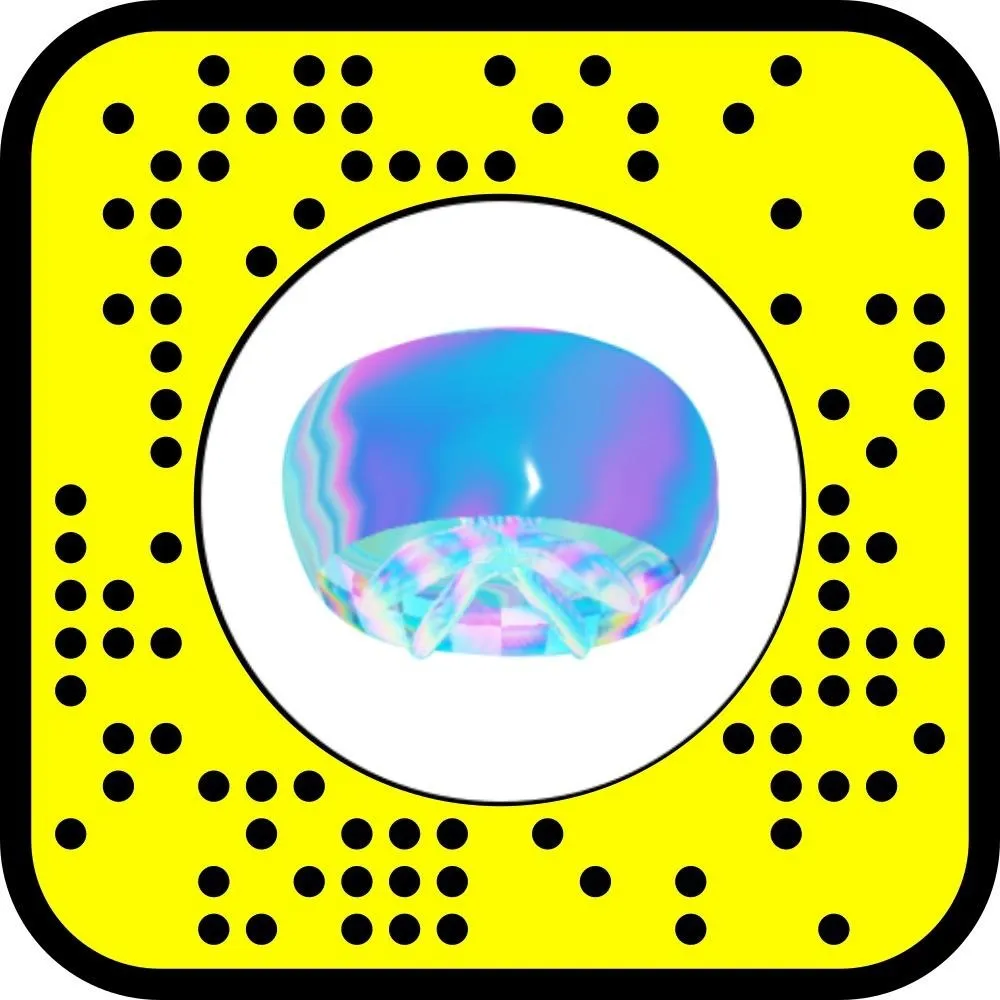
Mirrored Jellies by WRLD SPACE

ViktoriaModesta01F by Pitch Studios

Flying Kraken by Velvet Spectrum

Abstract Collage by Alie Jackson

Balloon Party by Wayne Lambo

Lauren Halsey by Snap Inc.

Butterfly Sky by Clara Bacou

Crystal Dragon by Clara Bacou

Mind Holes by Velvet Spectrum

Mirrored Jellies by WRLD SPACE
Other such examples include Dream Wings Specs by Anrick, Infinity Birds by Wayne Lambo, and Celestial Float by Pitch Studios.
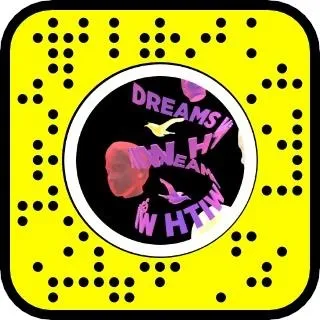
Dream Wings Specs by Anrick
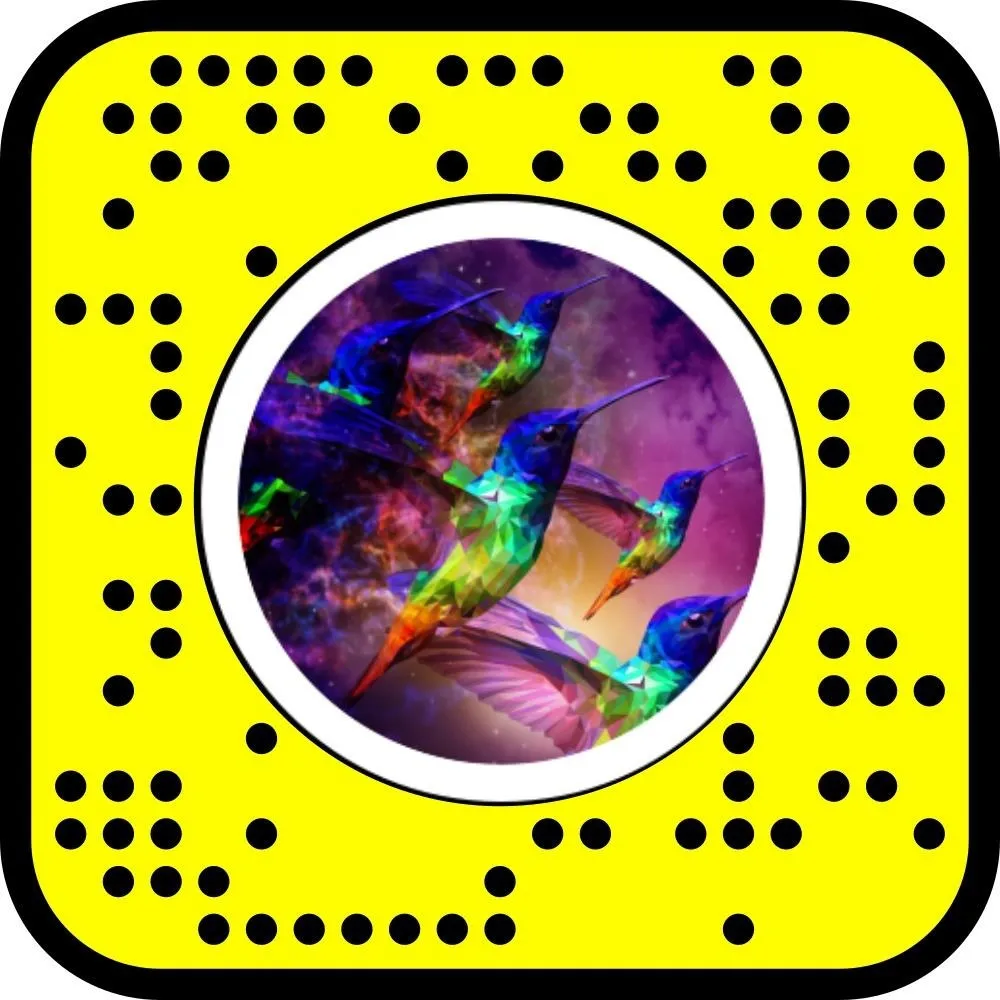
Infinity Birds by Wayne Lambo

Celestial Float by Pitch Studios

Dream Wings Specs by Anrick

Infinity Birds by Wayne Lambo

Celestial Float by Pitch Studios
The logical way to add these Lenses for editing your videos would be to find them through Lens Explorer, right? Well, not exactly.
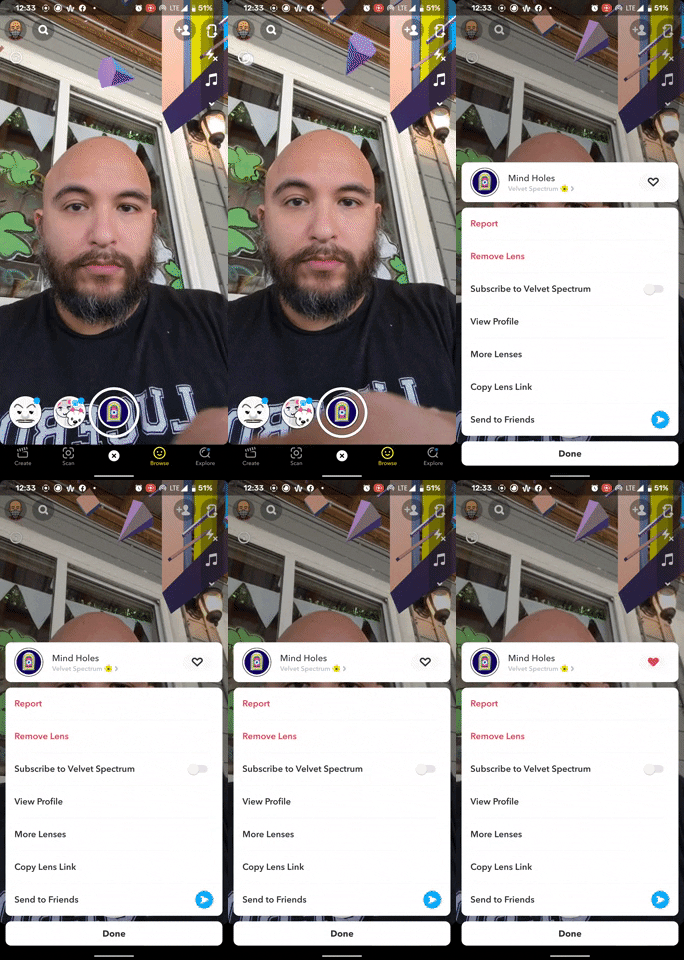
Instead, you have to scan a Snapcode to unlock the Lenses for 48 hours. Once unlocked, you can favorite the Lens by tapping the information icon (lower case i in a circle) in the top left corner of the camera screen and then tapping the heart icon in the information pop-up window.
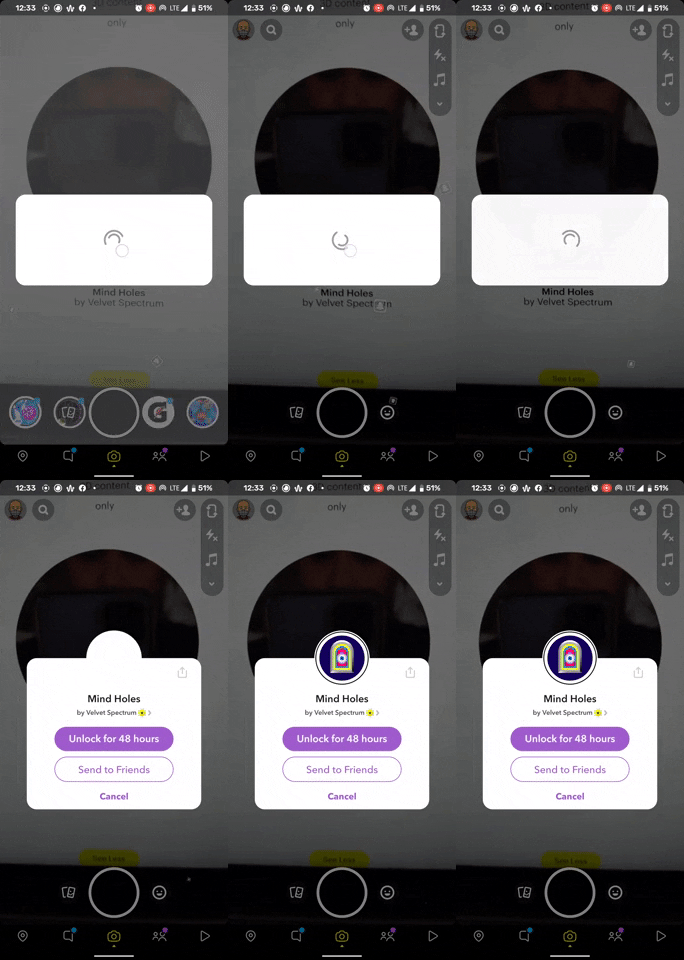
Tommy Palladino/Next Reality
Tommy Palladino/Next Reality

Tommy Palladino/Next Reality

Tommy Palladino/Next Reality
Find More Spectacles Lenses
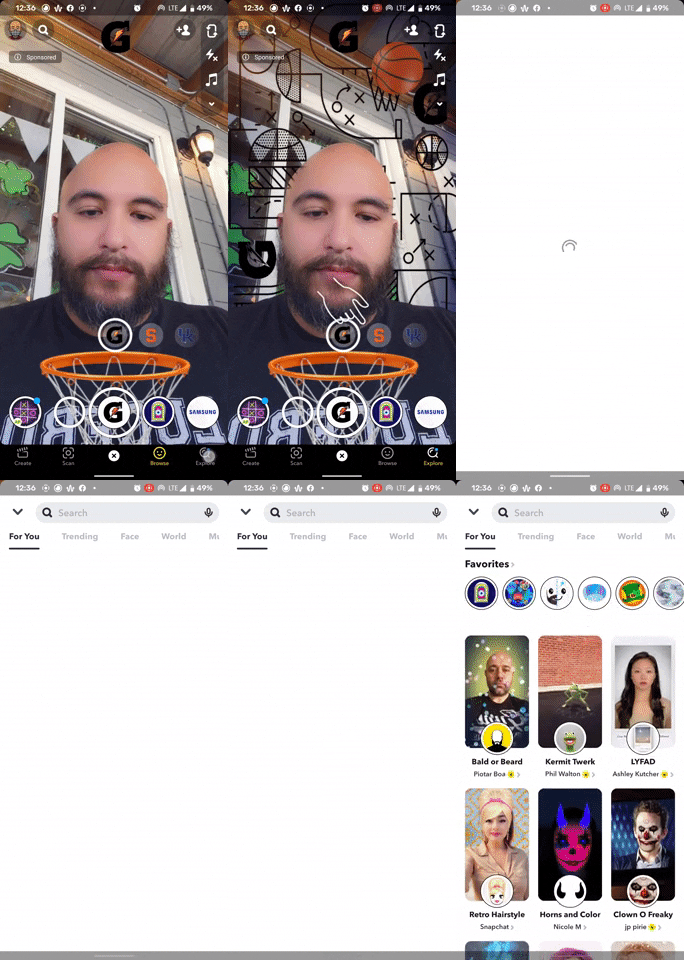
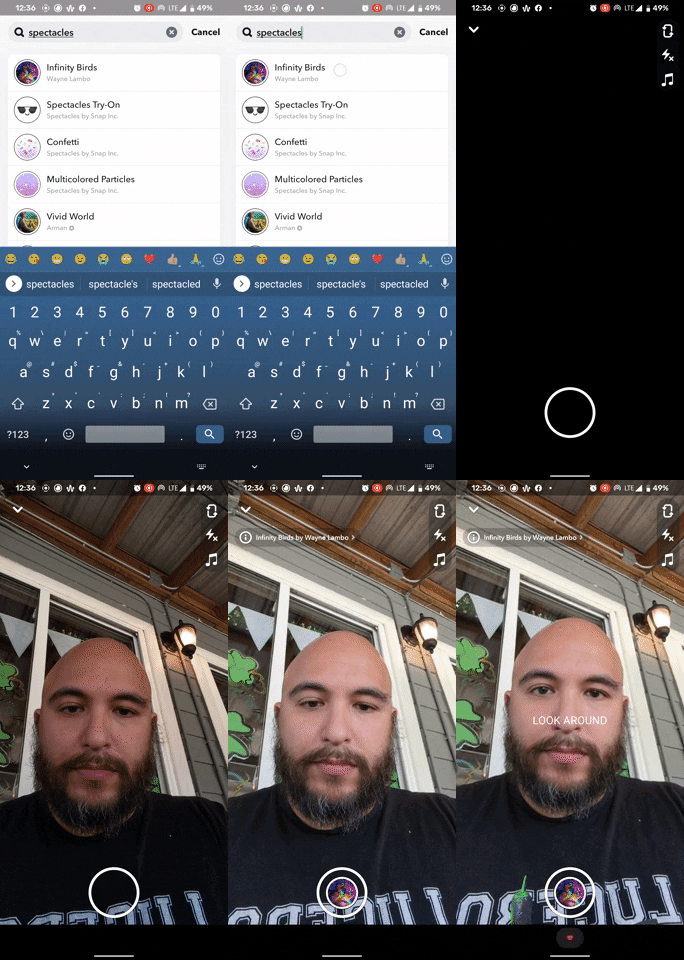
However, you can use Lens Explorer to discover Spectacles effects with the search term Spectacles.
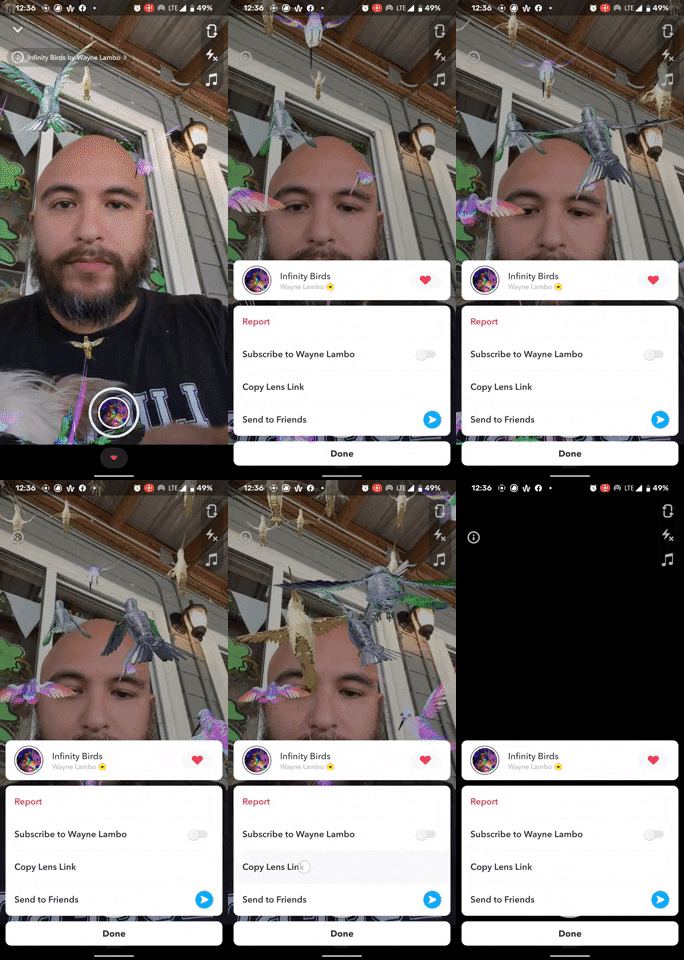
Open one of the Lenses from the search results, then tap the information icon, but, instead of adding it to favorites, copy the link to the Lens, then transfer that link by any means necessary to another screen so you can scan the Snapcode. After unlocking, you can favorite to save it.
Tommy Palladino/Next Reality
Tommy Palladino/Next Reality
Tommy Palladino/Next Reality

Tommy Palladino/Next Reality

Tommy Palladino/Next Reality

Tommy Palladino/Next Reality
An easier way to find Spectacles Lenses is to search for them via Snap Camera, the desktop version of Snapchat. As with Lens Explorer, you can search for Spectacles, but Snap Camera will also give you quick access to the Snapcode for each Lens. However, any Lenses that are not specified for a front-facing camera will not show up in search results here.
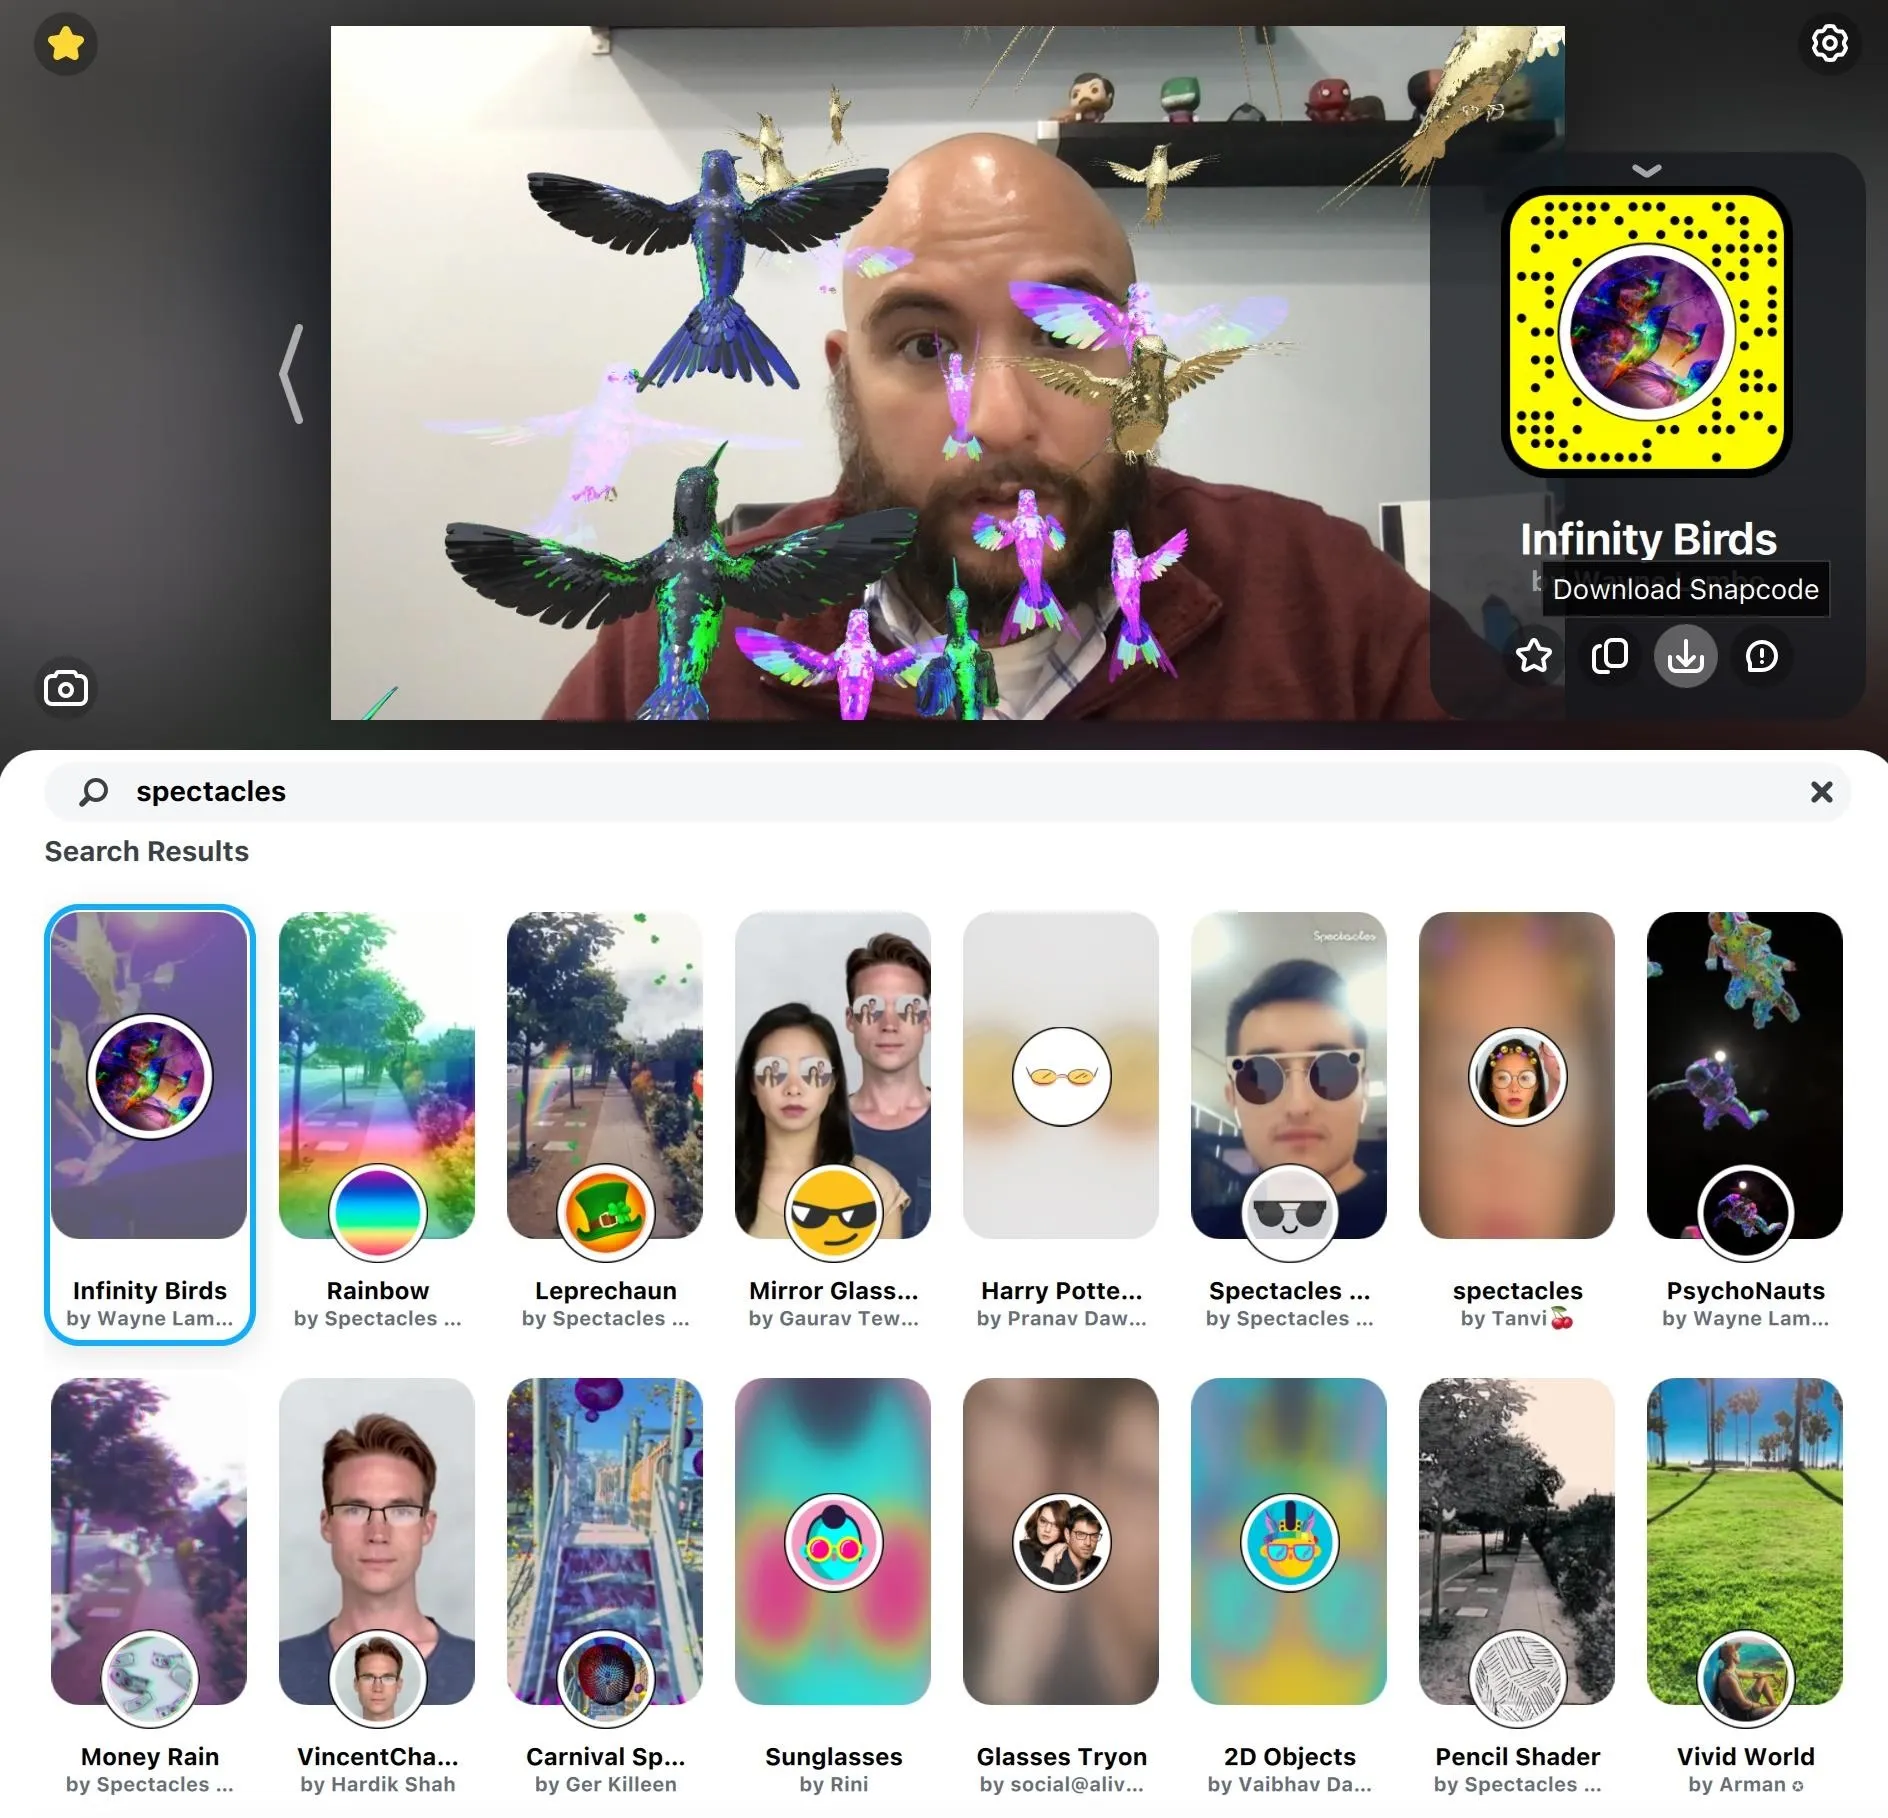
Tommy Palladino/Next Reality
Now, when you proceed to step 5 in the editing process, you'll find the unlocked Lenses among the selections.
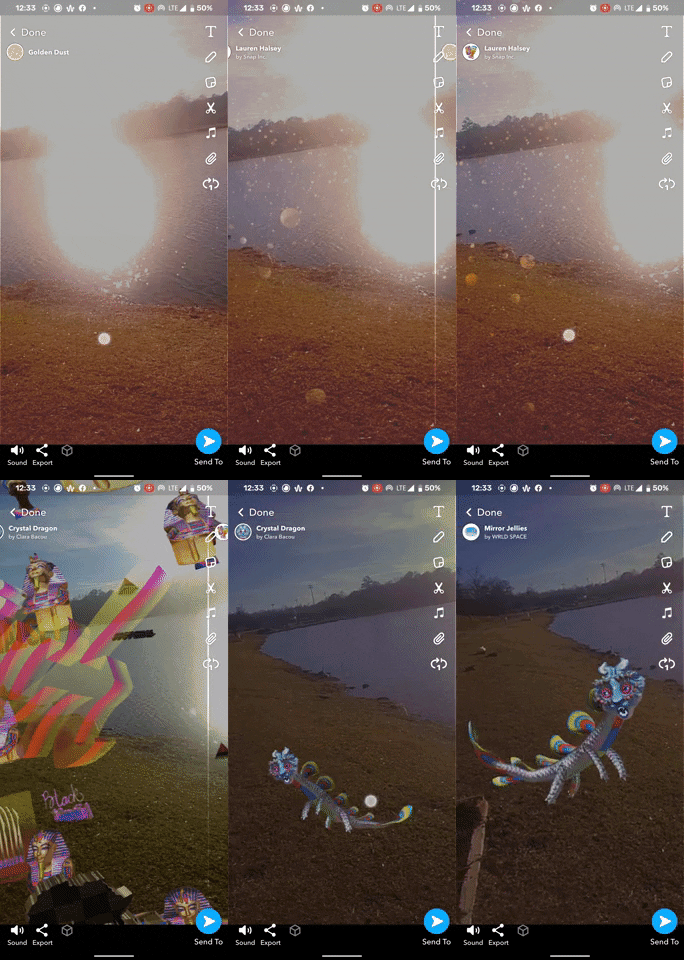
Tommy Palladino/Next Reality
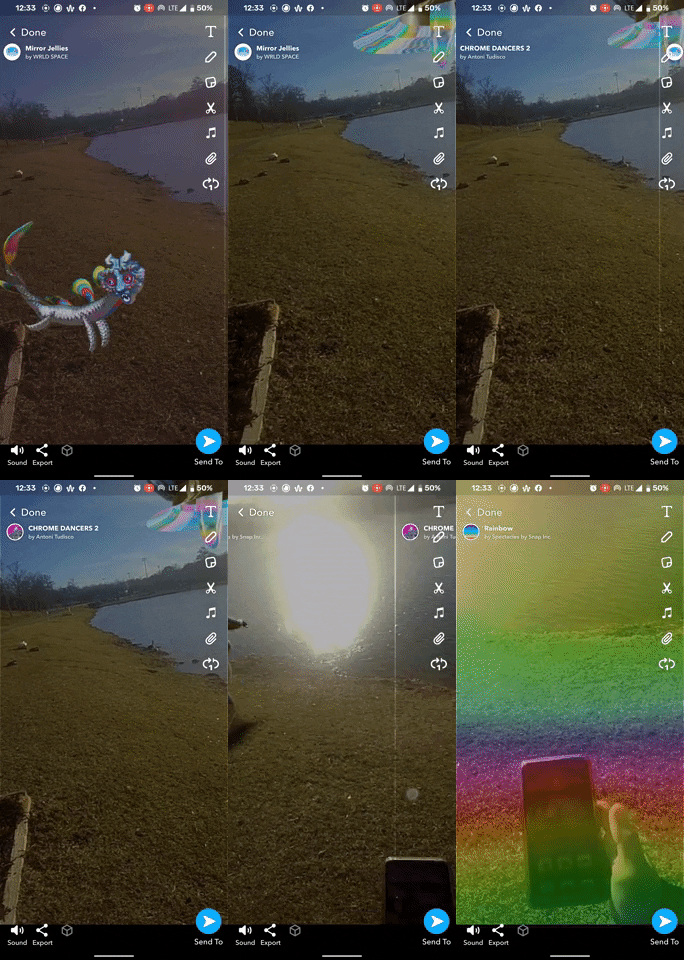
Tommy Palladino/Next Reality

Tommy Palladino/Next Reality

Tommy Palladino/Next Reality
Improve Your Spectacles Camera Work
Now that you have more effects to work with, you can go capture more footage to edit.
First, you'll want to make sure your device is properly charged and connected to your smartphone. Also, take the time to clean off the camera lenses with a lint-free cloth to ensure a clear view.
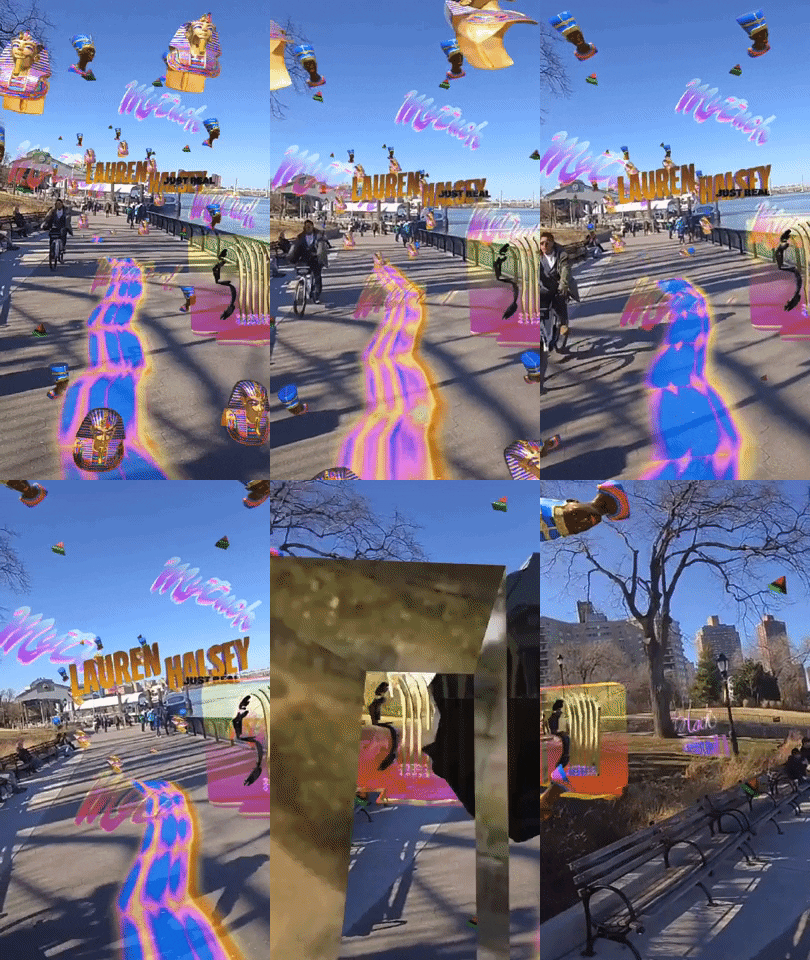
3D effects from Lauren Halsey by Snap Inc.
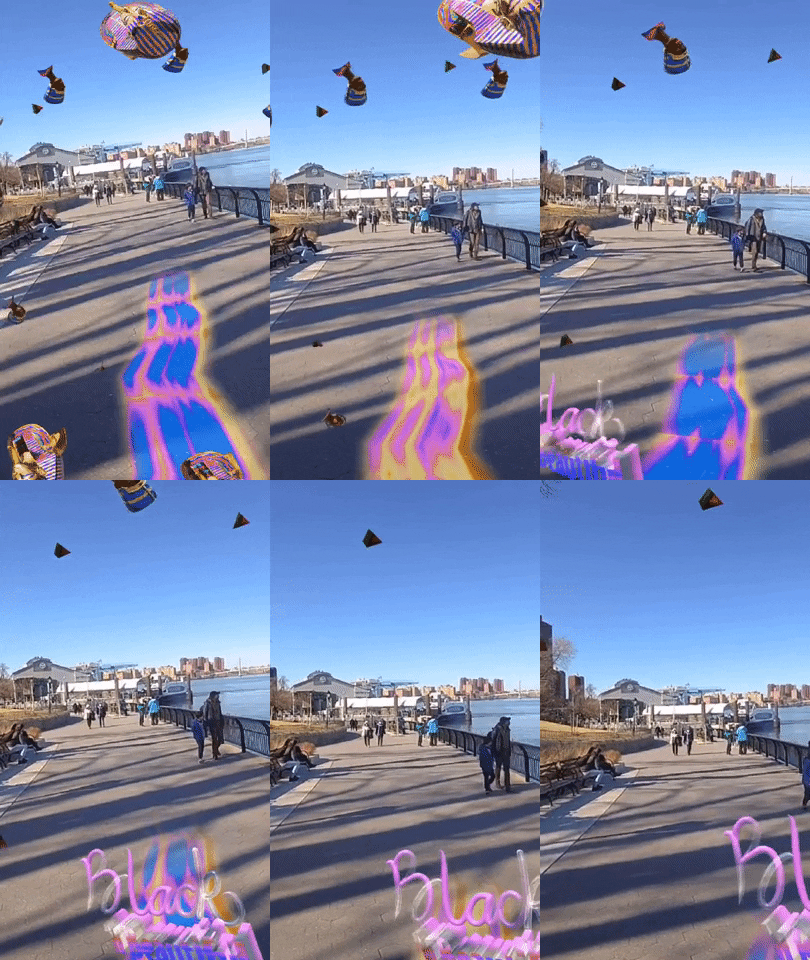
Adario Strange/Next Reality

3D effects from Lauren Halsey by Snap Inc.

Adario Strange/Next Reality
Second, prepare your shooting area, including clearing your hair from the peripheral of the cameras and flipping your hat backwards if you have one on. Also, make sure you have sufficient lighting for your subject.
Finally, when capturing people in your footage, be sure that your subject looks at the center of your device, rather than either of the cameras. Also, remember that Spectacles allow you to capture footage with your hand free, so don't be afraid to include your hands in your footage.
Cover image via Tommy Palladino/Next Reality






Comments
Be the first, drop a comment!