
The release of Unity 5.6 brought with it several great enhancements. One of those enhancements is the new Video Player component. This addition allows for adding videos to your scenes quickly and with plenty of flexibility. Whether you are looking to simply add a video to a plane, or get creative and build a world layered with videos on 3D objects, Unity 5.6 has your back.
In this tutorial, we will get you running with the basics by showing you two ways to utilize the Video Player component. We'll also briefly cover a few other features along the way. Some of these features can be seen in the video below.
Step 1: Set Up the Basics
Obviously, you will need to be running version 5.6 or later of Unity. You will also need to import a HoloToolkit. I'm using a package from May 3, 2017, which you can download directly by clicking here.
Create a new project, import the HoloToolkit, apply all the needed settings, and add the base objects to your scene. If you need a little guidance, check out the setup help on our previous tutorial.
Step 2: Add a Video to Your Project
For us to display a video, we need a video. Unity and HoloLens can handle several of the more popular video formats, such as .mp4, .mov, .wmv, and .avi. You can also stream directly from an HTTP URL. Unfortunately, that means secure sites (https) like YouTube cannot yet be used.
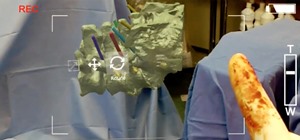
If you don't have a video handy, download some of the breathtaking high definition shots provided courtesy of NASA.
Create a folder called "Videos" in the Project window. You can simply drag your video from your computer's file window straight into your newly created folder within the Unity window.
Step 3: Display a Video Using Material Override
The quickest way to get your video playing in your scene is to attach the Video Player Component directly to a GameObject containing a Mesh Renderer.
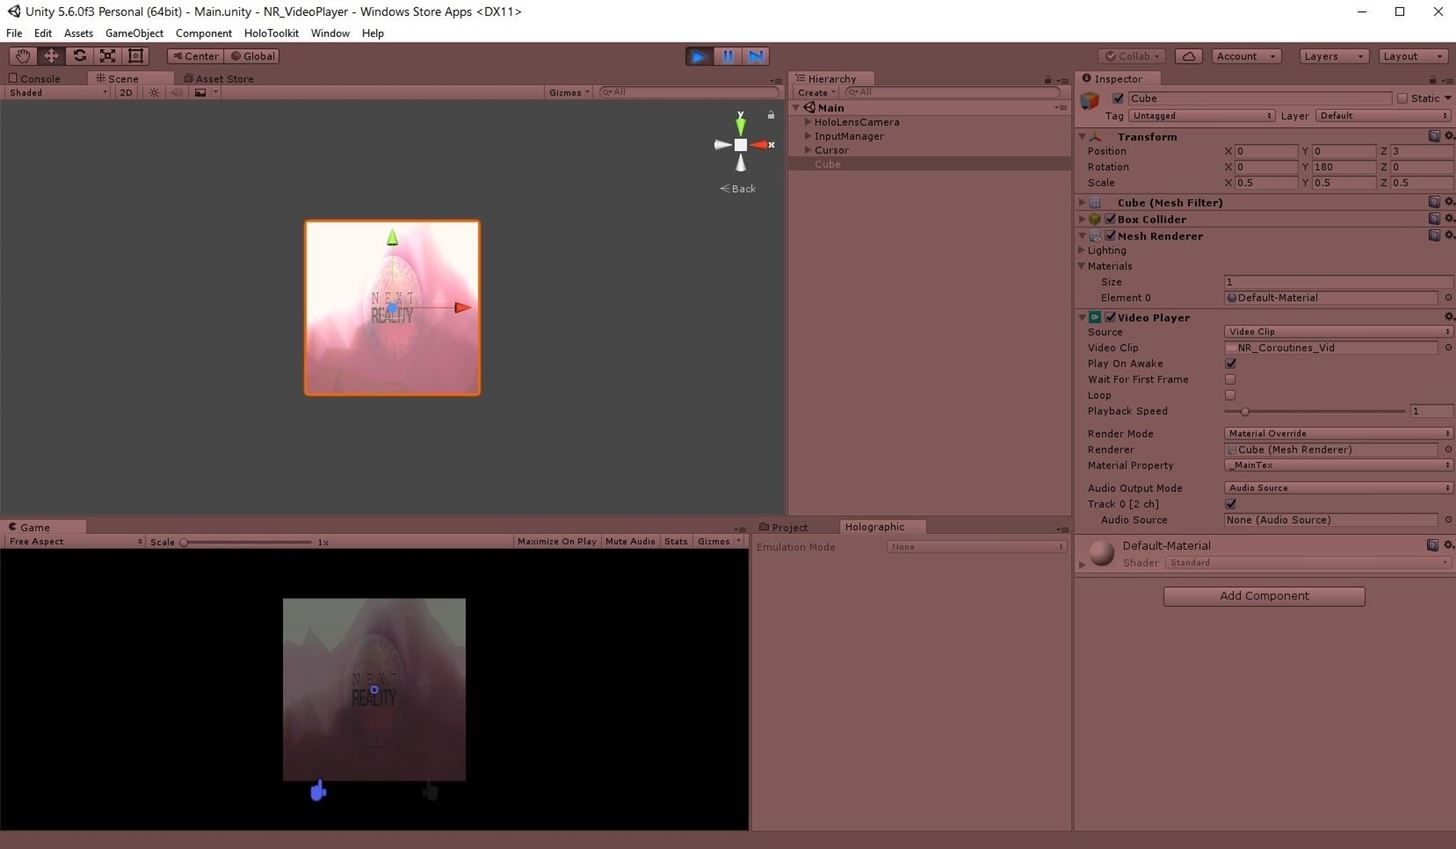
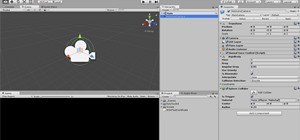
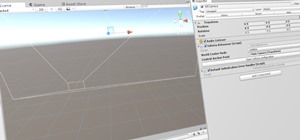
Let's start by adding a Cube to our scene. Set the Cube's Transform to - Position (0, 0, 3) and Scale (0.5, 0.5, 0.5). Now click "Add Component", type "vid" in the search bar, and press Enter to add the highlighted Video Player. Drag our video from our Project window into the Video Clip field.
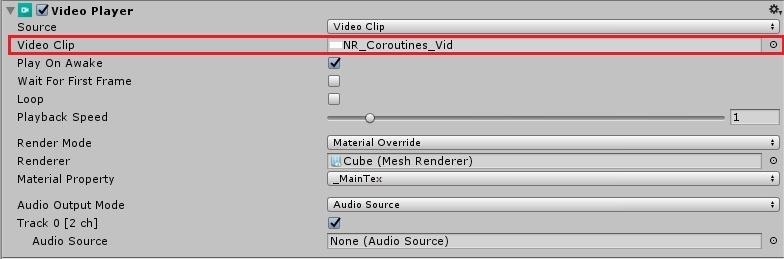
Render Mode is set to "Material Override" by default. Since the object we attached our Video Player component to has a Mesh Renderer, Unity goes ahead and automatically assigns itself to the material's "–MainTex" shader property. Thus, our video will be displayed here.
Save and play the scene. You should see your video begin as soon as the scene starts. You'll notice the video will be backward. This is due to our camera and Cube facing the same way at origin. When we push our Cube 3 units forward we are looking at its back. Go ahead and set the Rotation on the y-axis to 180 after stopping the scene.
It is just that easy to add video.
Step 4: Display a Video Using Render Texture
Perhaps you want to add the same video to several GameObjects and don't want to create a new Video Player for each. In this step, we'll take a look at creating a single source that can project our video onto many objects.
Create a folder called "Textures" in the Project window. Right-click on our new folder and Create > Render Texture. Name this "VideoScreen".
Next, right-click in the Hierarchy window and Create Empty. Name this new object "VideoPlayer". Go ahead and add a Video Player component to this object. Unlike the last step, you'll notice our Render Mode is set to "Render Texture" by default.
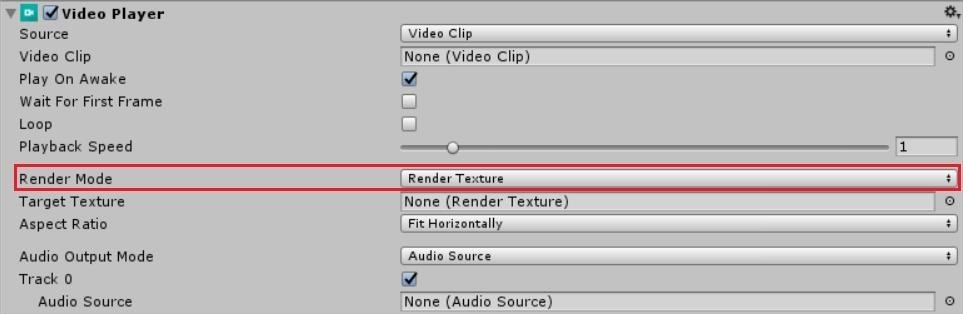
Here, we have nothing to override, as this empty GameObject will not be displaying our video directly.
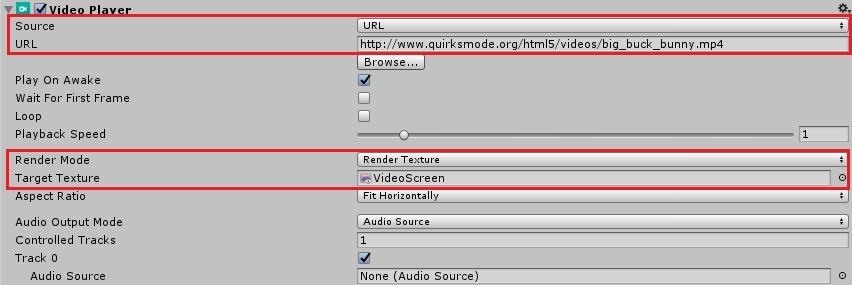
With our VideoPlayer highlighted, drag the "VideoScreen" texture from the Project window onto Video Player's Target Texture field in the Inspector.
This time, let's also try streaming a video from a URL. On Video Player, set the Source to "URL". A new field will appear. Paste in this classic streaming HD video link: http://www.quirksmode.org/html5/videos/big_buck_bunny.mp4.
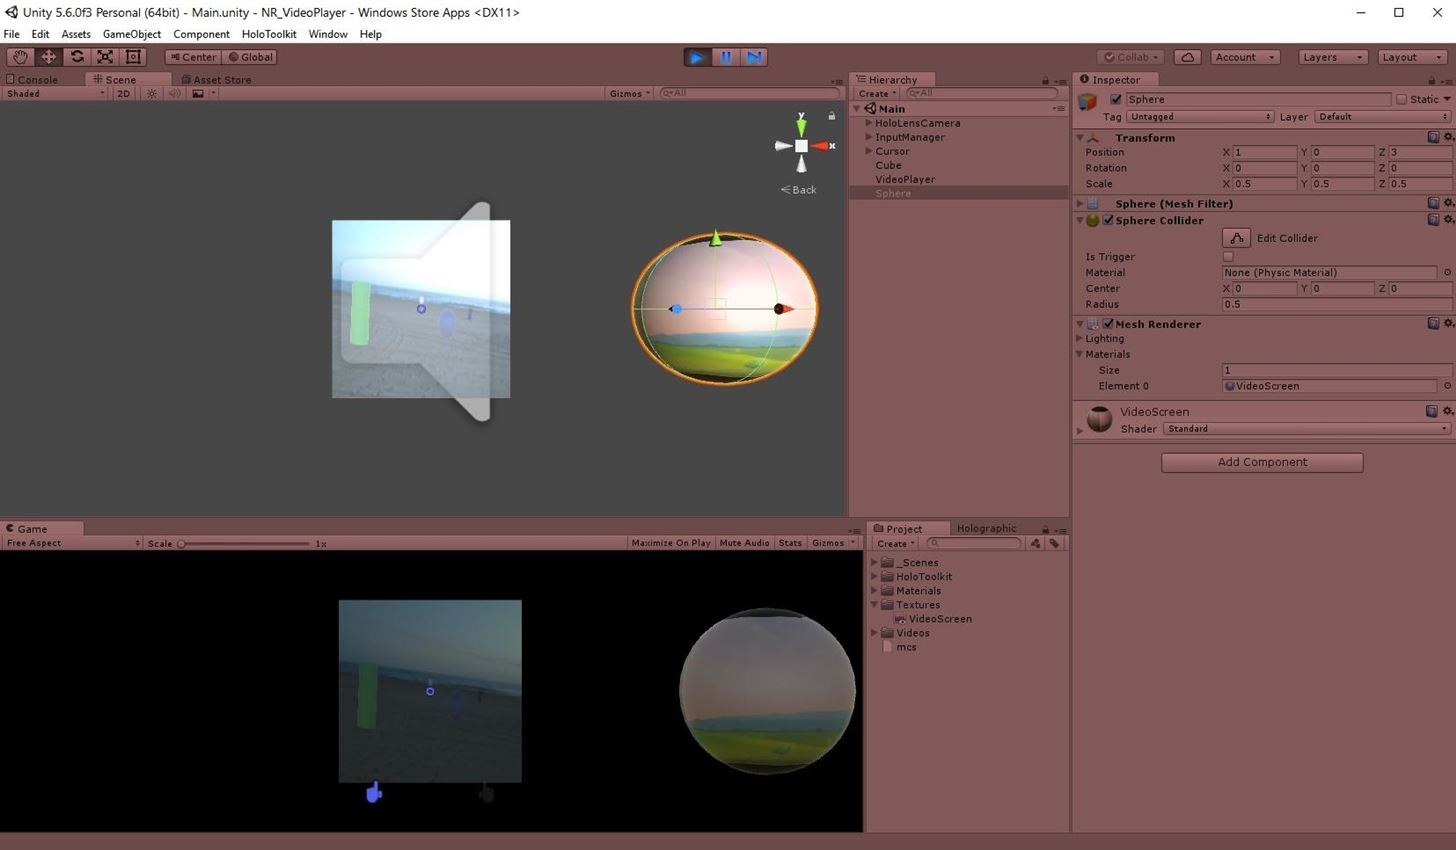
Now we just need a visible object to project the video onto. Create a Sphere and set Transform to - Position (1, 0, 3), Rotation (0, 180, 0), and Scale (0.5, 0.5, 0.5).
Drag our "VideoScreen" texture from our Project window onto the Sphere in our Scene window. This will automatically set the Mesh Renderer's Material property.
Once again, save and play the scene. This time, you'll see our video attached to our VideoPlayer object being displayed on our Sphere object.
As an added bonus, you'll notice when we applied our texture to our Scene object, Unity created a "Materials" folder with a new "VideoScreen" material inside. Now, if we want to display this video on many visible GameObjects, all we have to do is add this material to each object!
Step 5: Play Your Video's Audio
With video playback happening as expected, let's get the accompanying audio playing.
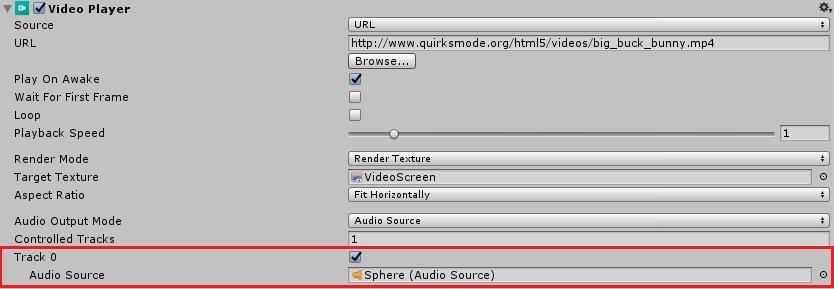
Start by adding an Audio Source component to our Sphere. Now, highlight the VideoPlayer in the Hierarchy window. Drag the Sphere object from the Hierarchy window into Video Player's Audio Source in the Inspector.
Save, play ... annnnd listen. Glorious sound!
Unity's Video Player component will respect the settings you have on your Audio Source, allowing you to also spatialize your sound with this method.
There are many useful, creative, and wacky things you can do by adding video to your HoloLens project. Plenty of fun is to be had experimenting with the new Video Player component and its features. Give it a go, and please share with us your creations!
Thanks for checking out this how-to! Reach out with any questions, feedback, or development quirks you'd like to learn about in the comments below. Cheers!
Just updated your iPhone? You'll find new emoji, enhanced security, podcast transcripts, Apple Cash virtual numbers, and other useful features. There are even new additions hidden within Safari. Find out what's new and changed on your iPhone with the iOS 17.4 update.


1 Comment
I was wondering what you added your object so that when you air tapped you were able to play the clip?
Share Your Thoughts