
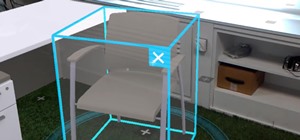
Being part of the wild frontier is amazing. It doesn't take much to blow minds of first time mixed reality users — merely placing a canned hologram in the room is enough. However, once that childlike wonder fades, we need to add more substance to create lasting impressions.
One way to do this is through a primed, polished, and buffed user interface, but that's expensive. So this tutorial will be the equivalent of giving your HoloLens UI a carwash. It's a cheap investment but can still turn heads when it's done.
We will be using coroutines to add slick but simple effects to our holograms when they are gazed upon. Coroutines allow partial work to be done in a frame and execution to be paused and then picked back up where left off in the following frame.
In one of our examples, we will be changing an object's color over time. Calling a regular function containing a loop to attempt a smooth transition from Color A to Color B would result in the entire loop completing in one frame. This change would appear to happen immediately. Thus, using a coroutine here is a great choice as it can break up its execution over many frames to apply a gradual change.
We could also use the Update function to achieve this, but with scheduled events, using coroutines is generally the preferred method.
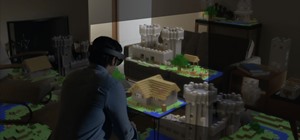
In today's video, you'll see a demonstration of what we will be building. There are also some fun bonus examples at the end created just by making small modifications to our scripts and adding a touch of creativity to our scene.
Step 1: Set Up the Basics
To ensure this tutorial works, pull a HoloToolkit version from GitHub that incorporates the user input modules or click here to download the package I'm using directly.
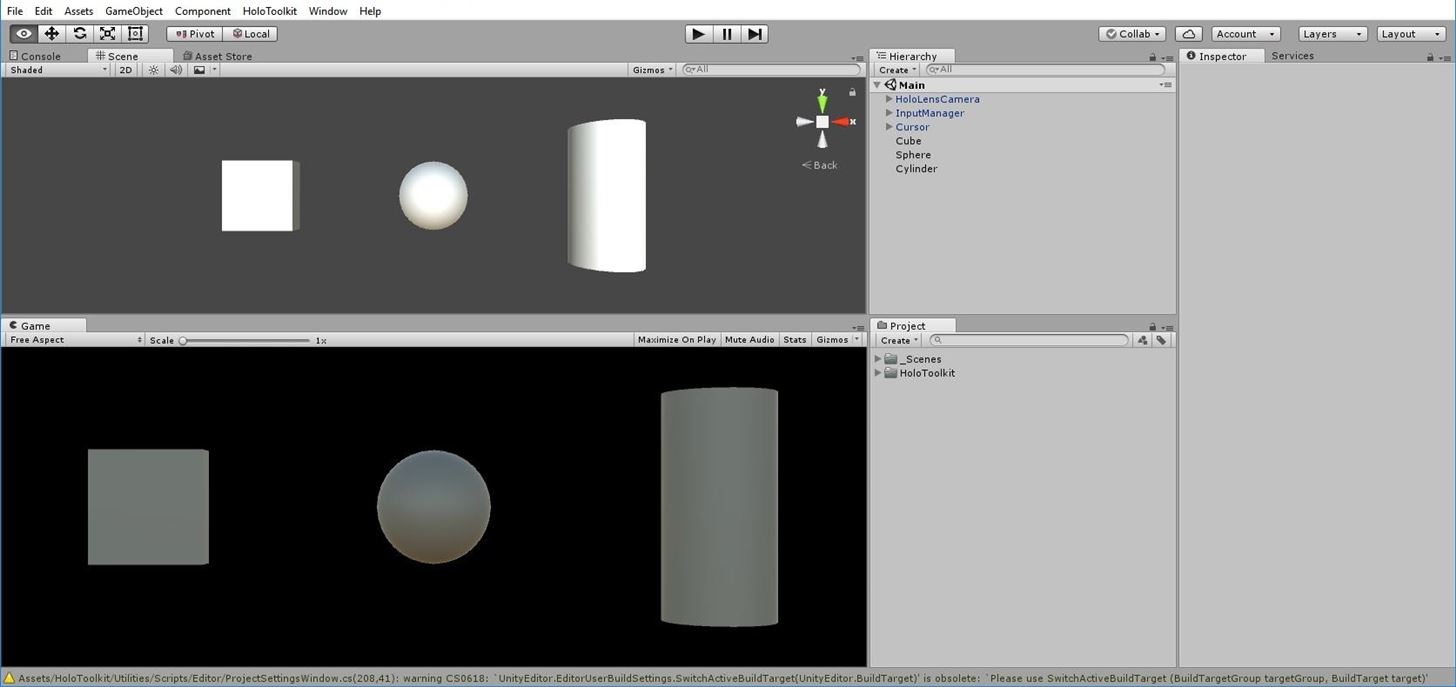
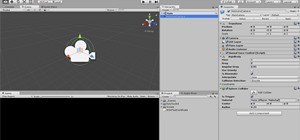
Once you have your project set up for HoloLens, swap out the "Main Camera" for the HoloLensCamera prefab found in the HoloToolkit -> Input -> Prefabs folder in the Project window. This new camera is preconfigured and has the handy "ManualGazeControl" script component attached that allows us to simulate user movements in Unity.
Add the InputManager prefab from the same HoloToolkit -> Input -> Prefabs folder to the top level of the Hierarchy window. Now, add a cursor by dragging in the Cursor found in the HoloToolkit -> Input -> Prefabs -> Cursor folder.
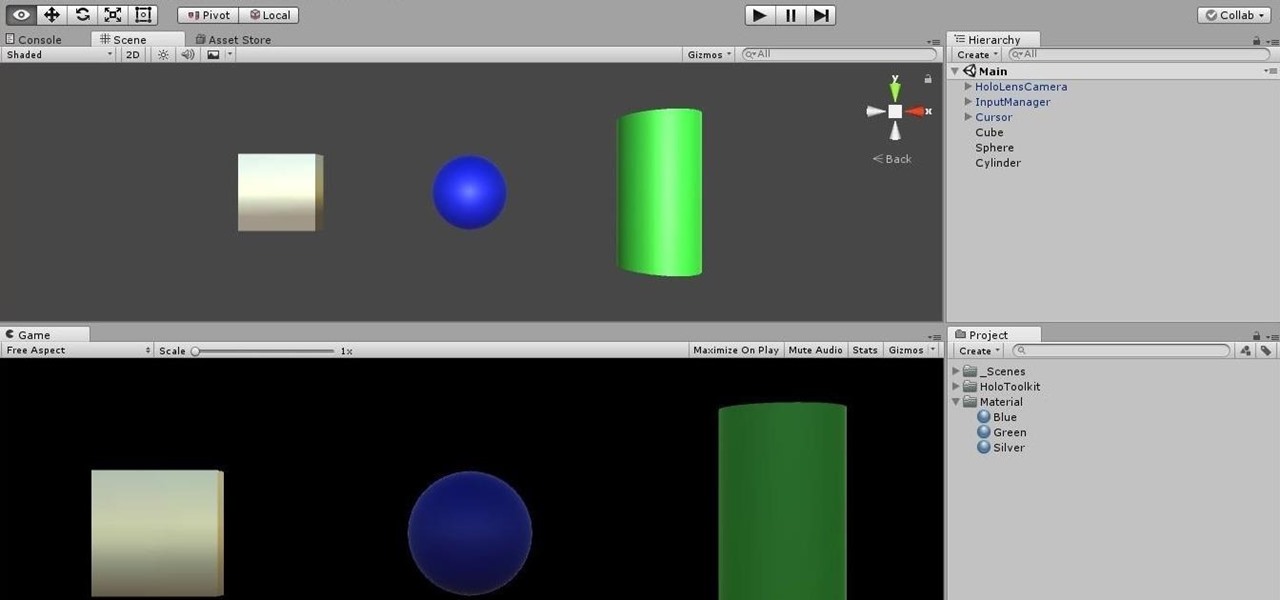
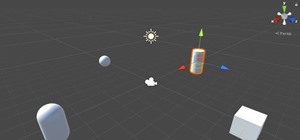
Step 2: Create Basic 3D Objects
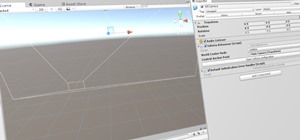
With our project foundation set, we'll start building our interface objects. Even though we will be using only primitive 3D objects, we'll be able to make them shine with a little scripting love.
Create each of the following and set them accordingly:
- Cube - Position (0.5, 0, 1.5), Scale (0.1, 0.1, 0.025)
- Sphere - Position (0, 0, 1.5), Scale (0.1, 0.1, 0.1)
- Cylinder - Position (-0.5, 0, 1.5), Scale (0.1, 0.1, 0.1)
Step 3: Add Some Color
Create a folder named "Materials" in the Project window. Right-click on the new folder and then Create -> Material. For simplicity, name this material after the color you intend for it to be. With the material highlighted in the Inspector, click on the box to the right of Albedo. This will bring up the color-picker for you to assign its color.
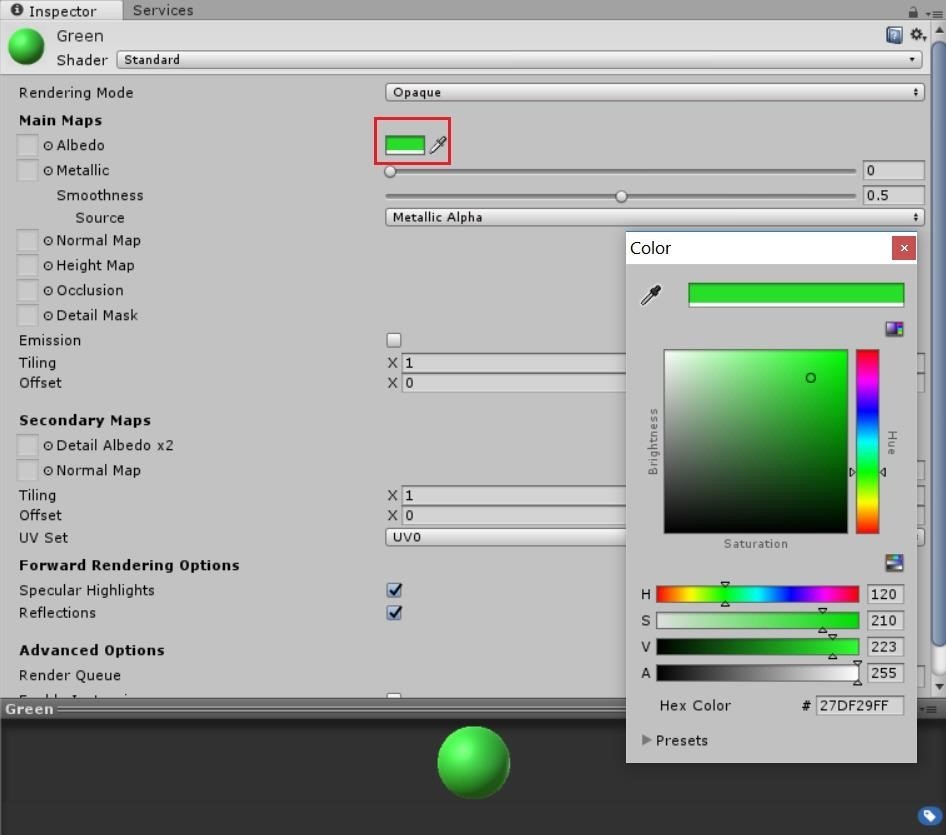
Repeat this step until you have three different colored materials. I'm going with green, blue, and silver in honor of the Timberwolves 13-year playoff drought.
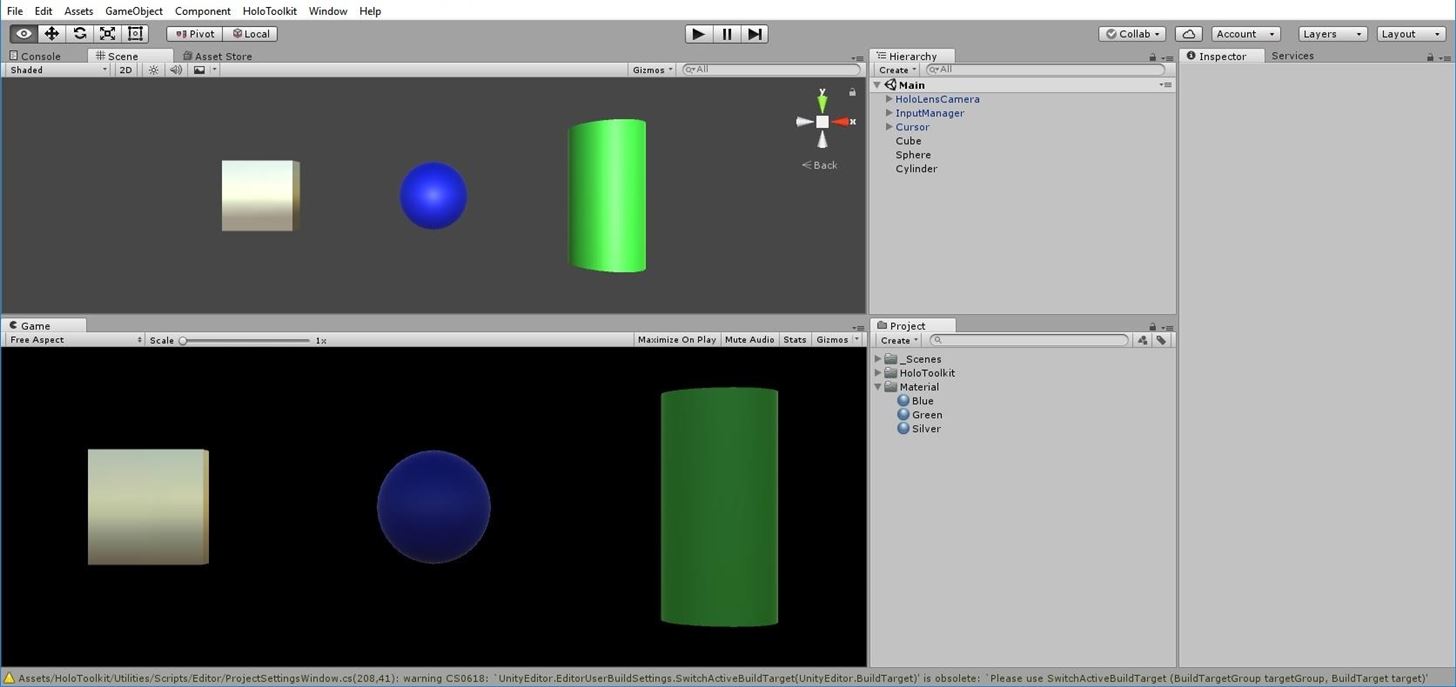
One-by-one, drag a material from the Project window and either drop it onto one of the 3D objects in the Hierarchy window or on the actual 3D object in the Scene View.
Step 4: Create Our First Script
The first script we will write will serve as the template for our other effects. We could create a base class to inherit from and/or use interfaces, but to keep the scope small and focus on our goal we will be duplicating the script and making a few small modifications for each effect.
Create a "Scripts" folder in the Project window. Right-click on the folder and then Create -> C# Script, and give this an "OnFocusColorChanger" name. The desired goal of this script is to change the color of our object over time when gazed at. When gaze is lost, we change it back. Sounds simple enough, but there are a few gotchas to getting the behavior right.
Paste in the code found here. While you can skip to the next step for instant gratification, we will be going over the key parts of the script common to the other effects as well. Worth a look over.
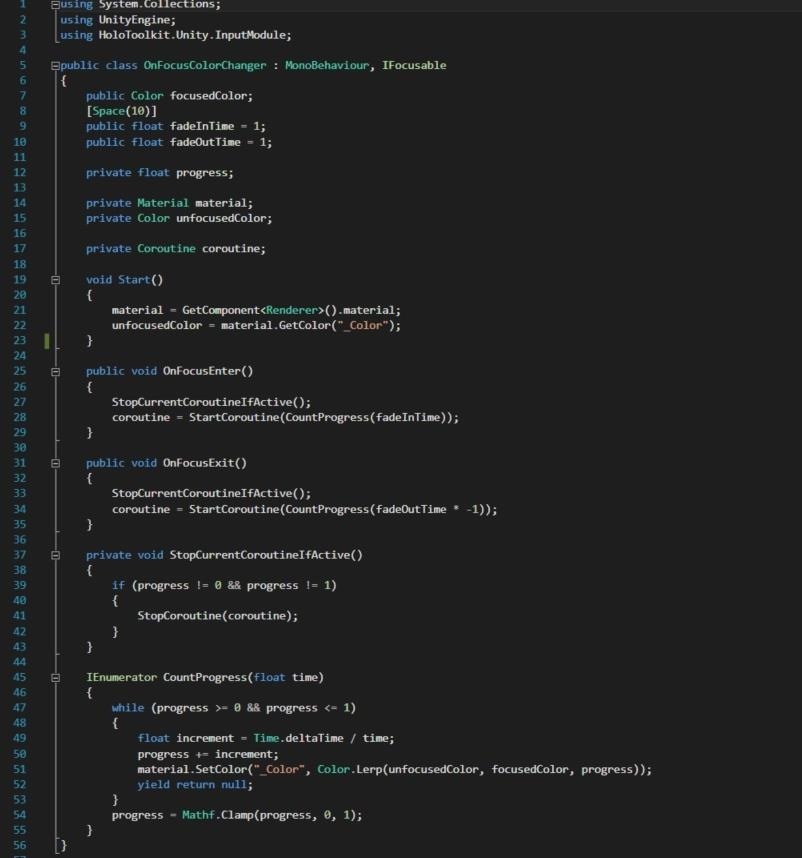
The public variables will allow you to select via the Inspector what color the object will change to when being gazed at as well as the independent transition in and out times (in seconds).
We've added the "using HoloToolkit.Unity.InputModule" to allow us access to HoloToolkit's input module. Now we can implement the IFocusable interface. That requires us to use the "OnFocusEnter" and "OnFocusExit" method, which is exactly what we want. "OnFocusEnter" gets called whenever the object associated with the script is gazed at. "OnFocusExit" is called when our gaze leaves that object.
The "progress" variable will be the main progress counter for determining where we are at with our Lerp functions. Lerping (not to be confused with LARPing), is a built-in function used to linearly interpolate between to values. The third argument (our progress) passed into a Lerp function acts as the percent between the first two arguments (our unfocusedColor and focusedColor) and is represented by a float between 0 and 1. To see this more clearly, you can set progress to be a public variable and watch in the Inspector how it "fills up" when an object is in focus and "empties" when no longer in focus.
Let's look in our "CountProgress" coroutine. When this gets called it will run until our material color equals our focusedColor (progress = 1), our unfocusedColor (progress = 0), or until we manually stop the coroutine.
Manually stopping our coroutine whenever a transition has not completed is essential for preventing bugs. For example, we look at an object and halfway before it is done turning our desired color we gaze off of it. If we didn't stop the first "CountProgress" prior to starting the second we'd have both running simultaneously. This would result in a stalemate as one coroutine would be adding to progress, while the other would be subtracting from it. We'd be stuck in our while loop and our color would remain frozen at some point in the middle.
We have another concern we must account for. Take a look at the lines:
float increment = Time.deltaTime / time;
progress += increment;
These allow us to adjust progress in either direction (by passing a positive or negative time value) while taking into account the existing progress. This is important for our use case to prevent any unintended behavior. An example of this would be if we have our fadeInTime and fadeOutTime set to five seconds. First, we gaze at the object for the full five seconds and the color changes to pink. Next, we gaze off for one second and the transition starts back the other way. If we quickly gaze back onto the object, we will notice it takes the full five seconds to go from 80% complete to 100% (progress = 1). This would be unexpected, and therefore we use the code above to prevent it.
Step 5: Add Our Script to Our Scene
Attach our "OnFocusColorChanger" script by dragging it from the Project window to our Sphere object in the Hierarchy window. With our Sphere highlighted, add values in the Inspector to our newly attached script.
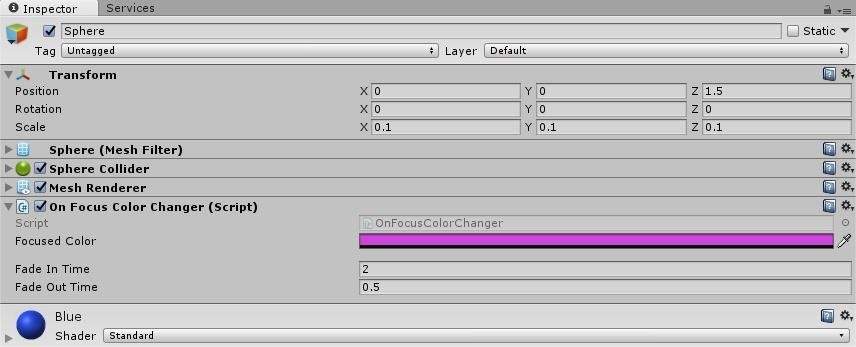
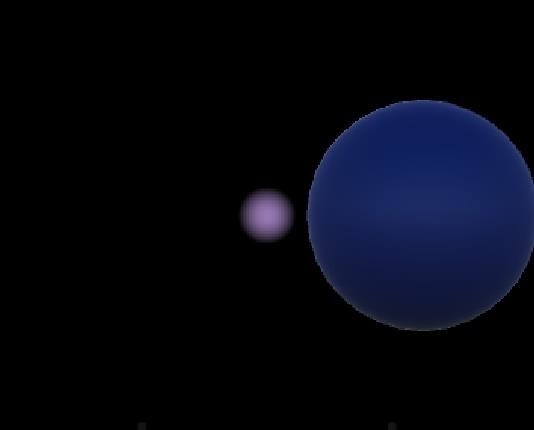
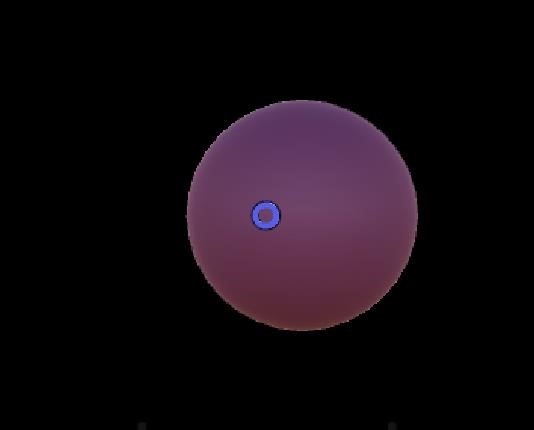
Go ahead and save and play the scene. Try moving the cursor on and off the Sphere rapidly to test for any bugs or strange behavior. We should see nothing but spicy UI in front of us at this point.
Step 6: Add Bonus Scripts!
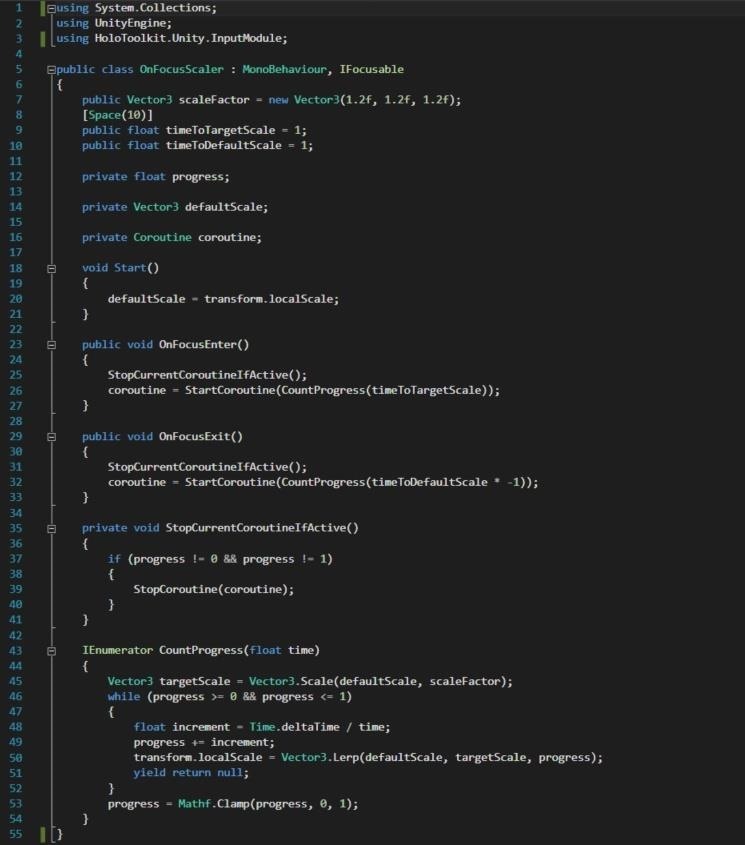
You bought one script, but I'm throwing in two more absolutely free! No strings attached or easy payments necessary. Create a new script and give it an "OnFocusScaler" name. Paste in the code found here. Save it and add it to your Cylinder GameObject. In the Inspector, set your values.
Now create another script called, "OnFocusRotator" and add this code. After saving, attach this to your Cube. Don't forget to adjust your values in the Inspector.

Made it! Now we can play the scene and see how each of our objects react to gazing. If all is working, go ahead and deploy to your HoloLens.
Once you've gotten a little time to see the basic effects in action, you can really experiment. Try adding two scripts on the same object. Or spinning off a few new effects using the formulas in these scripts. Get crazy creative by applying Lerp functions to sounds or movement.
Adding a few little touches like friendly, less rigid UI can make the world of difference when it comes to first impressions with our apps. Many of our stakeholders will never truly appreciate all the work under the hood, but with a small investment of effort, we can add the icing on our cakes to garner immediate and lasting attention. In the end, these low hanging fruits can have a big impact on the reception our apps receive and our bottom lines. Time well spent.
We would love to see UI effects you have created. Please share, along with any questions, feedback, or development quirks you'd like to learn about in the comments below. Cheers!
Just updated your iPhone? You'll find new emoji, enhanced security, podcast transcripts, Apple Cash virtual numbers, and other useful features. There are even new additions hidden within Safari. Find out what's new and changed on your iPhone with the iOS 17.4 update.


1 Comment
Hello, Thank you for the tutorial but I am having a problem. I implemented the OnFocusColorChanger but it doesn't always work and by that i mean that the object change color a couple of times but then I doesn't work. Can you please help ?
Thank you in advance.
Share Your Thoughts