
Alright, let's dig into this and get the simple stuff out of the way. We have a journey ahead of us. A rather long journey at that. We will learn topics ranging from creating object filtering systems to help us tell when a new object has come into a scene to building and texturing objects from code.
But, before any journey, we need to get prepared.
There have been some issues with versions of software and SDKs over the last few weeks, which has caused downtime for more than a few developers I know. Hopefully, by the time you are working on this series, all of those issues are cleared up, but for now here is what I recommend:
- Download and install Visual Studio 2017 and do not update to the .3 version.
- Download and install Unity 2017.1.0p5.
Alright, if these are in and working, you should be good to go.
Step 1: Install the MixedRealityToolkit-Unity
Now all that is left is installing the MixedRealityToolkit-Unity (MRTU). This is a toolset that Microsoft and the Windows Mixed Reality developer community have built up for the last year and a half, and it really does a great job of making certain elements of mixed reality development simple.
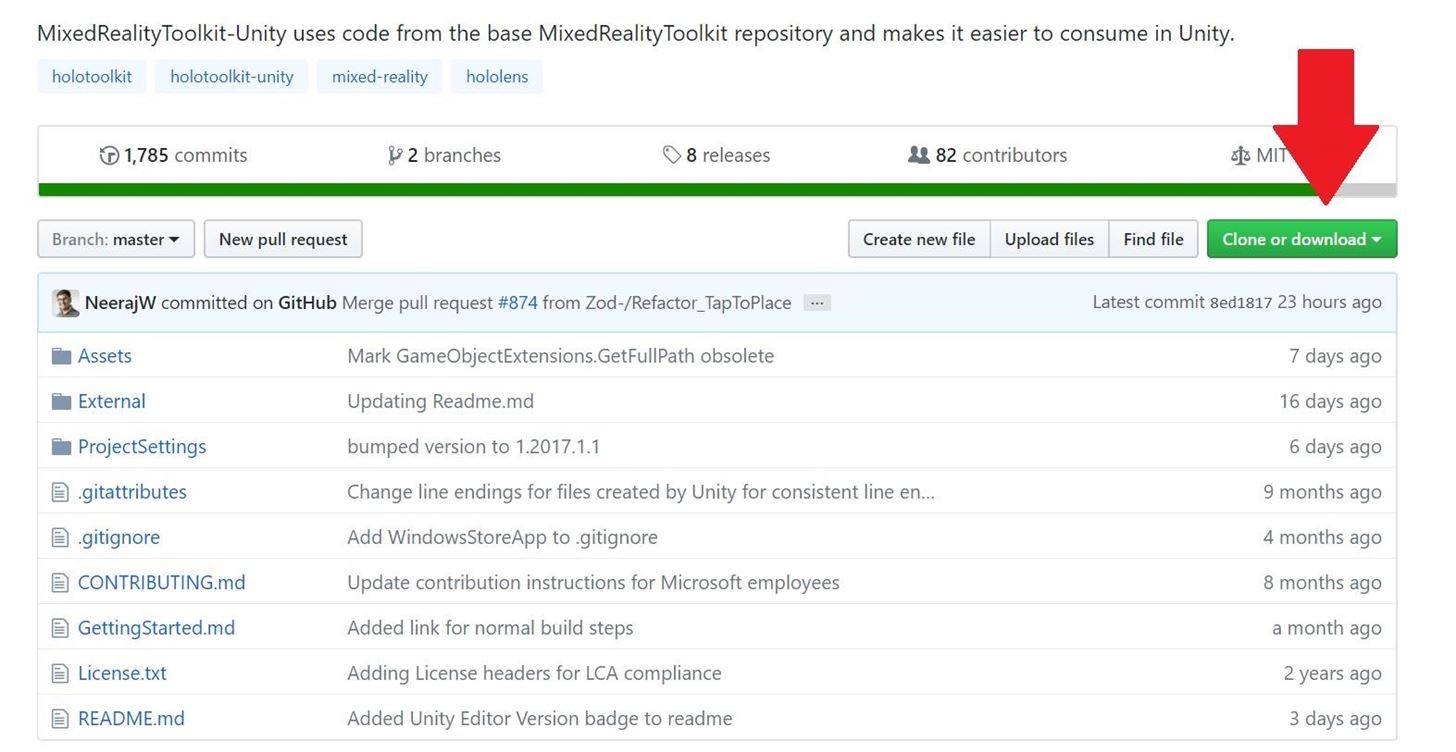
To download MRTU first go to the GitHub repository and click on the "Clone or download" button.
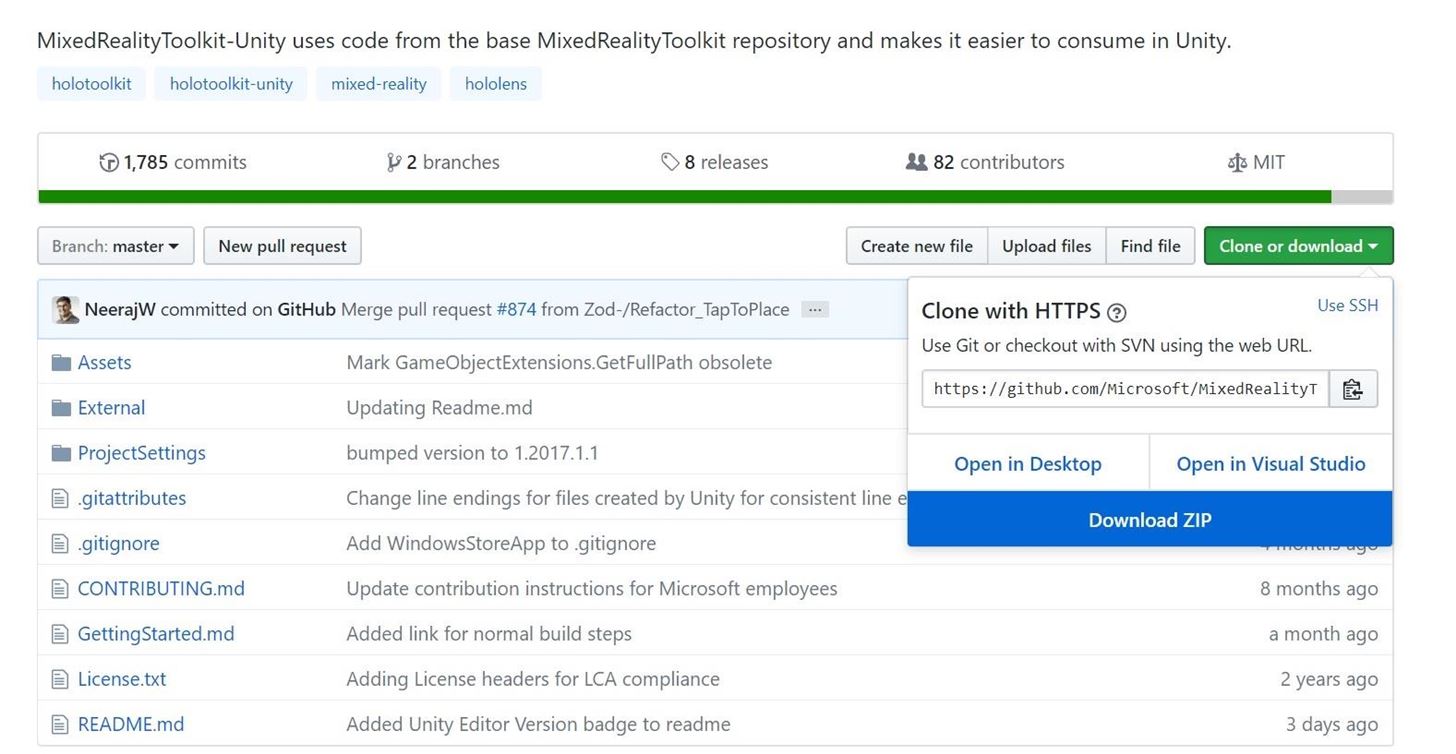
A small context menu will open up. Select the "Download Zip" option.
Once the download is complete, open up the zip and drill into the MixedRealityToolkit-Unity -> Master -> External -> Unity packages directory.
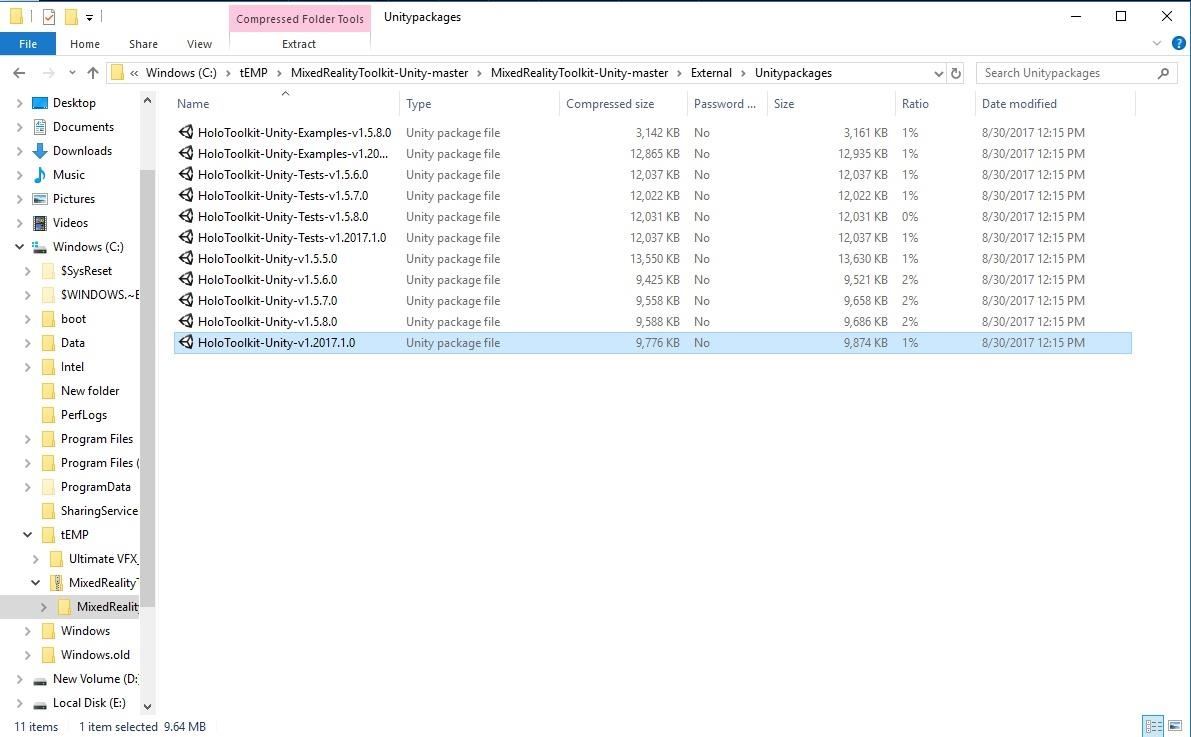
Make sure you already have Unity open and double-click the "HoloToolkit-Unity-v.1.2027.1.0" Unity package file.
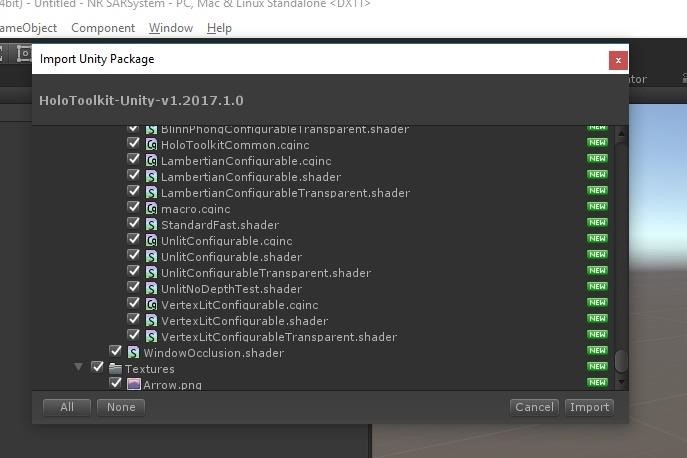
Click the "All" button and then Click on "Import." Unity will begin doing a bunch of work which can take a few minutes.
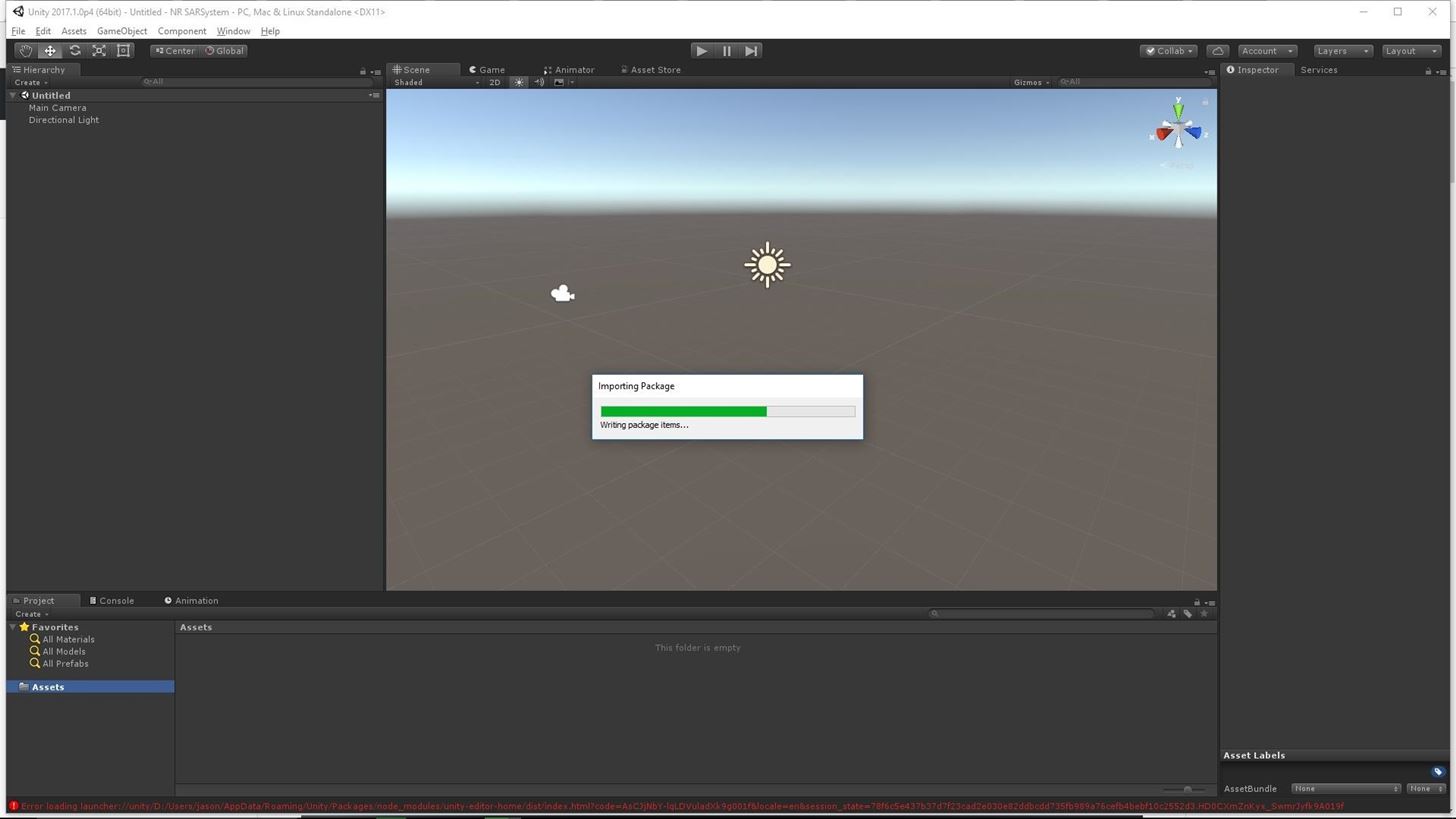
Once it reaches the end of that progress bar, MRTU is installed and we are ready to go.
Step 2: Set Up the Prefabs
Now we need to take a few of the components from our freshly installed MRTU and get our scene setup. We are going to create a HoloLens specific camera system, an input manager, and a cursor. No coding is necessary. Really, it is as easy as drag and drop.
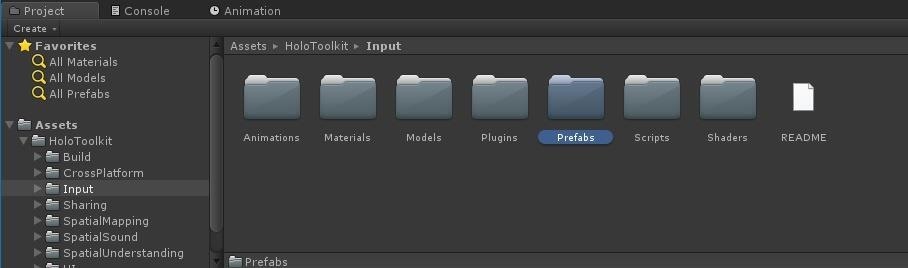
First up, look in your "Project" view and open up the "HoloToolkit" directory. Then open up the "Input" directory.

Next, open up the "Prefabs" directory.
You should now see the following prefabs and a "Cursor" directory.
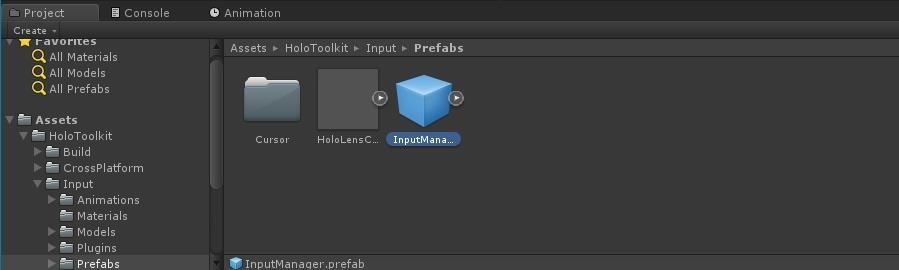
Drag both the InputManager and HoloLensCamera into your "Hierarchy" view.
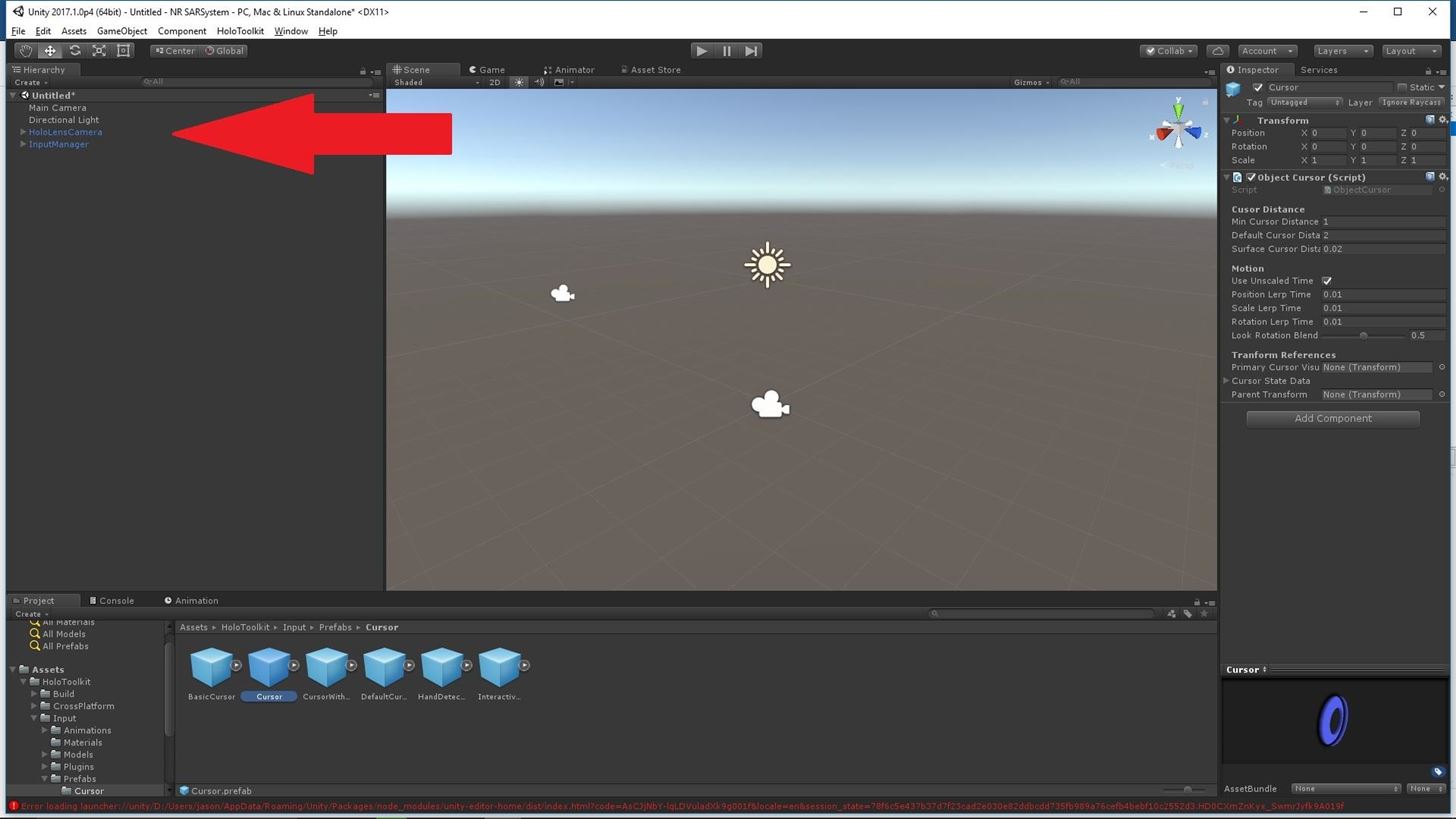
Now open the Cursor folder by double-clicking it, then drag and drop the Cursor prefab it into the "Hierarchy" view as well.
Step 3: Prepare Unity for Export to the HoloLens
Now that we have our starting scene ready to go, we need to complete a few more steps to help Unity get our application to our HoloLens. Fortunately, for us, the MRTU simplifies this as well.
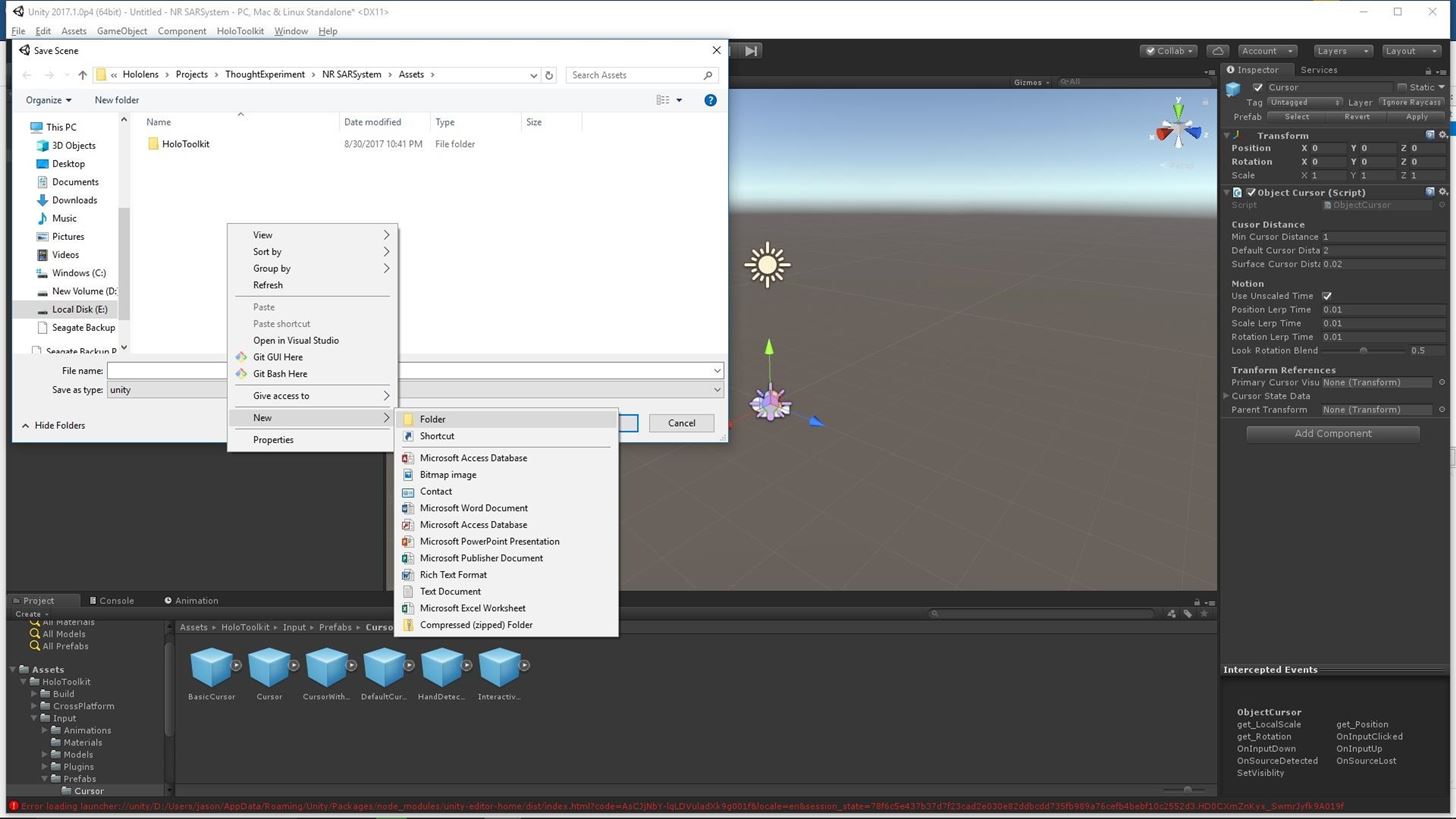
First up, click "File" and "Save Scene As" from the main menu. Right click in the Assets folder and create a new folder called Scenes. Now, let's save our scene file in that folder, calling it MainScene.
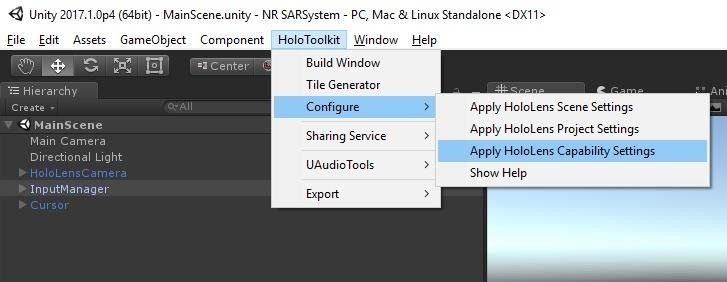
Now, click on the "HoloToolkit" option in the main menu, click on the "Configure" heading, and click on the "Apply HoloLens Capability Settings."
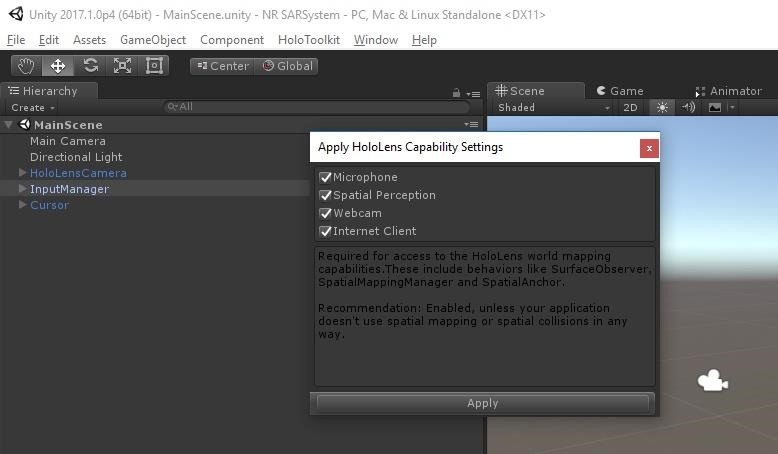
When the Apply HoloLens Capability Settings box appears, click and select all four options: Microphone, Spatial Perception, Webcam, Internet Client. Then, hit the "Apply" button.
Next, in the same HoloToolkit -> Configure menu, click on "Apply HoloLens Project Settings."
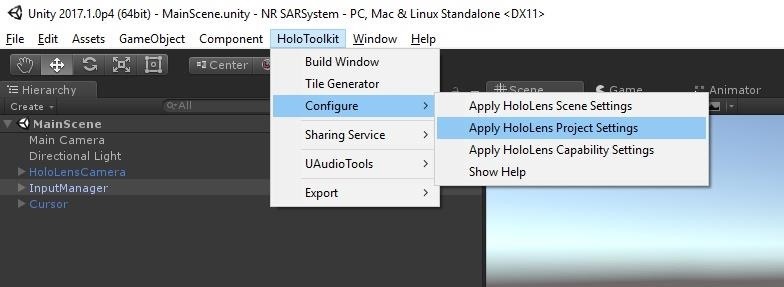
Make sure that all four check boxes are selected and hit the "Apply" button. When the "Project reload required!" window appears, select "Yes."
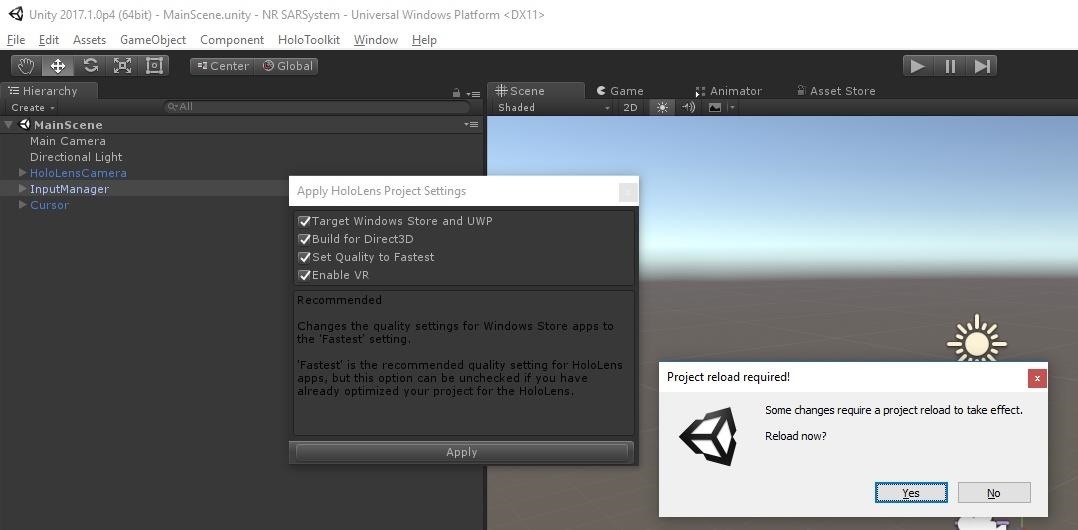
Once Unity has gone through the reload process, we are ready to really begin this new adventure.
Next, we will design a system that knows when a new object has entered the scene.
Just updated your iPhone? You'll find new emoji, enhanced security, podcast transcripts, Apple Cash virtual numbers, and other useful features. There are even new additions hidden within Safari. Find out what's new and changed on your iPhone with the iOS 17.4 update.


Be the First to Comment
Share Your Thoughts