
One of the biggest bummers about Netflix is the inability to create different lists for your favorite movies and TV shows. Instead, you're only able to lump titles into the single default "My List," and that can be impossible to browse. It doesn't separate titles into categories or genres, and titles are arranged for you automatically, so there's not much room for customization.
Netflix Lists, by developer Ajhad, is a shortcut that allows you to create multiple Netflix lists on your iPhone. Instead of a hodgepodge of documentaries, reality series, Hollywood blockbusters, and addictive TV shows, you can separate your favorite films and series into dedicated lists.
After creating your lists, you can use them to easily play your Netflix titles without having to search or hunt for them on Netflix first. Best of all, you can share your favorite lists with friends and family when they ask you for recommendations about what to watch. The only downside here is that you won't be able to tell when a title is removed from Netflix, but that's actually a good thing since you won't forget the movies or series even existed.
Step 1: Add the Shortcut to Your Library
The Netflix Lists shortcut is available to download from Ajhad's RoutineHub page or the direct link below. It's recommended that you get the shortcut via RoutineHub so that you're always getting the most up-to-date version of Netflix Lists. The shortcut requires the Shortcuts app, which is on your iPhone by default, but if you've deleted it, you can reinstall it from the App Store.
- RoutineHub Link: Netflix Lists - Create and Play (free)
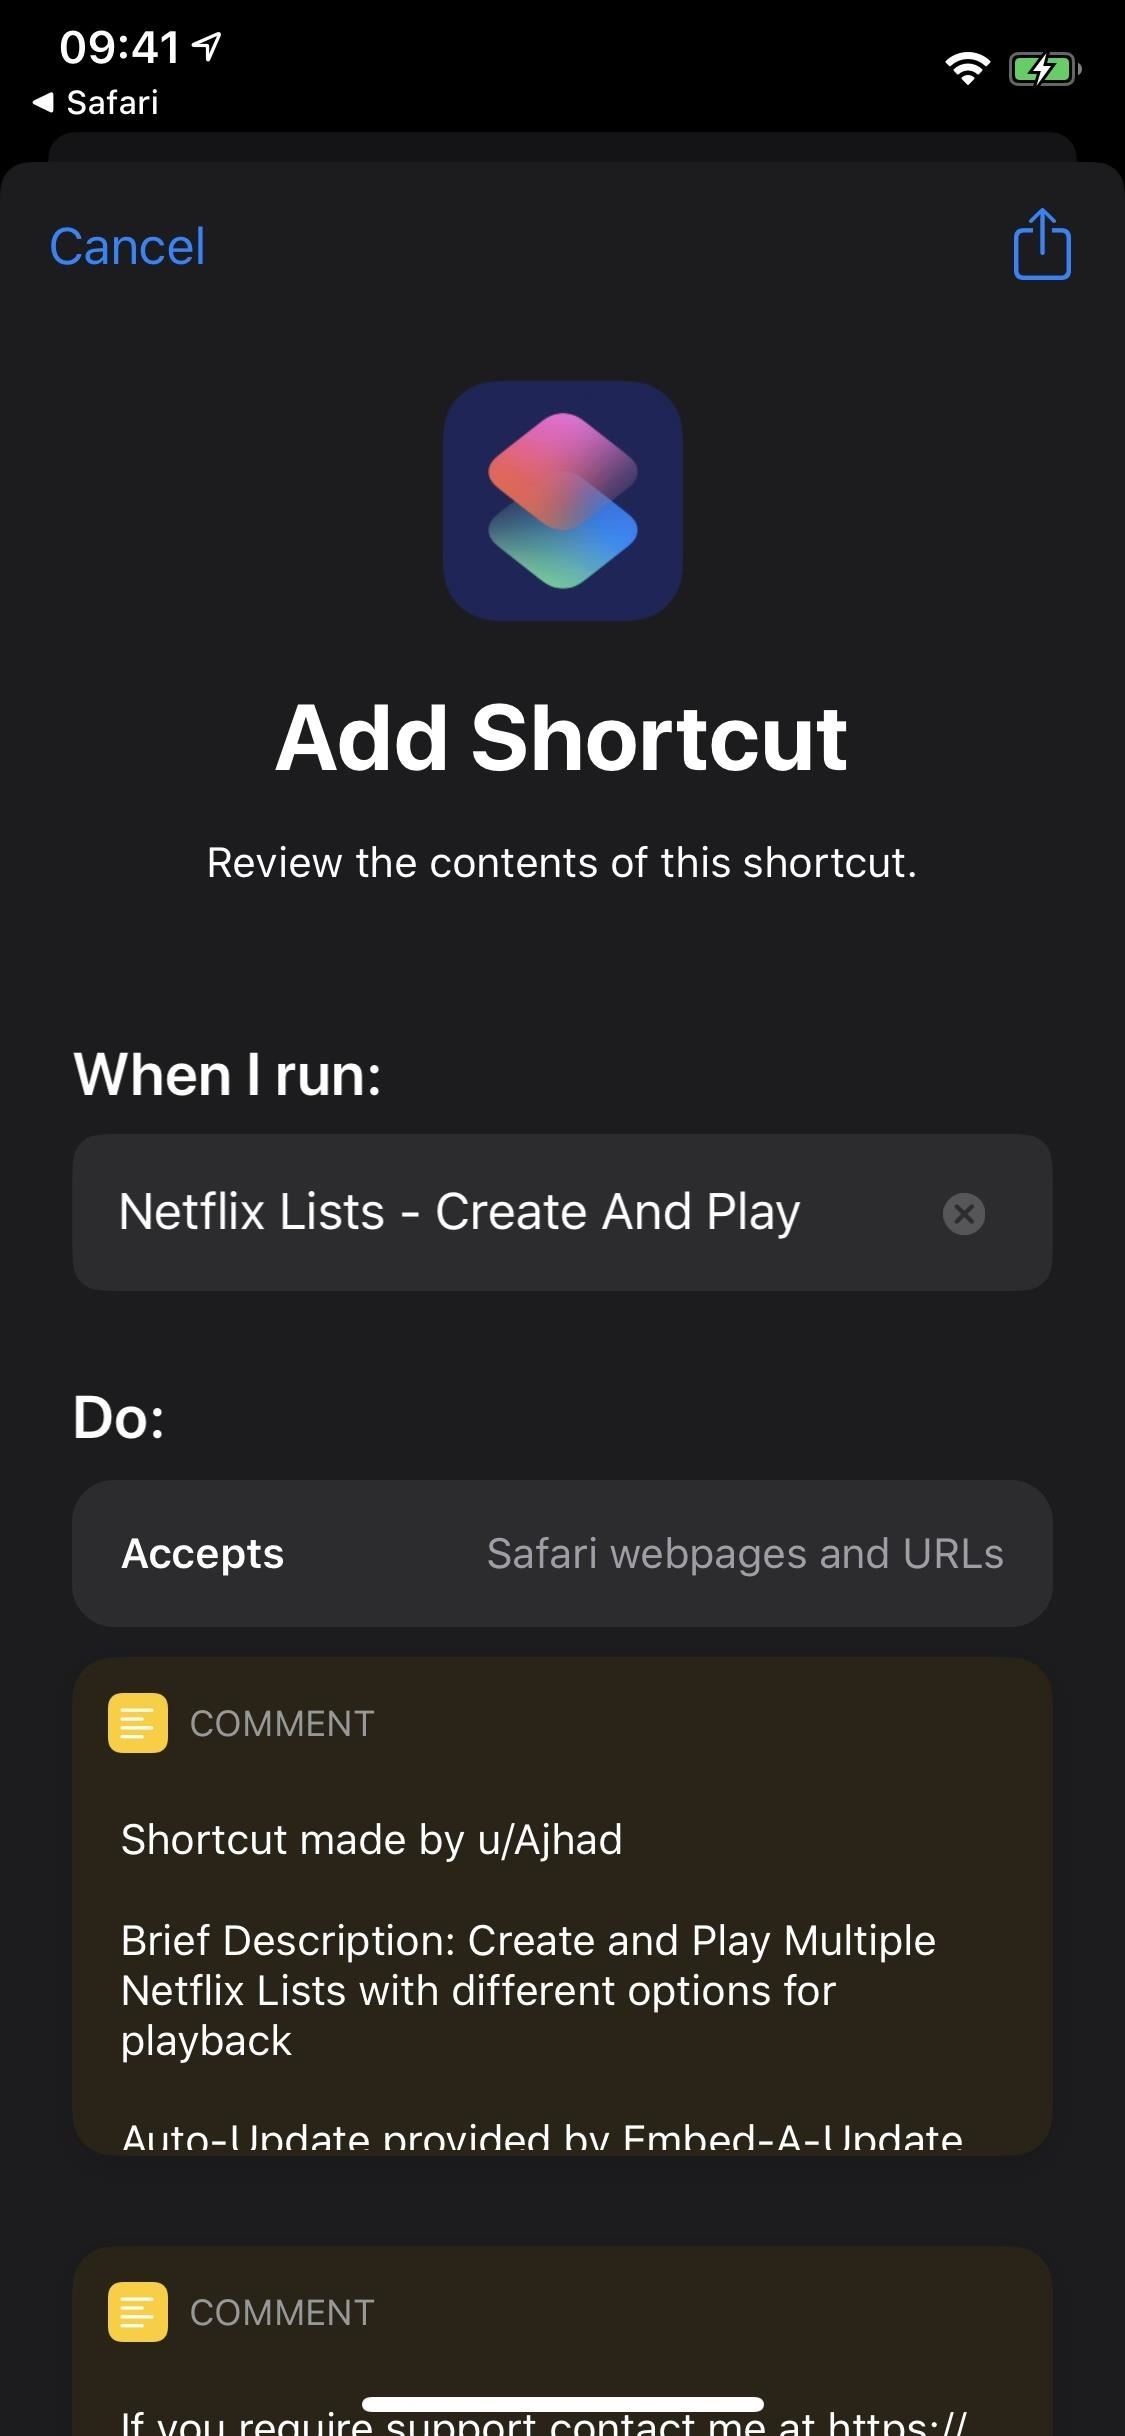
Once you've opened the link, tap "Get Shortcut" on RoutineHub to open it in your Shortcuts app. On the Add Shortcut page that opens, review the workflow for the shortcut to make sure it's something you're comfortable using, then tap "Add Untrusted Shortcut" at the very bottom. If you haven't already done so, you may need to "Allow Untrusted Shortcuts" via Settings –> Shortcuts before adding it.

Step 2: Add a Film or TV Series to the Default List
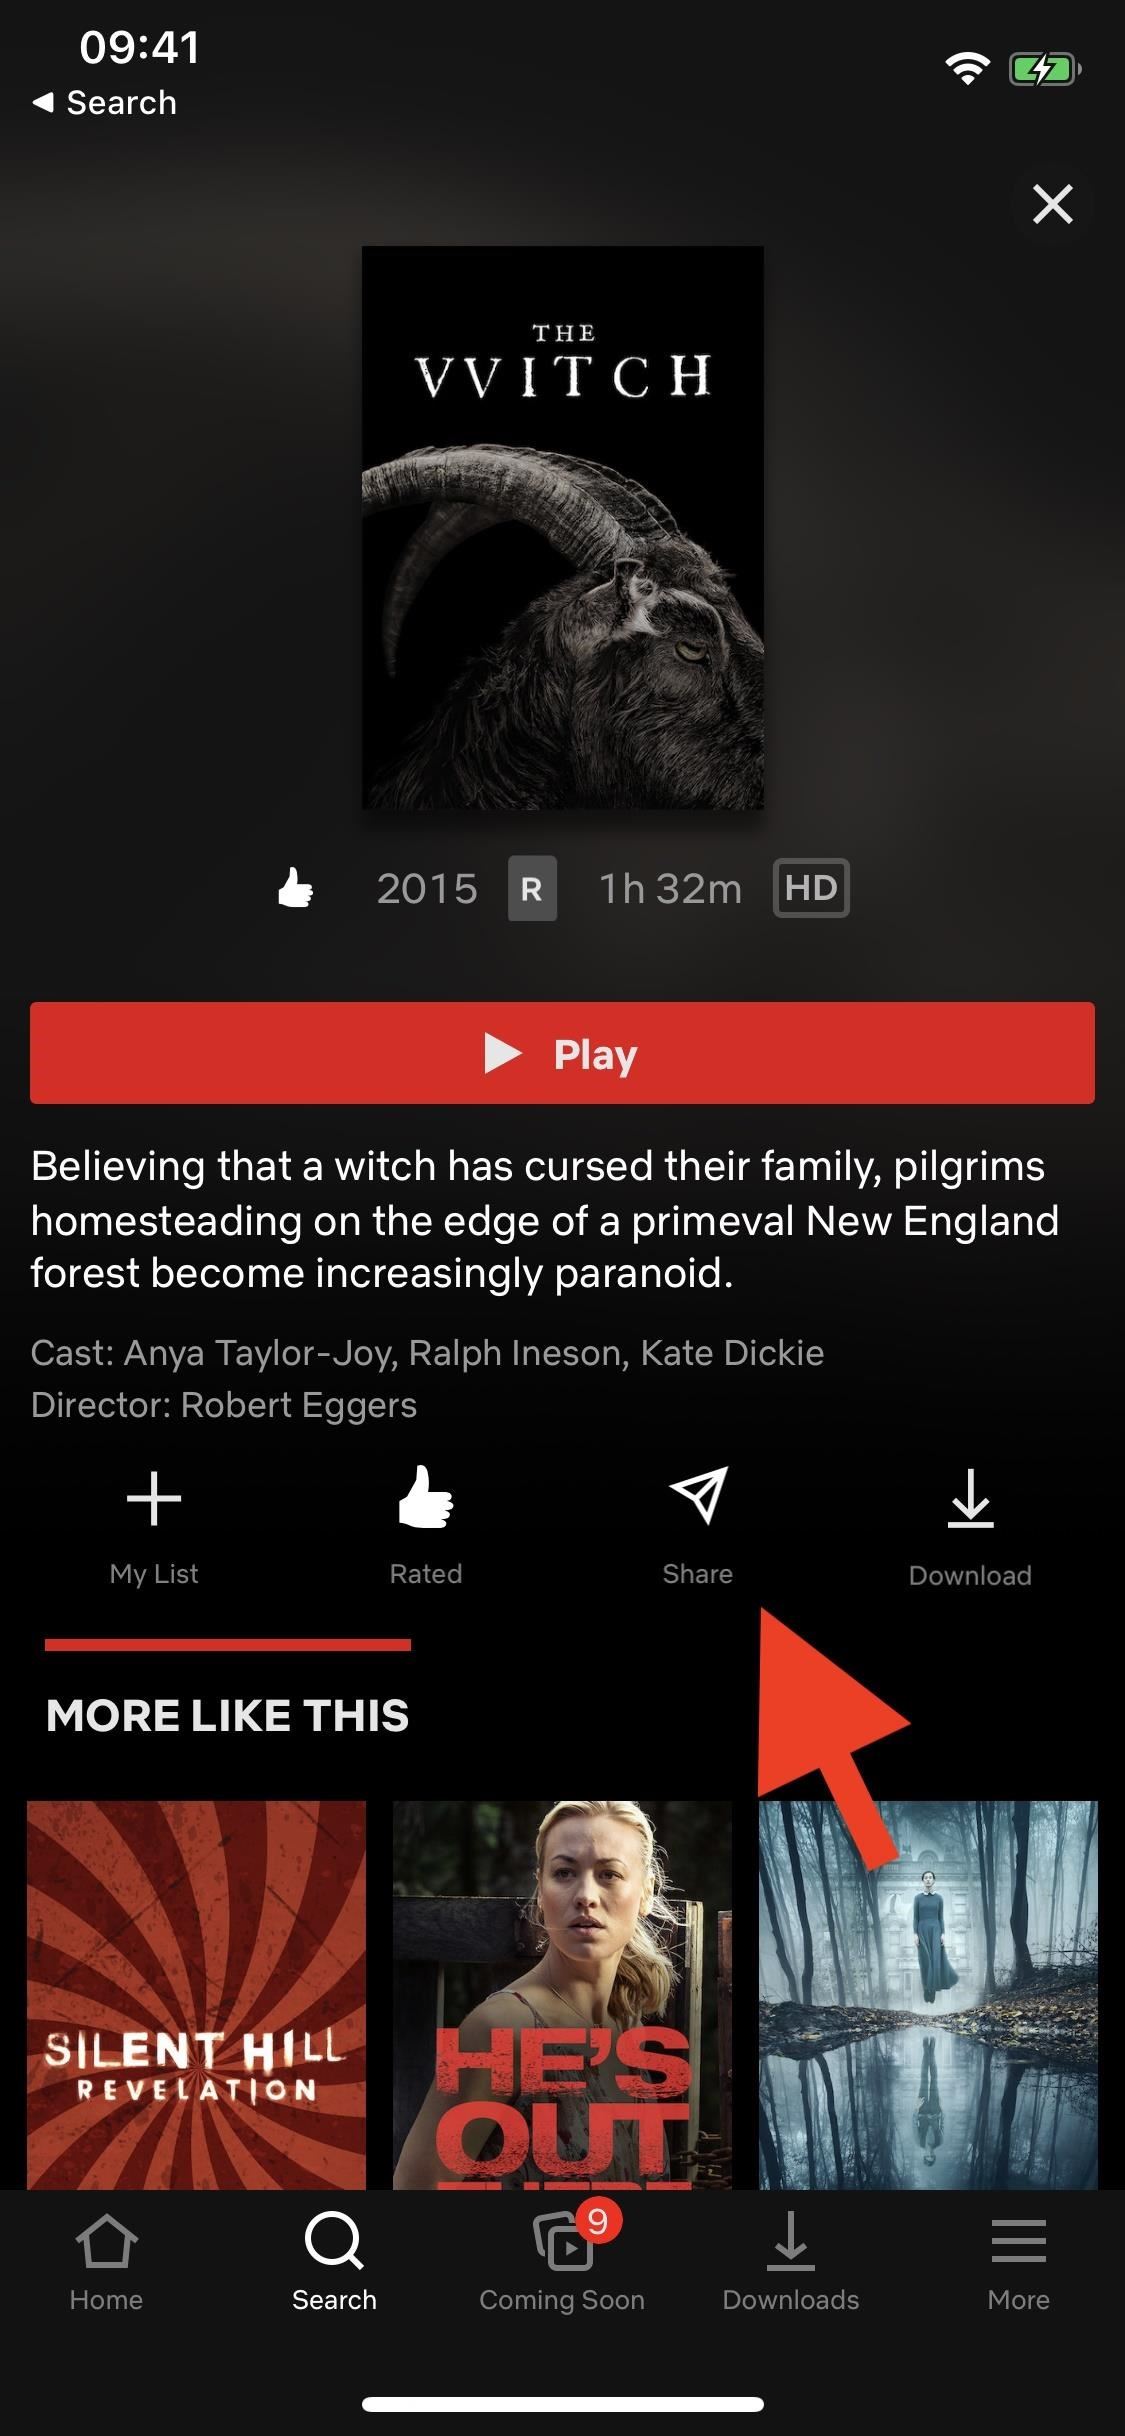
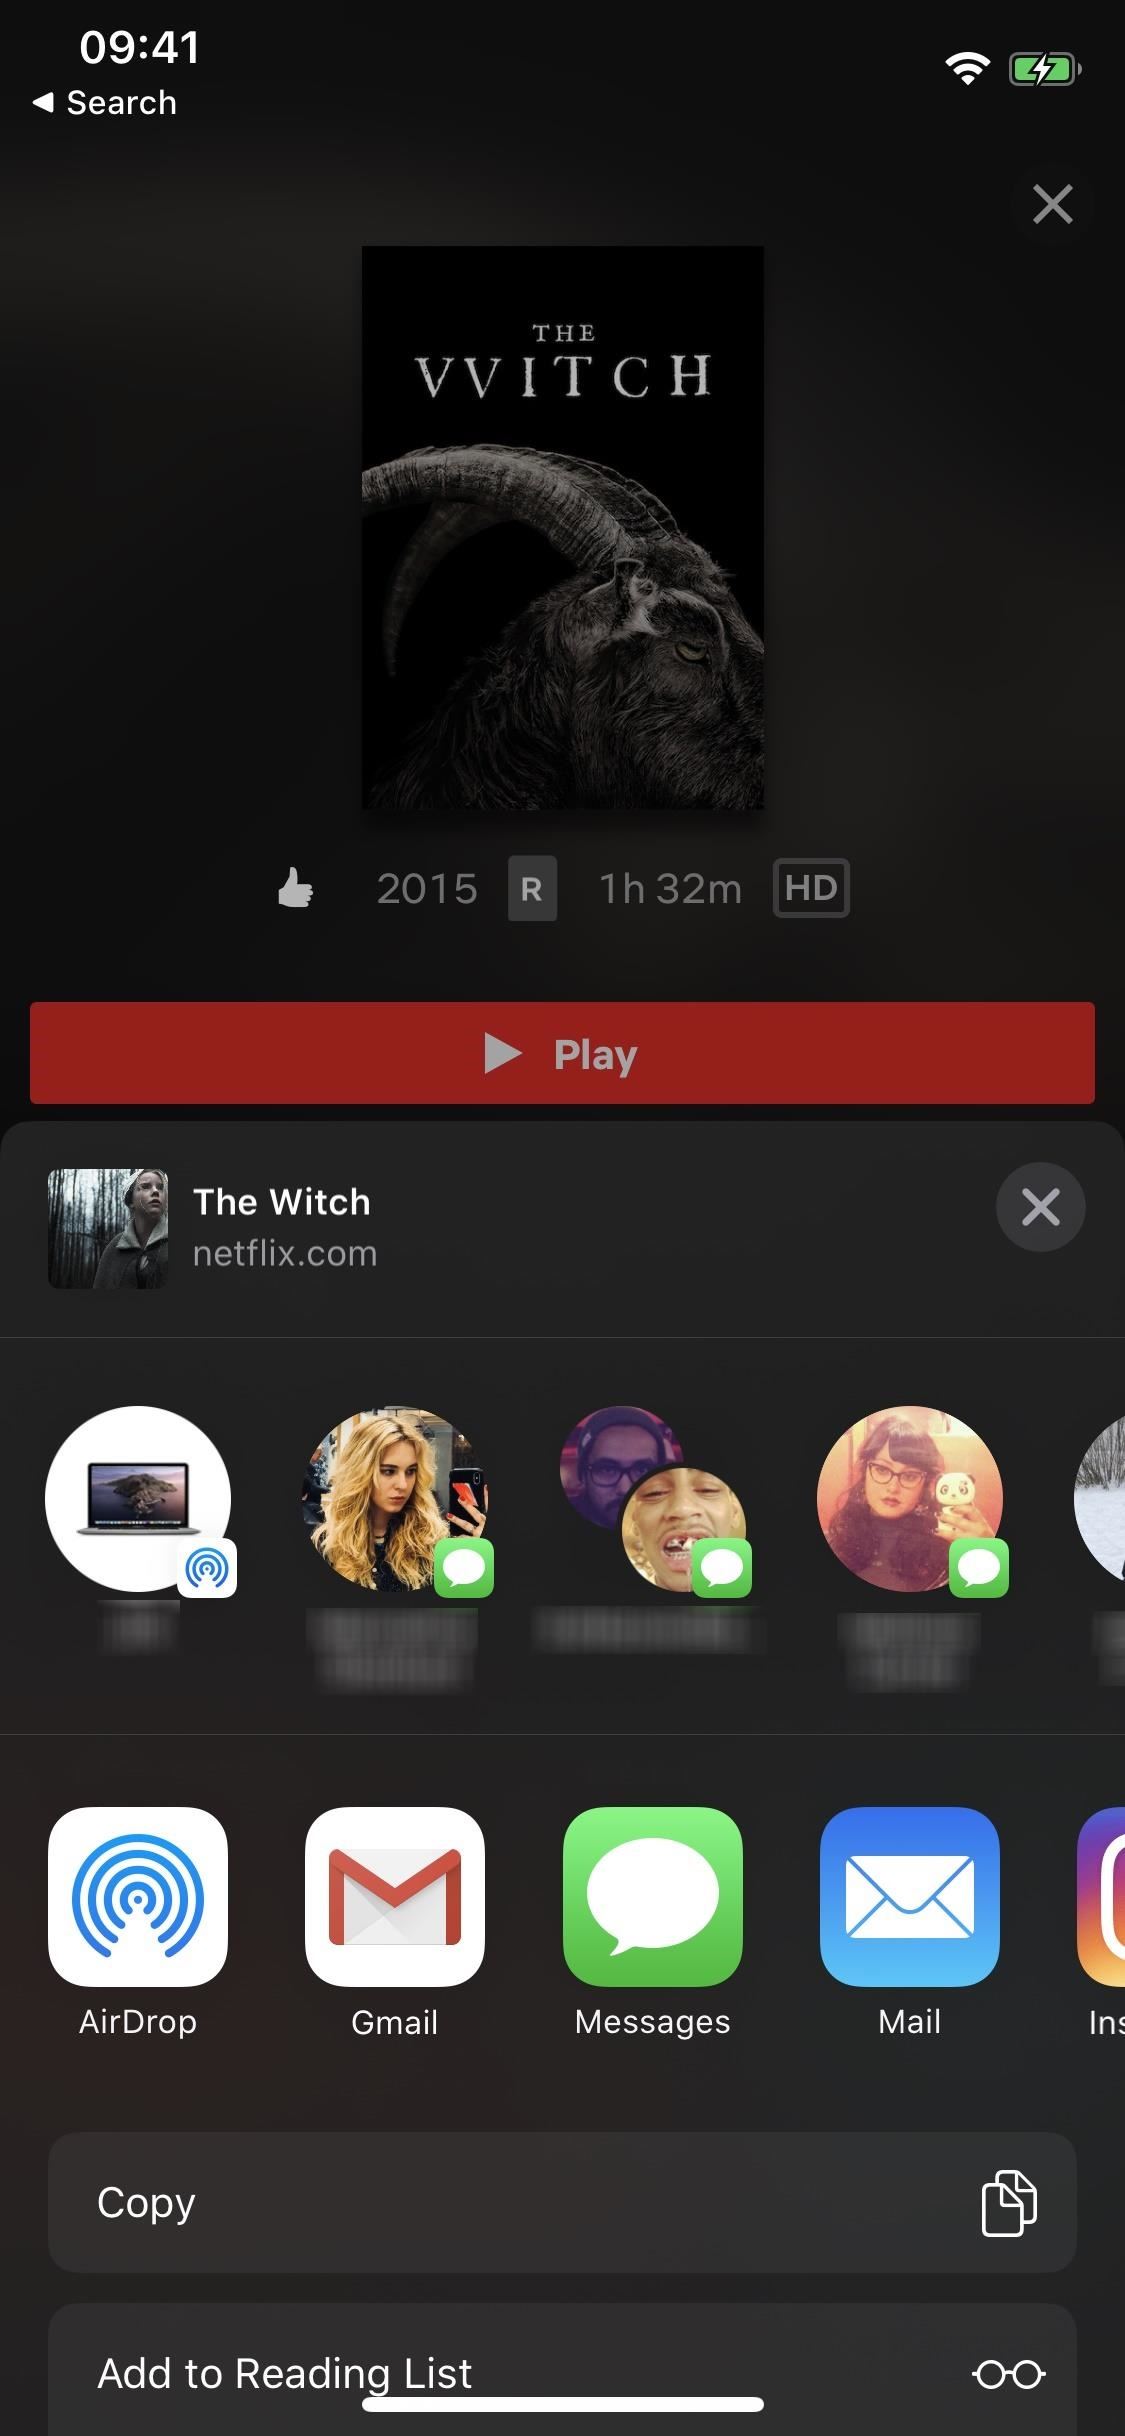
Now, it's time to create your first Netflix list with the shortcut, which you can do from within the official Netflix app directly. In the app, search or browse for a title to add (going to your "My List" is an obvious place to look), tap on it to view more information about it. To add it to a list, tap on "Share," then "More Options."
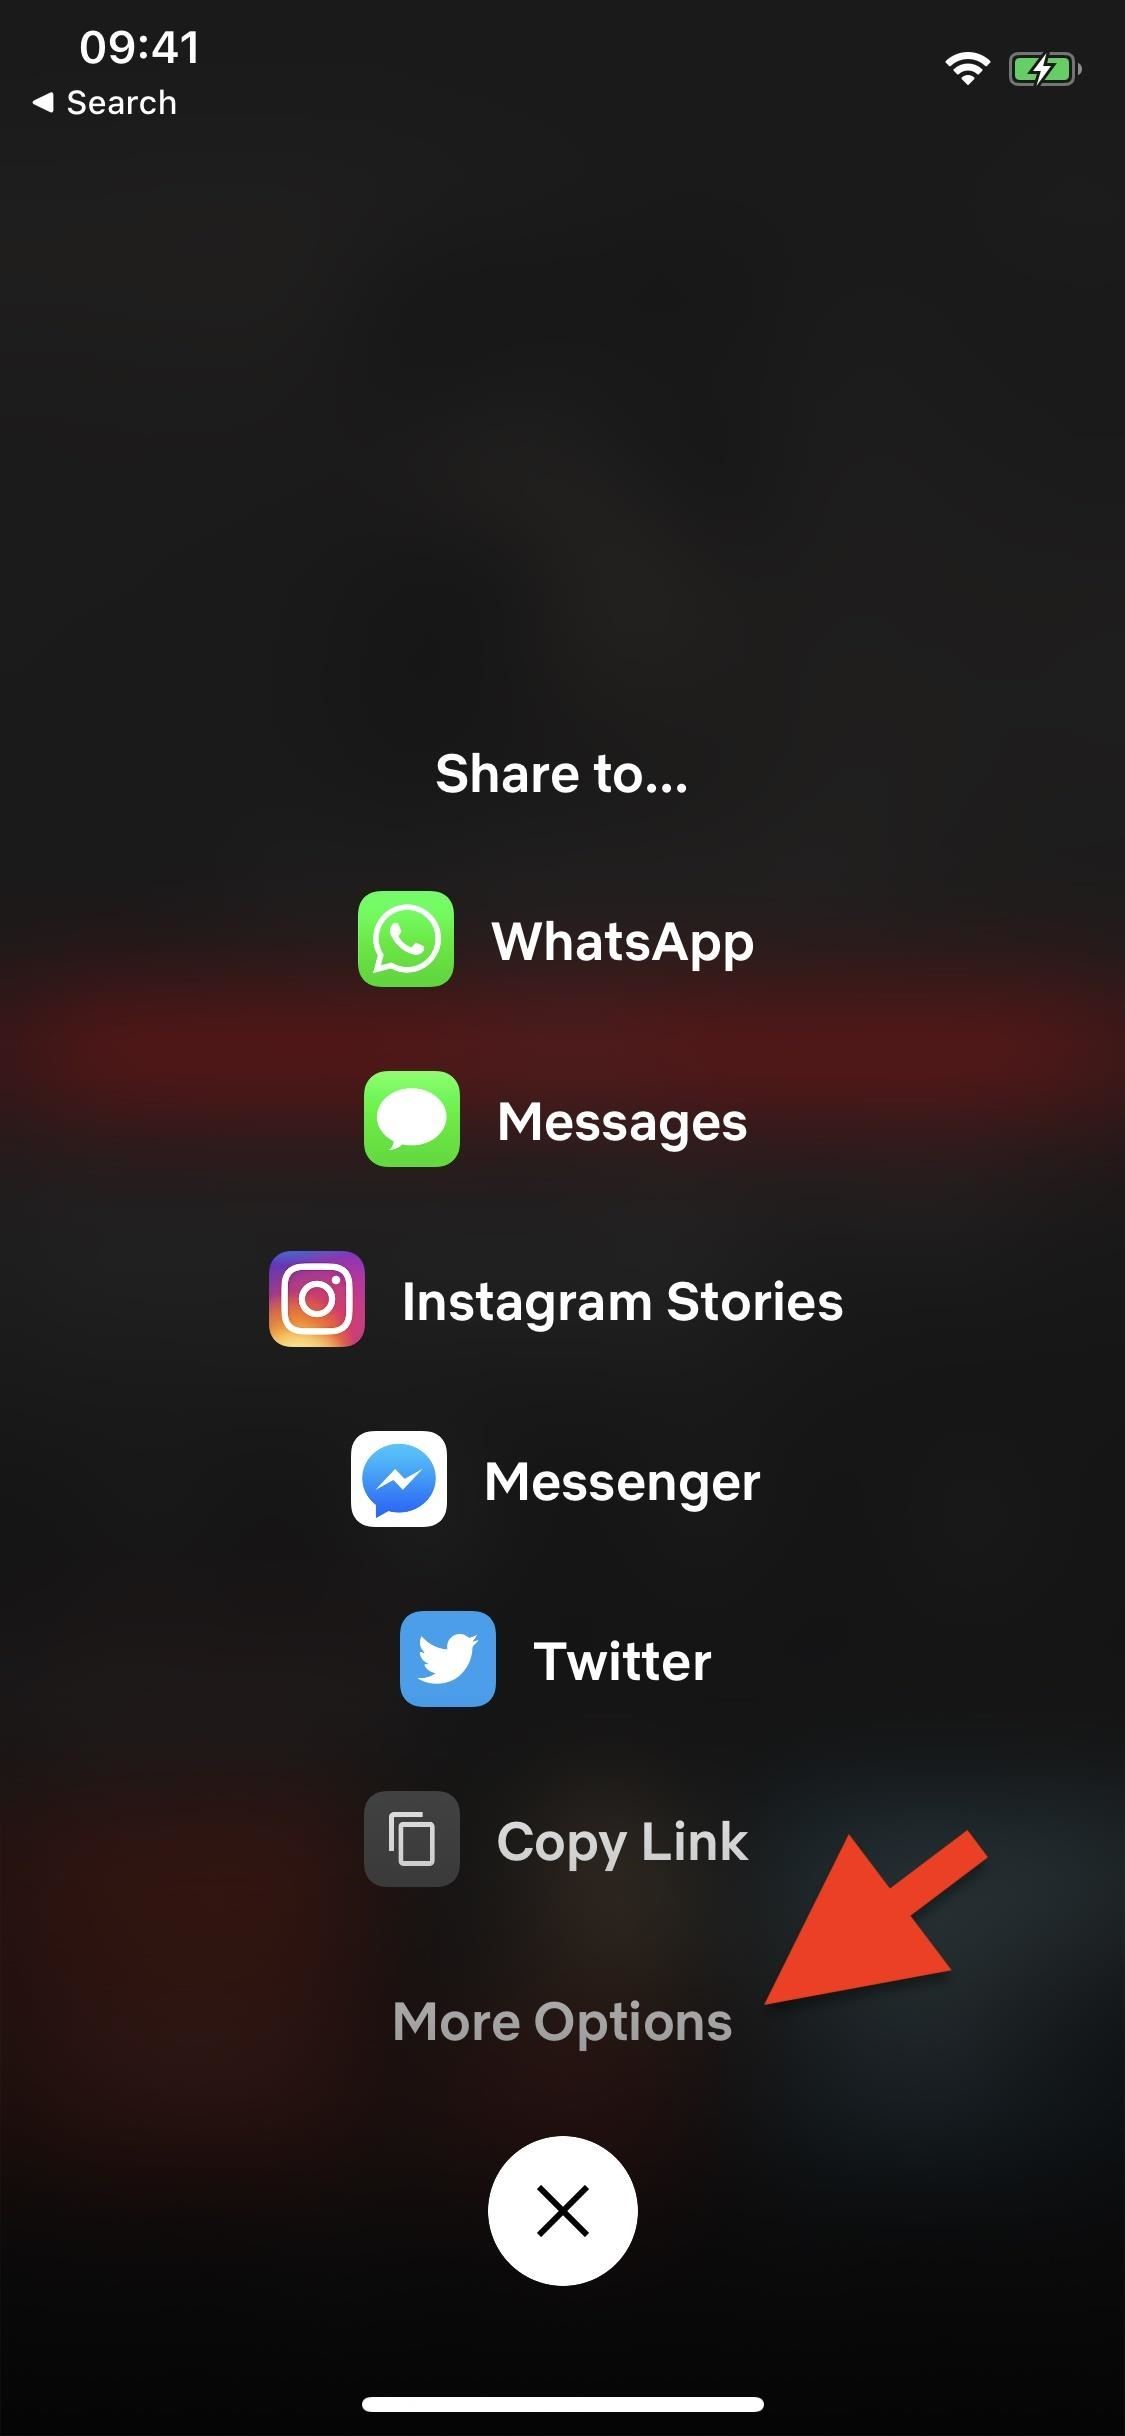
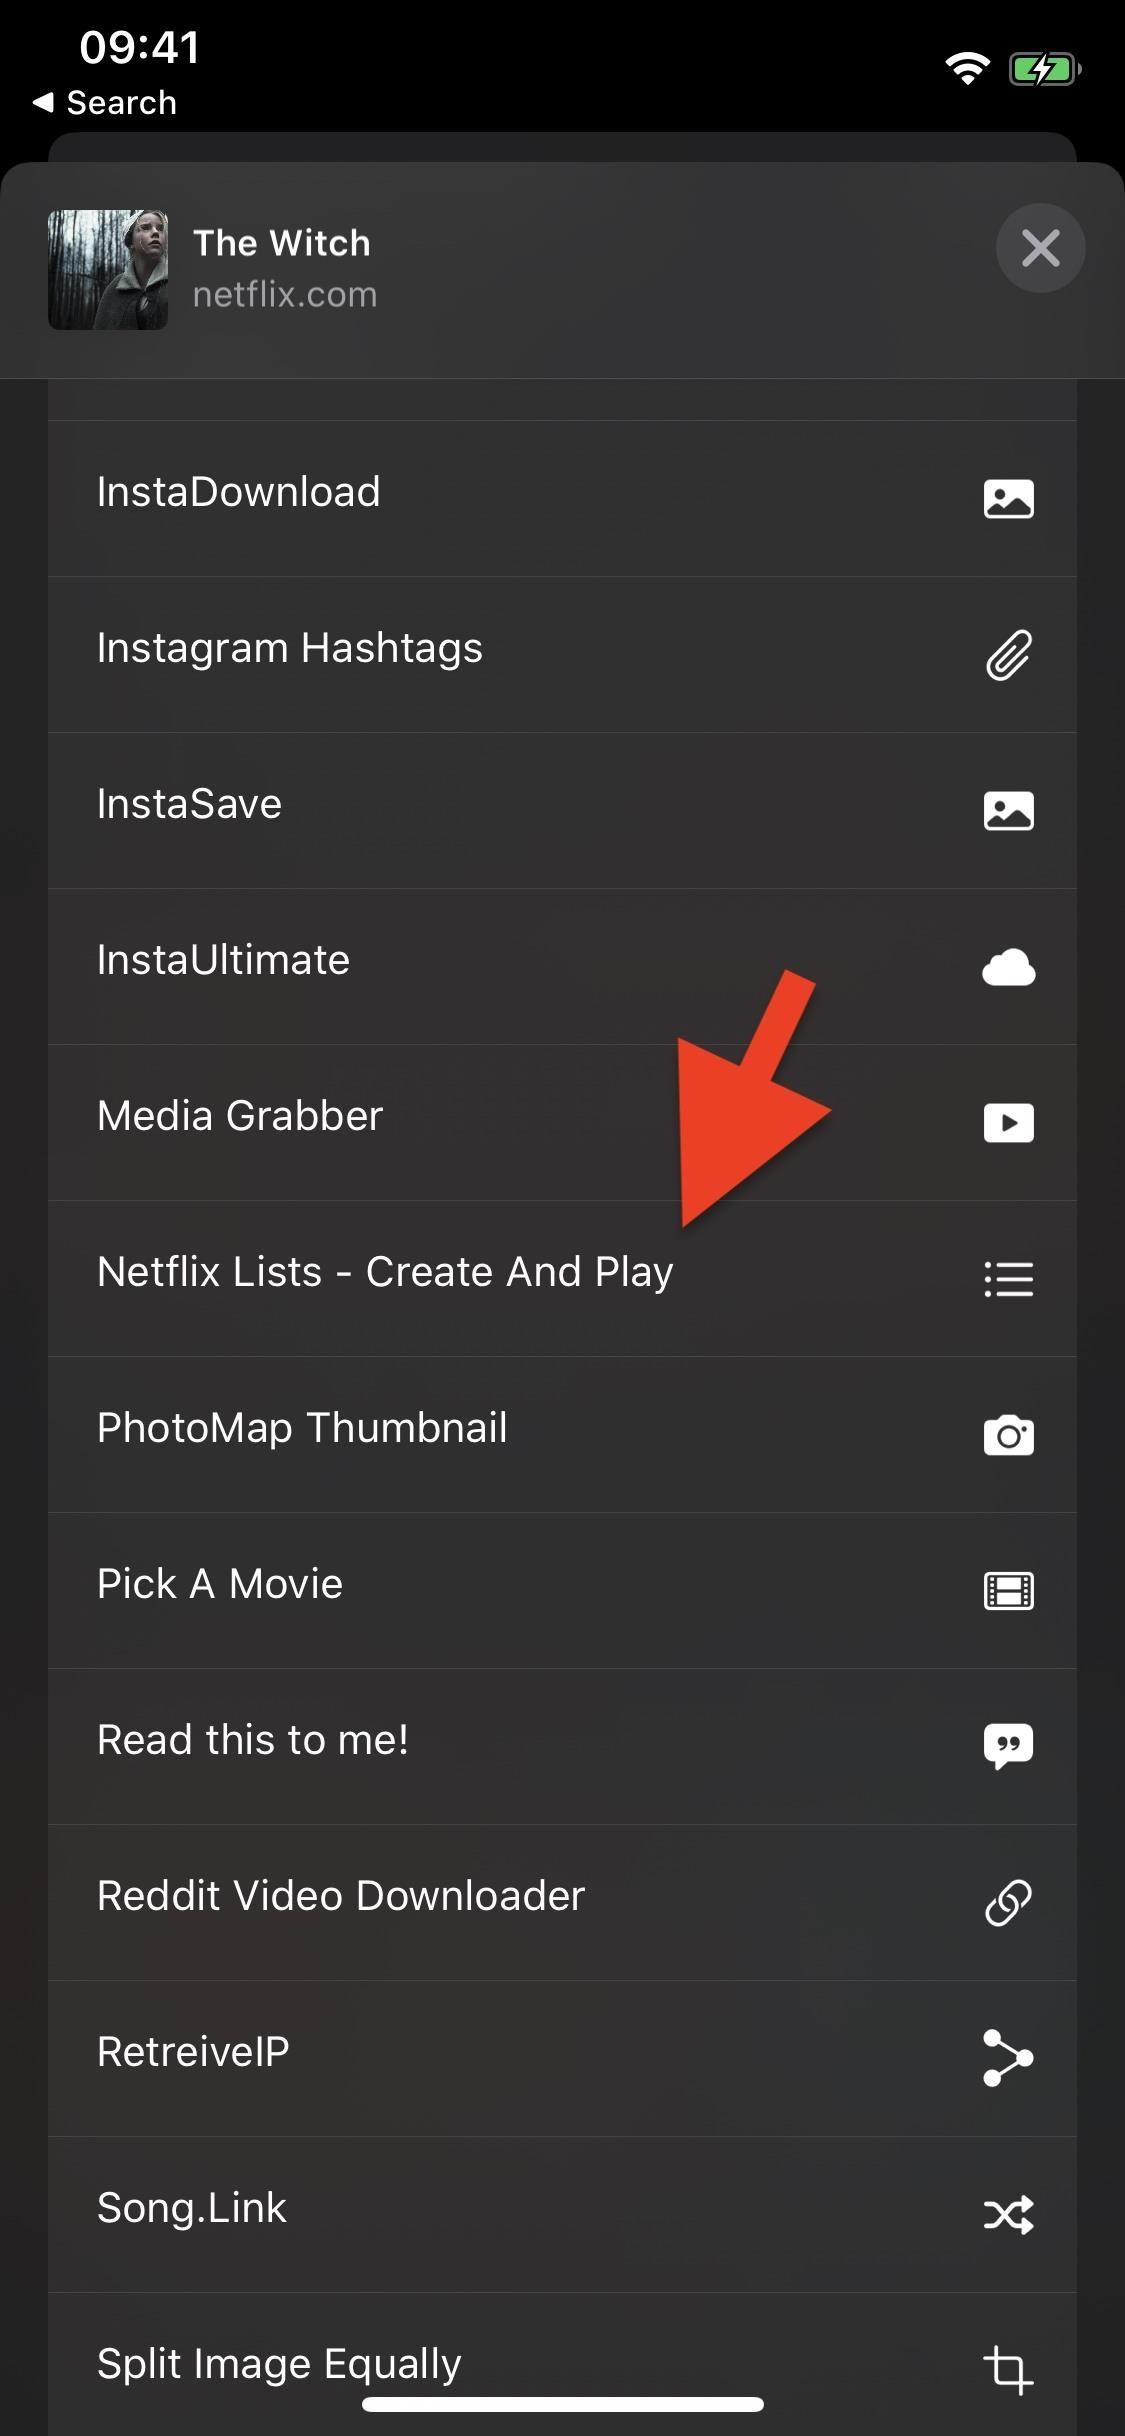
In the share sheet, scroll down, find the Netflix Lists shortcut, and tap it.
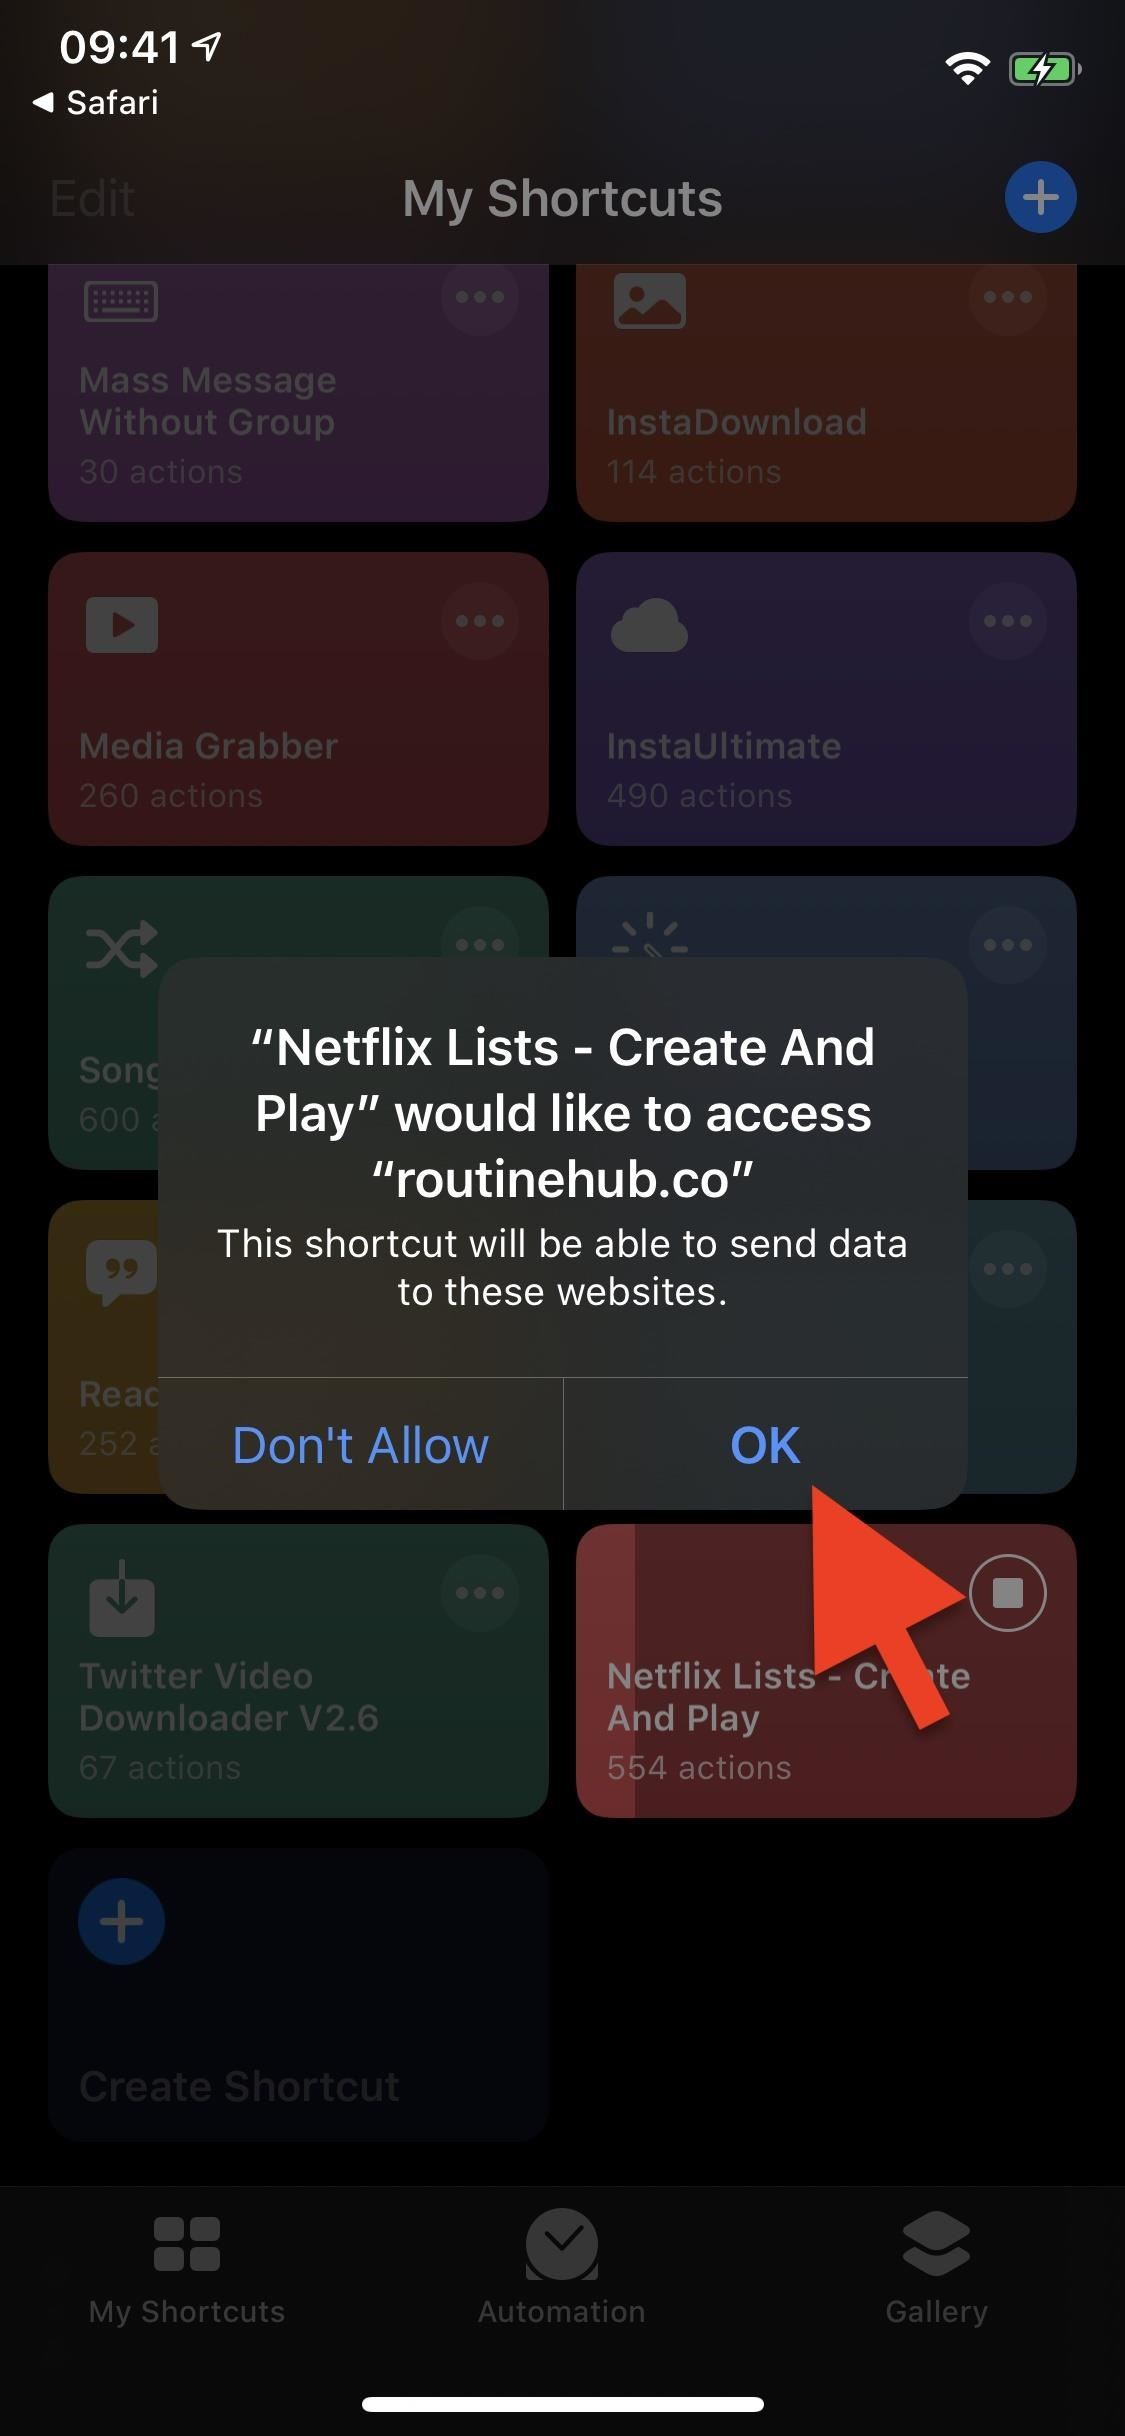
The first time you use the shortcut, you'll be asked to grant it access it several things on your iPhone, such as iCloud Drive (where the lists are stored) and other shortcuts. Tap "OK" on all the prompts.
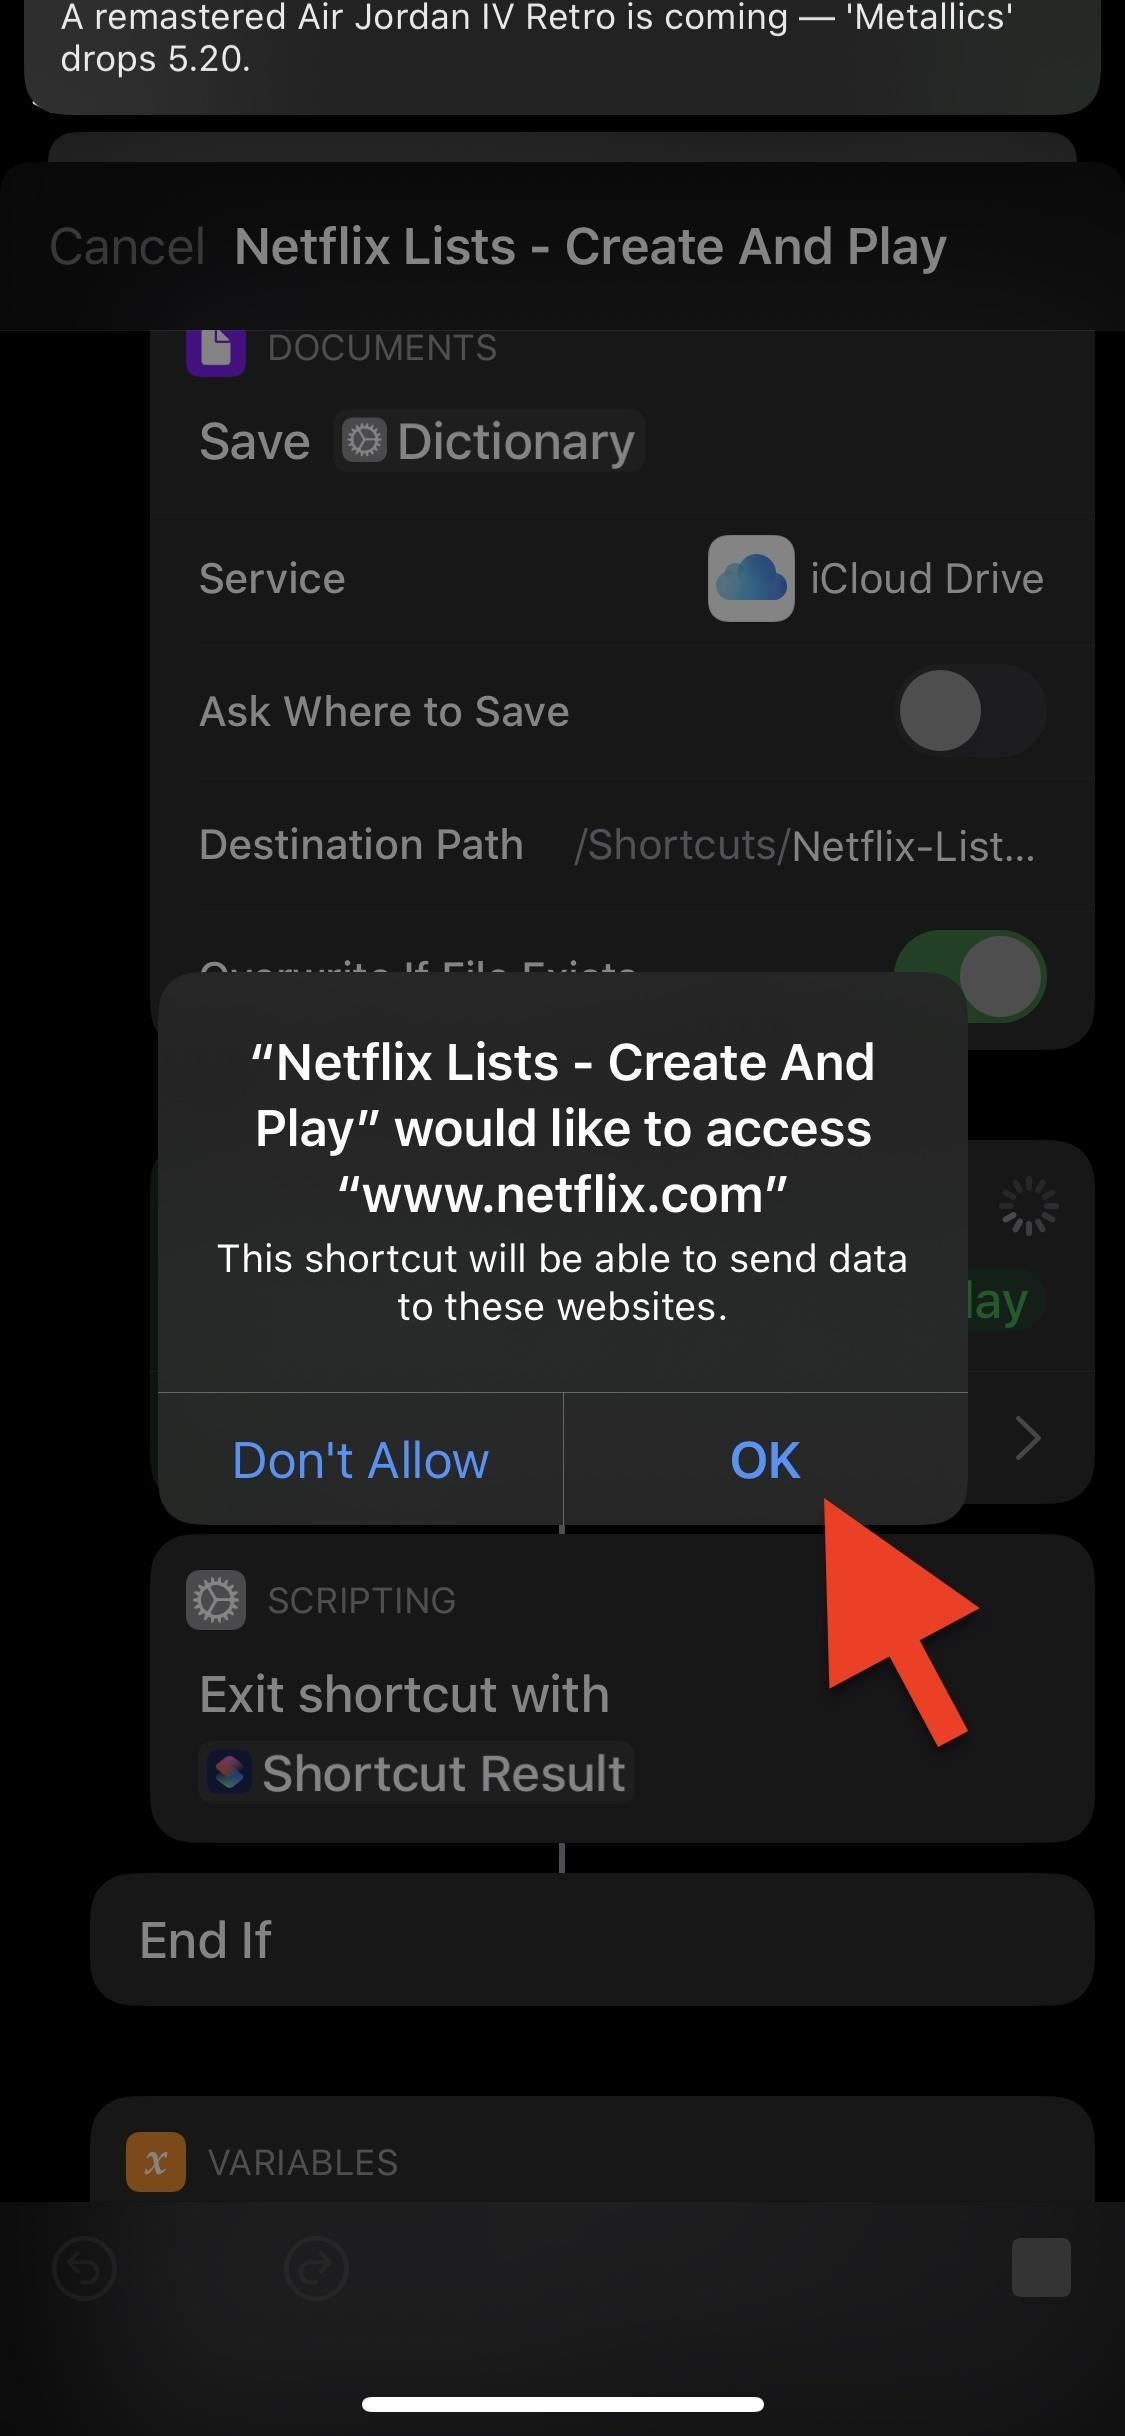
You may also be asked to permit access to Netflix's site (for obvious reasons) at this point or later on after you begin adding a title; either way, allow it. And it may also ask for access to "RoutineHub," which is also needed. All of these permissions are required to help the shortcut run smoothly.
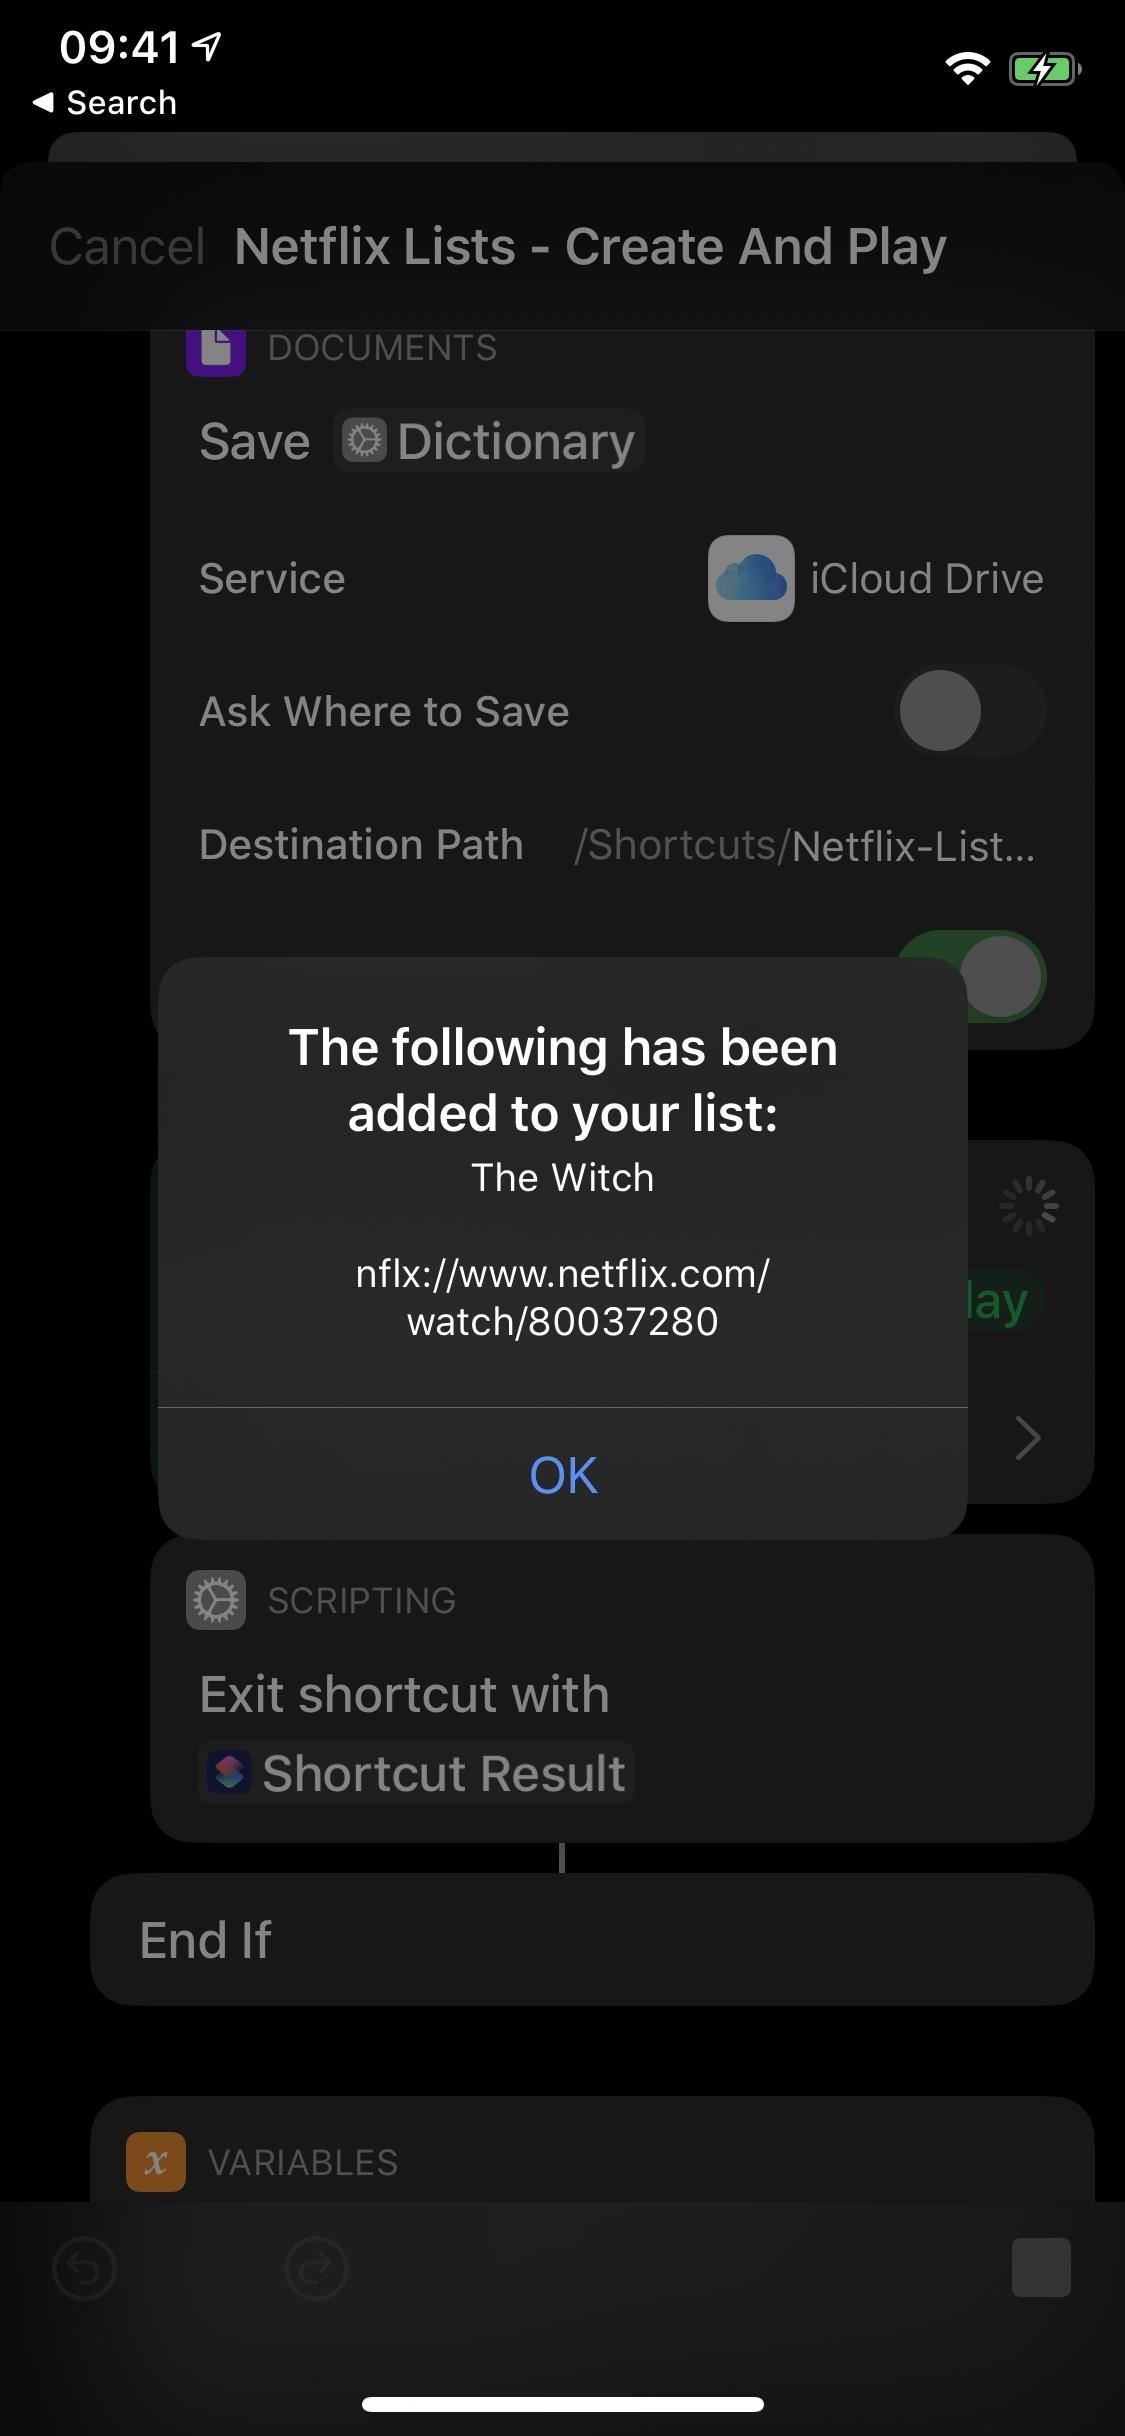
Afterward, you may be asked to view Netflix Lists' features and documentation; choose "Yes to do so or "No" to skip. Then, since it's the first title you're adding, it'll ask you if you'd like to create an initial list. Tap on "OK," accept any permissions prompts that may appear, and the title will be added to your unnamed list.
You don't have to worry about naming the list right now, so continue adding titles to the list. However, if you want to add titles to another list, you'll have to create it first (see the next step).

You can also choose "Copy Link" from Netflix's share menu, then open Netflix Lists from "My Shortcuts" in the Shortcuts app. When it asks if you'd like to add the title in your clipboard to your list, choose "Yes." It's about the same number of actions, only you have to work from two different apps instead of one.
Step 3: Create Other Netflix Lists
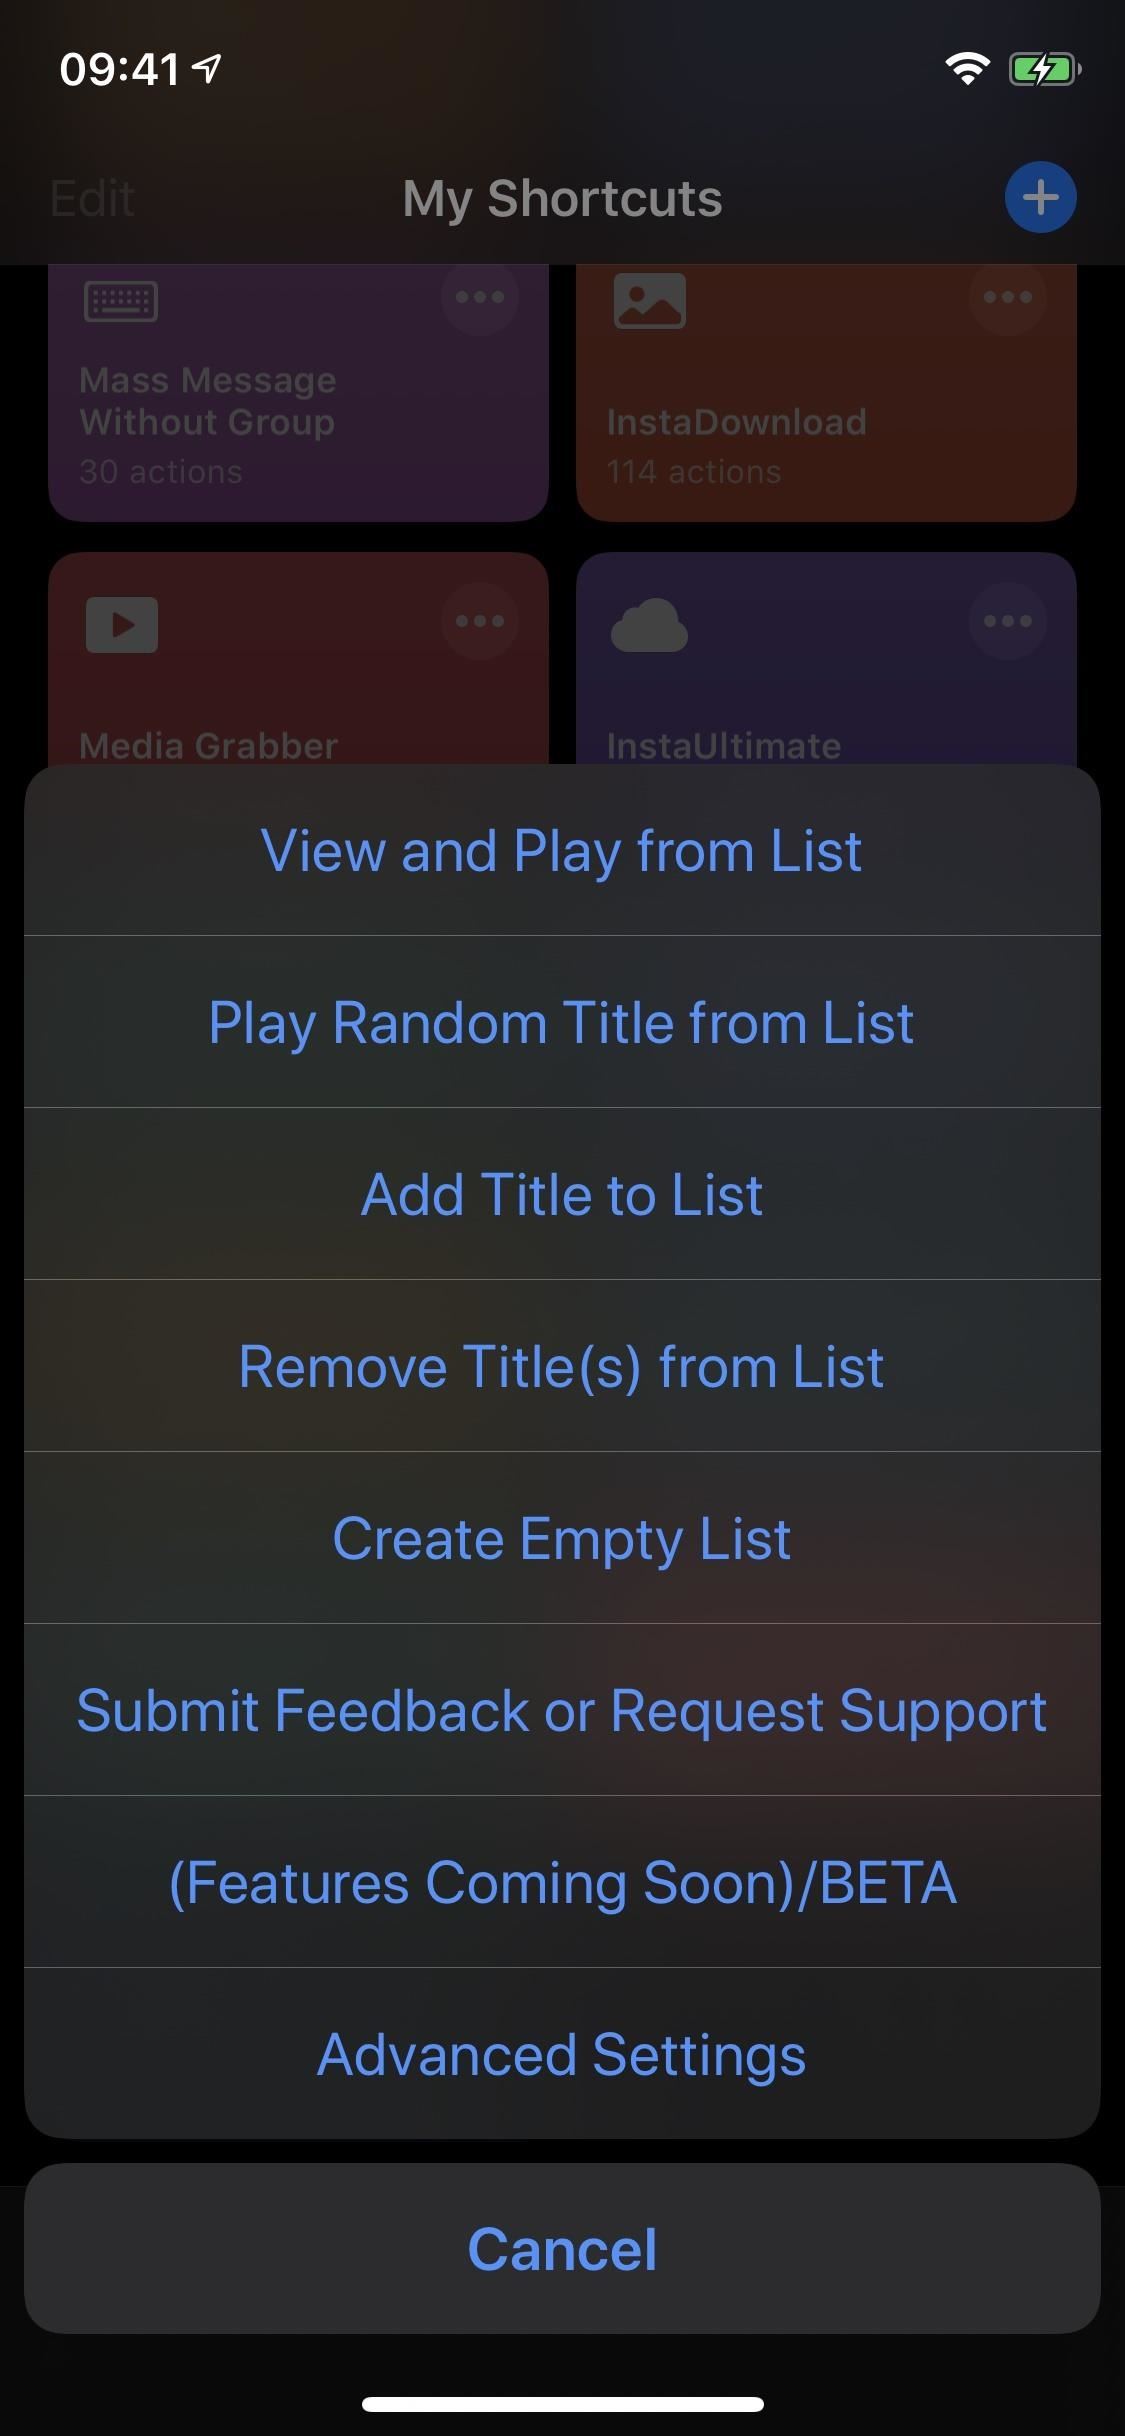
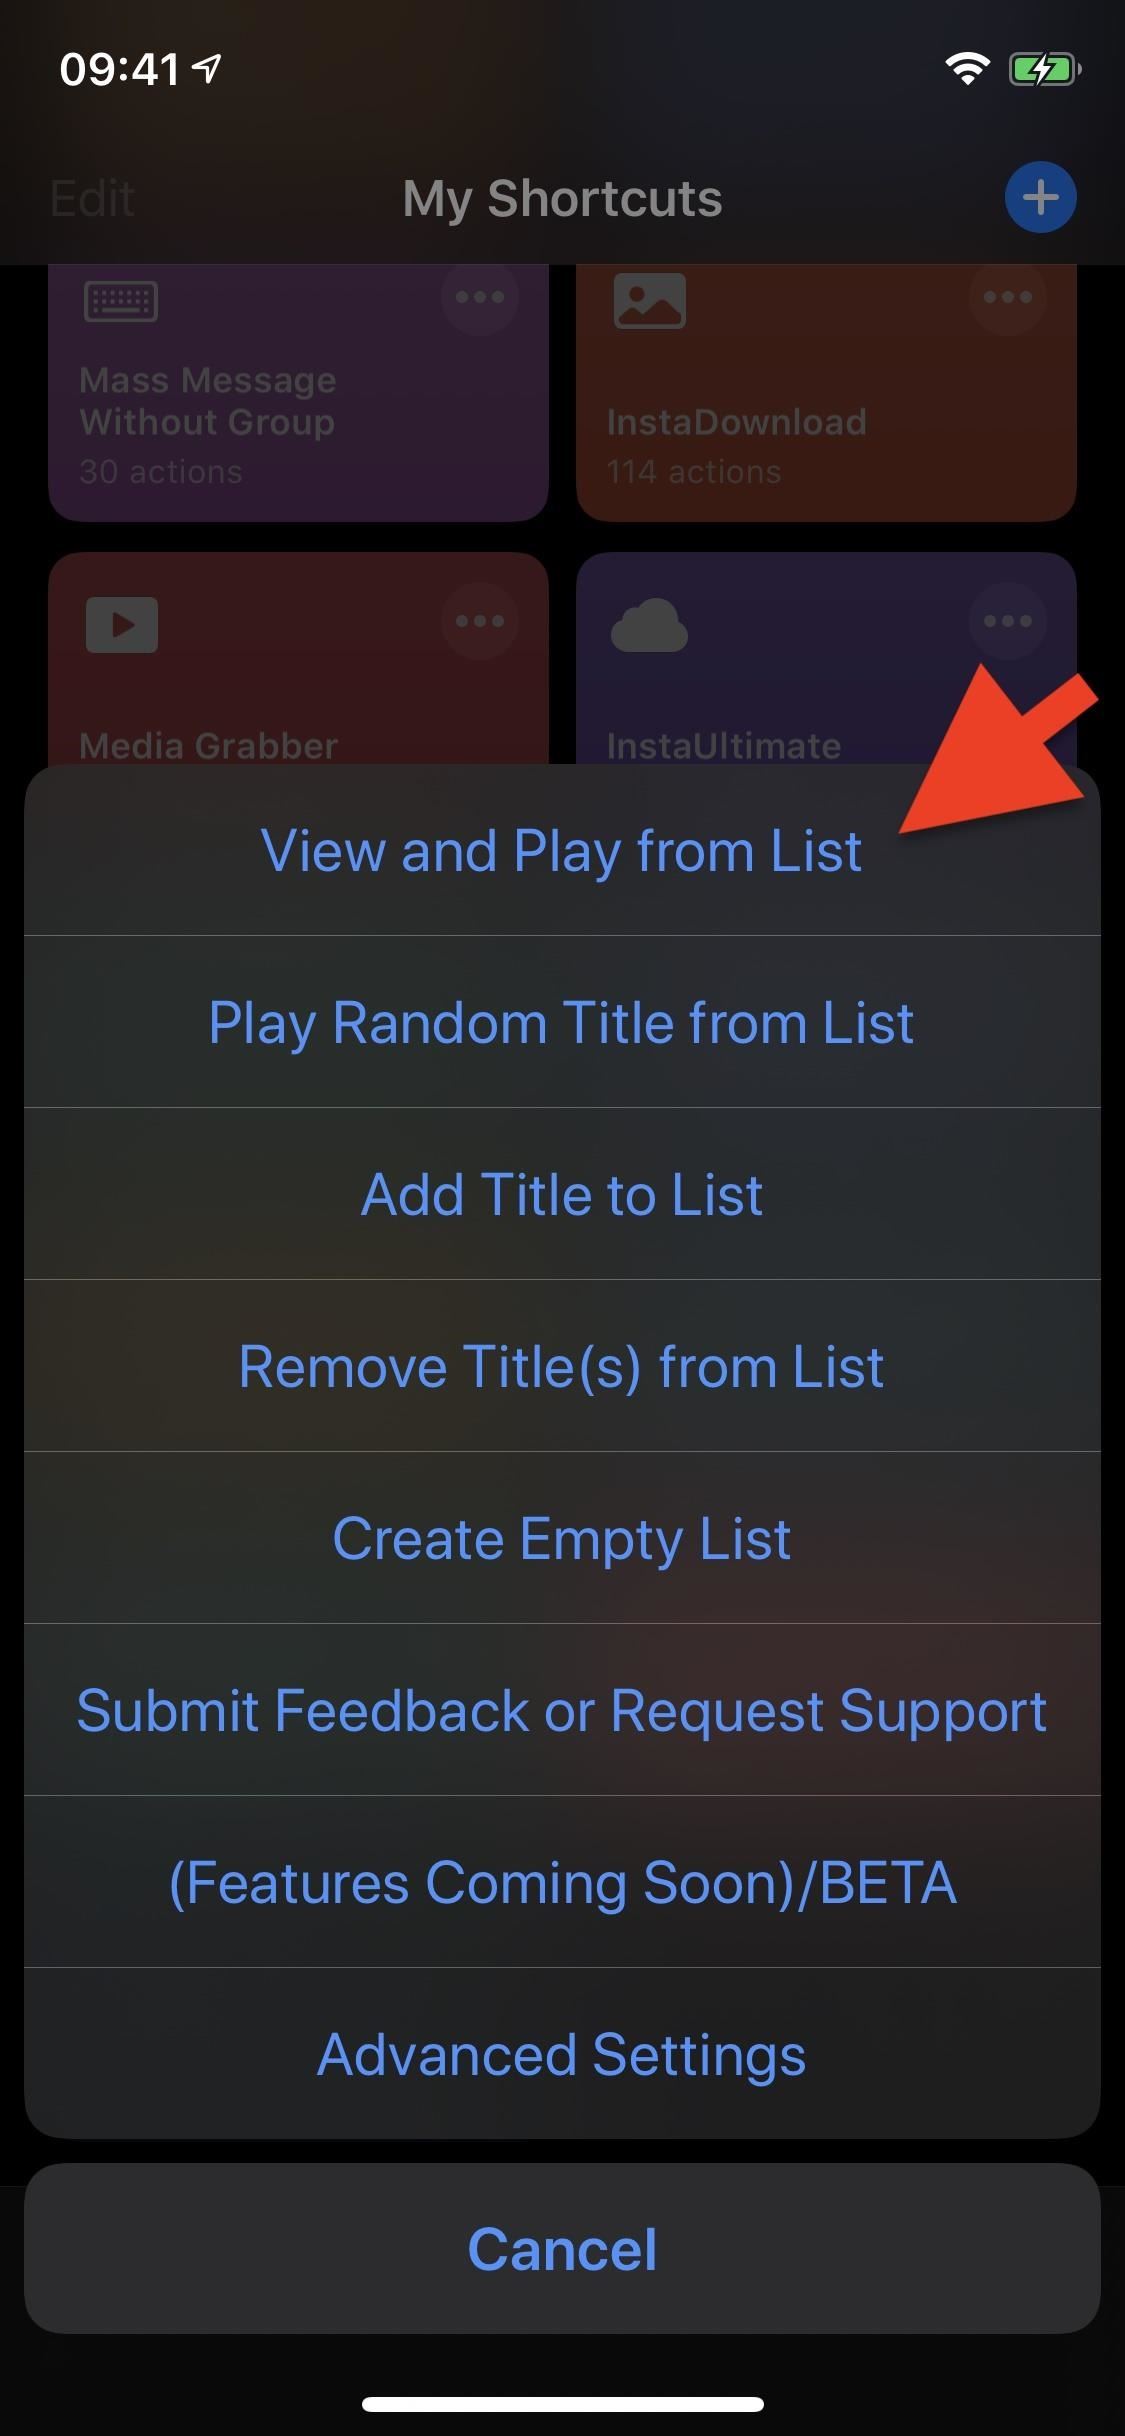
The shortcut doesn't give you the option of adding a Netflix title to another list unless you create a new one manually. To do so, tap on "Netflix Lists" from "My Shortcuts" in your Shortcuts app. A menu will appear with several options, most of which we'll cover later in this guide. Tap on "Create Empty List."
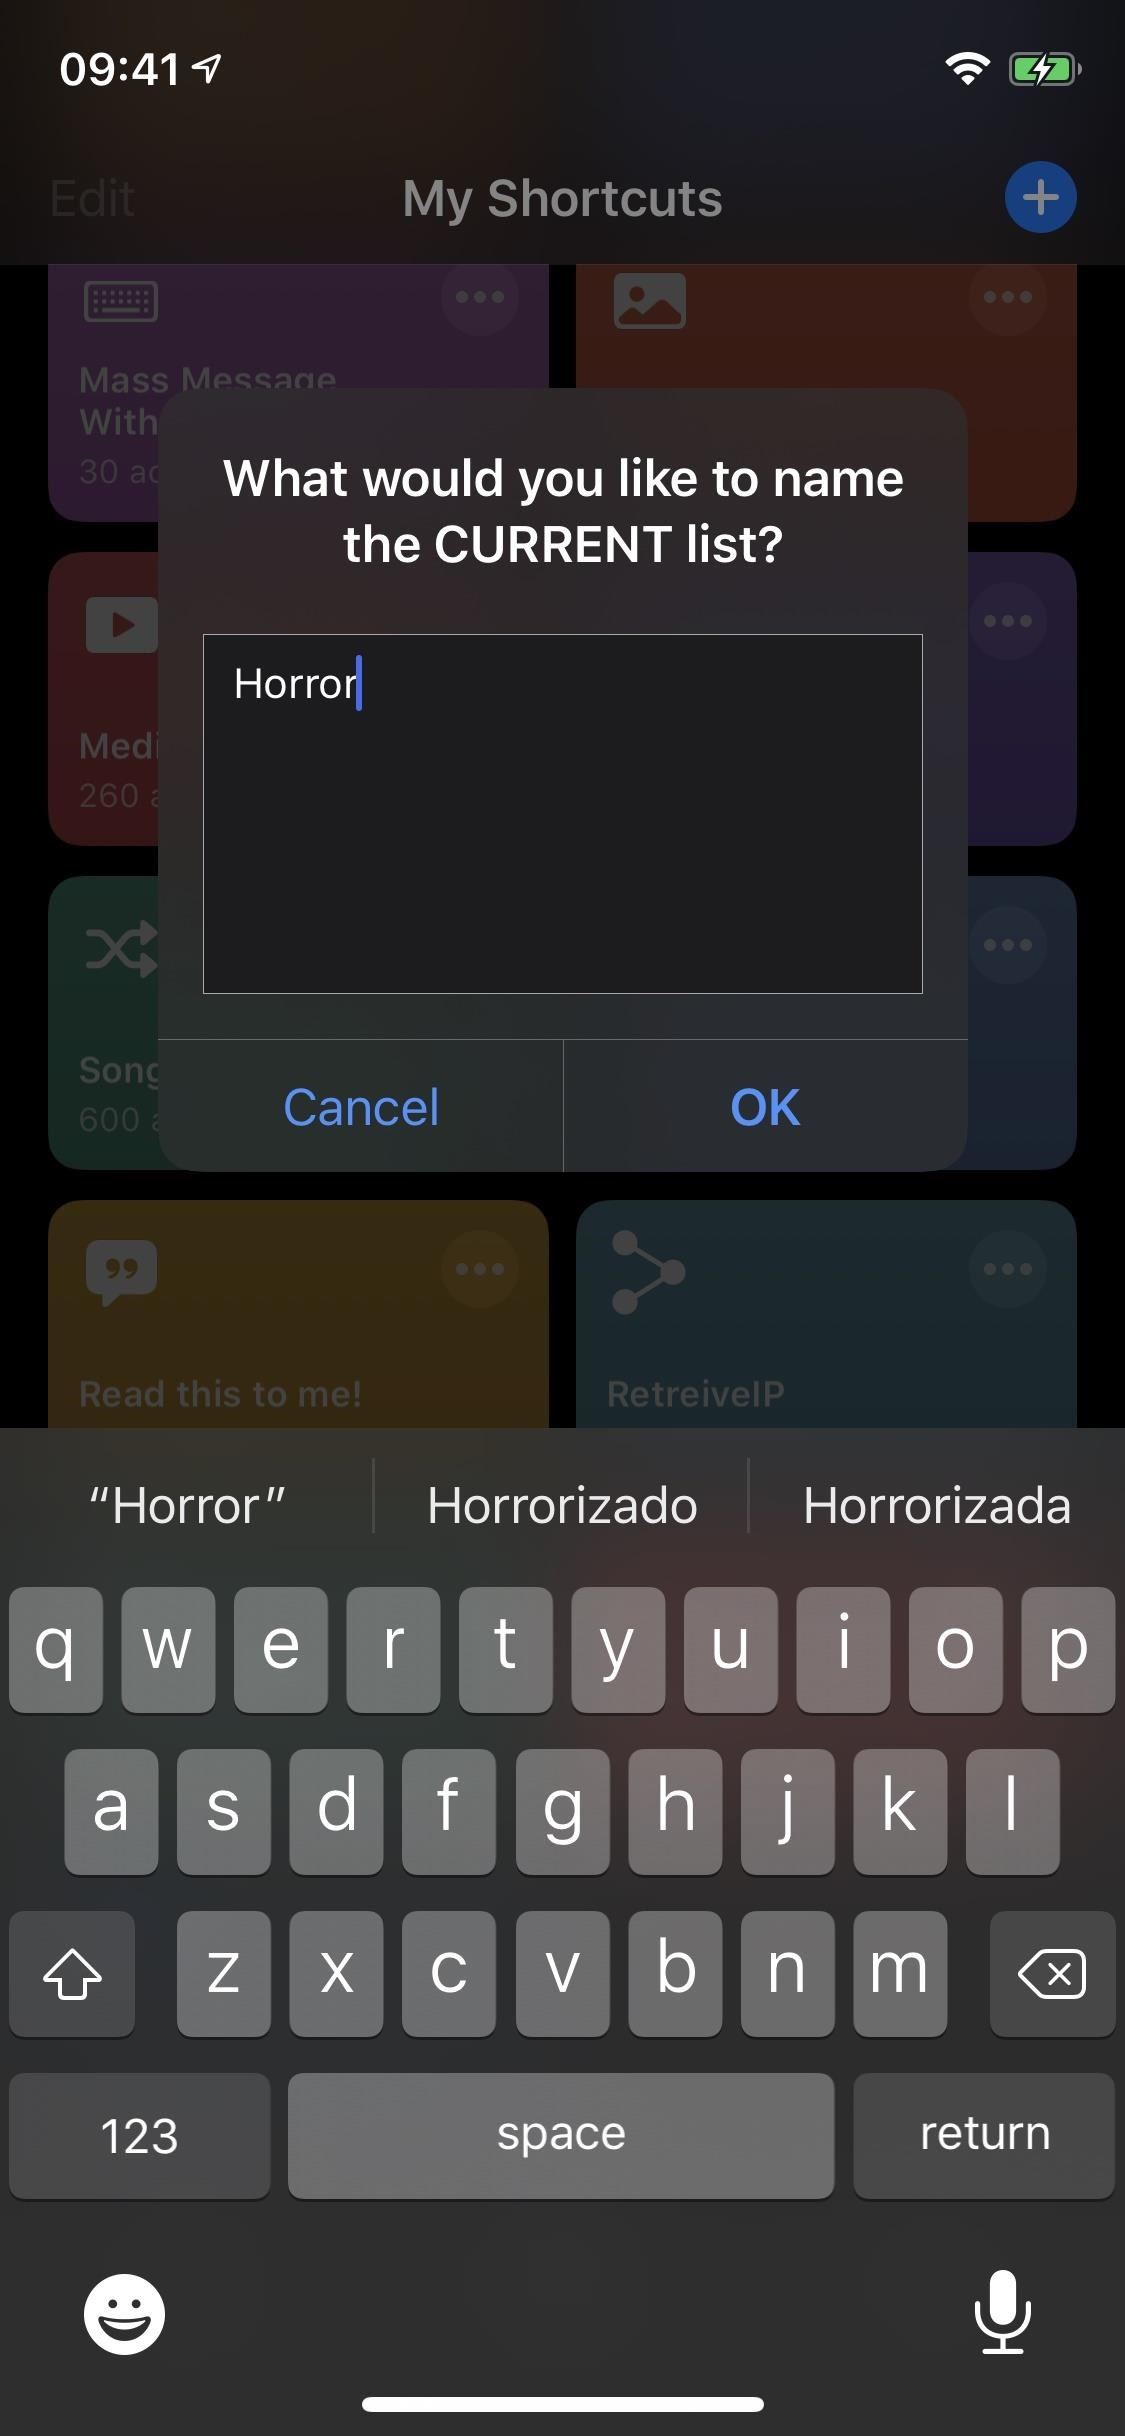
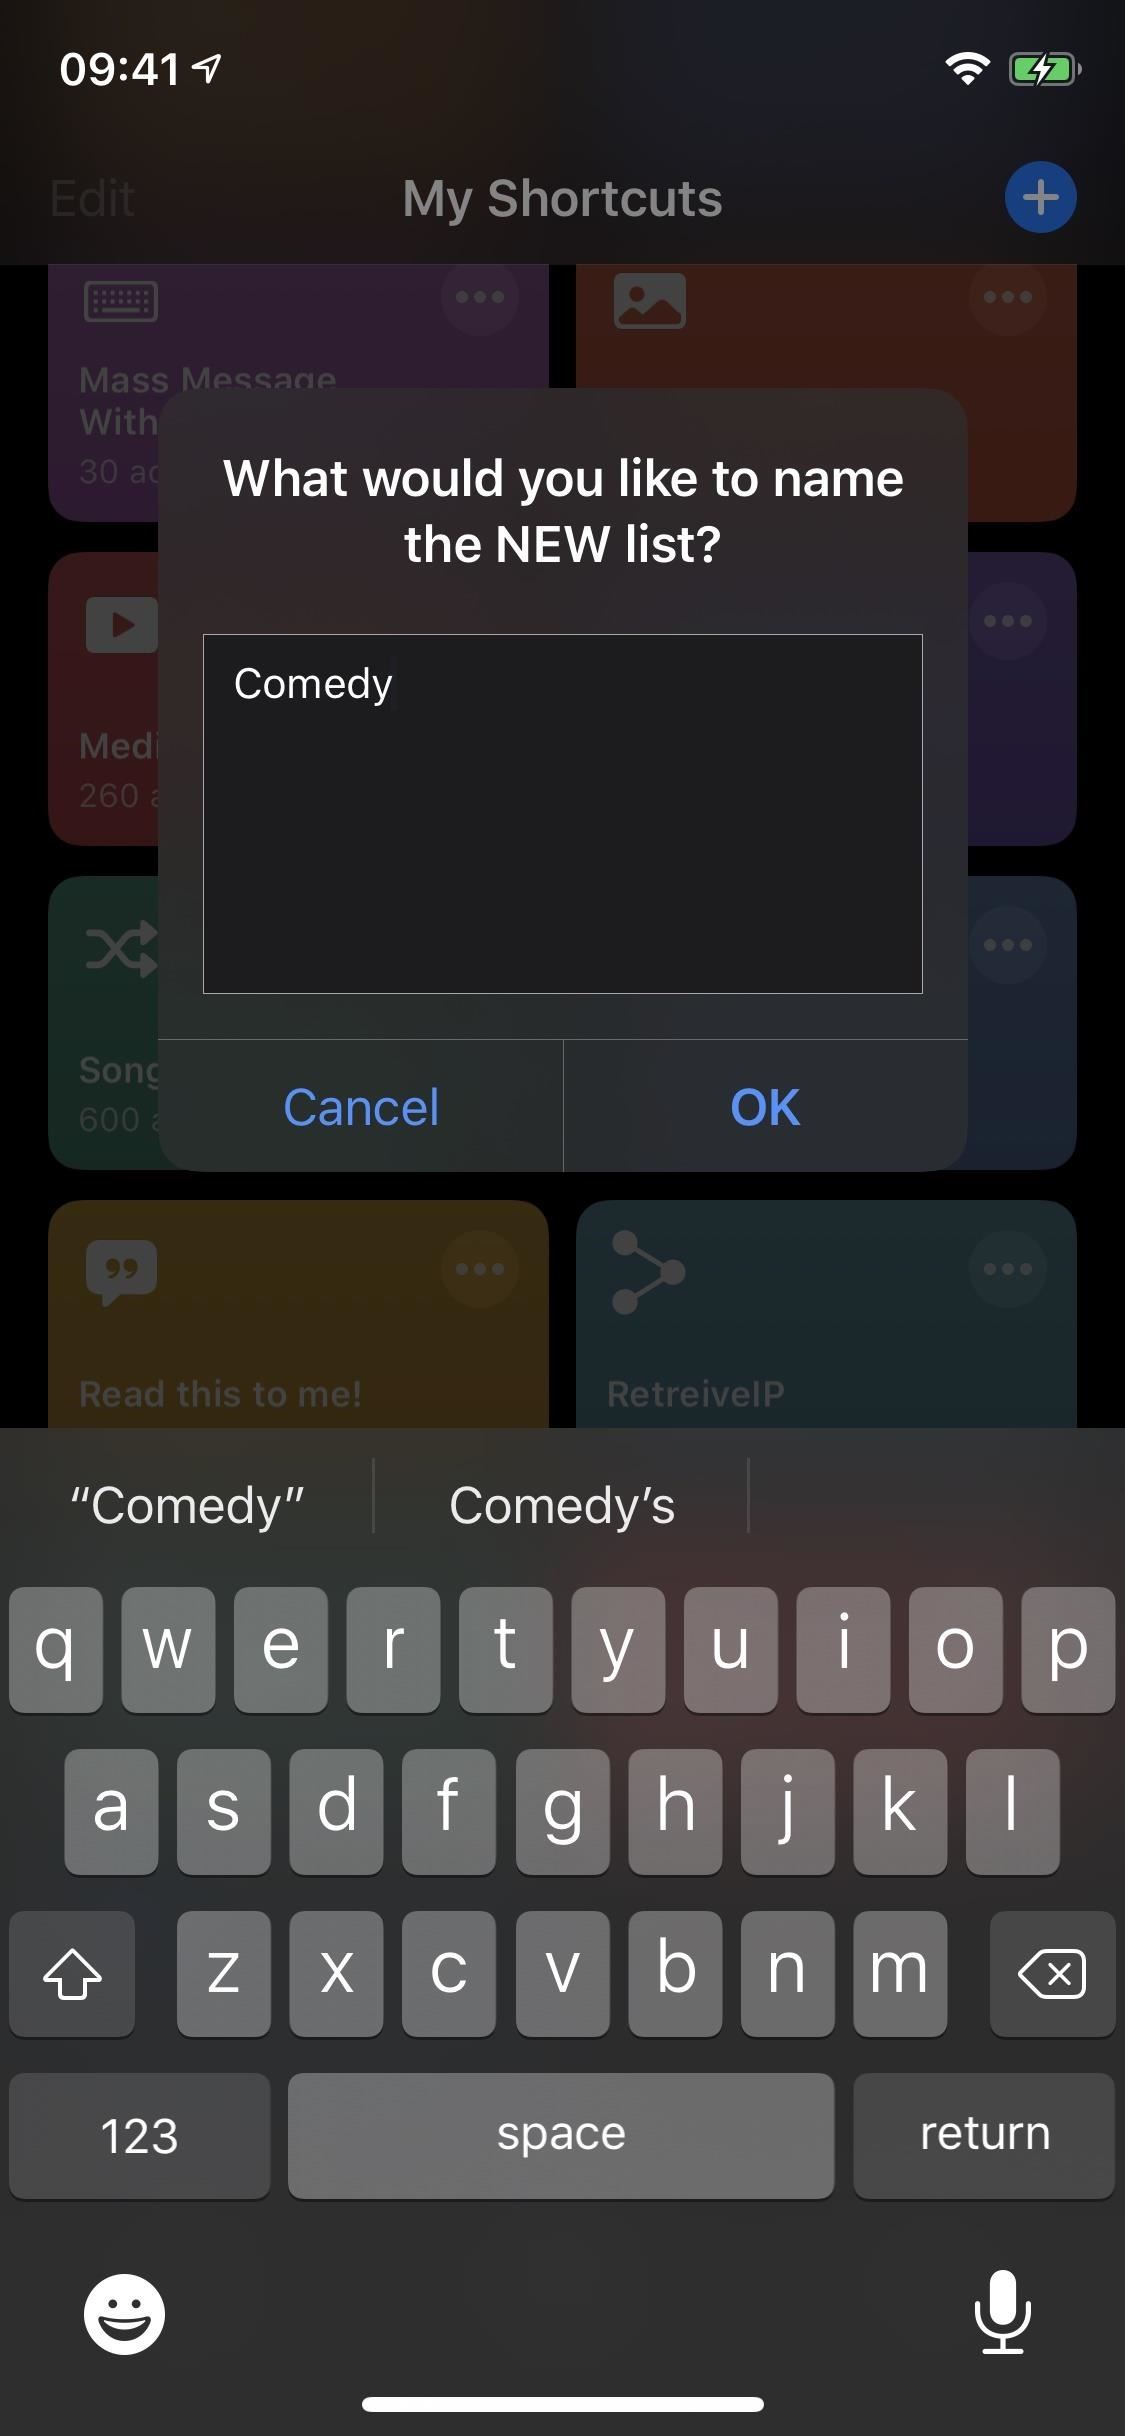
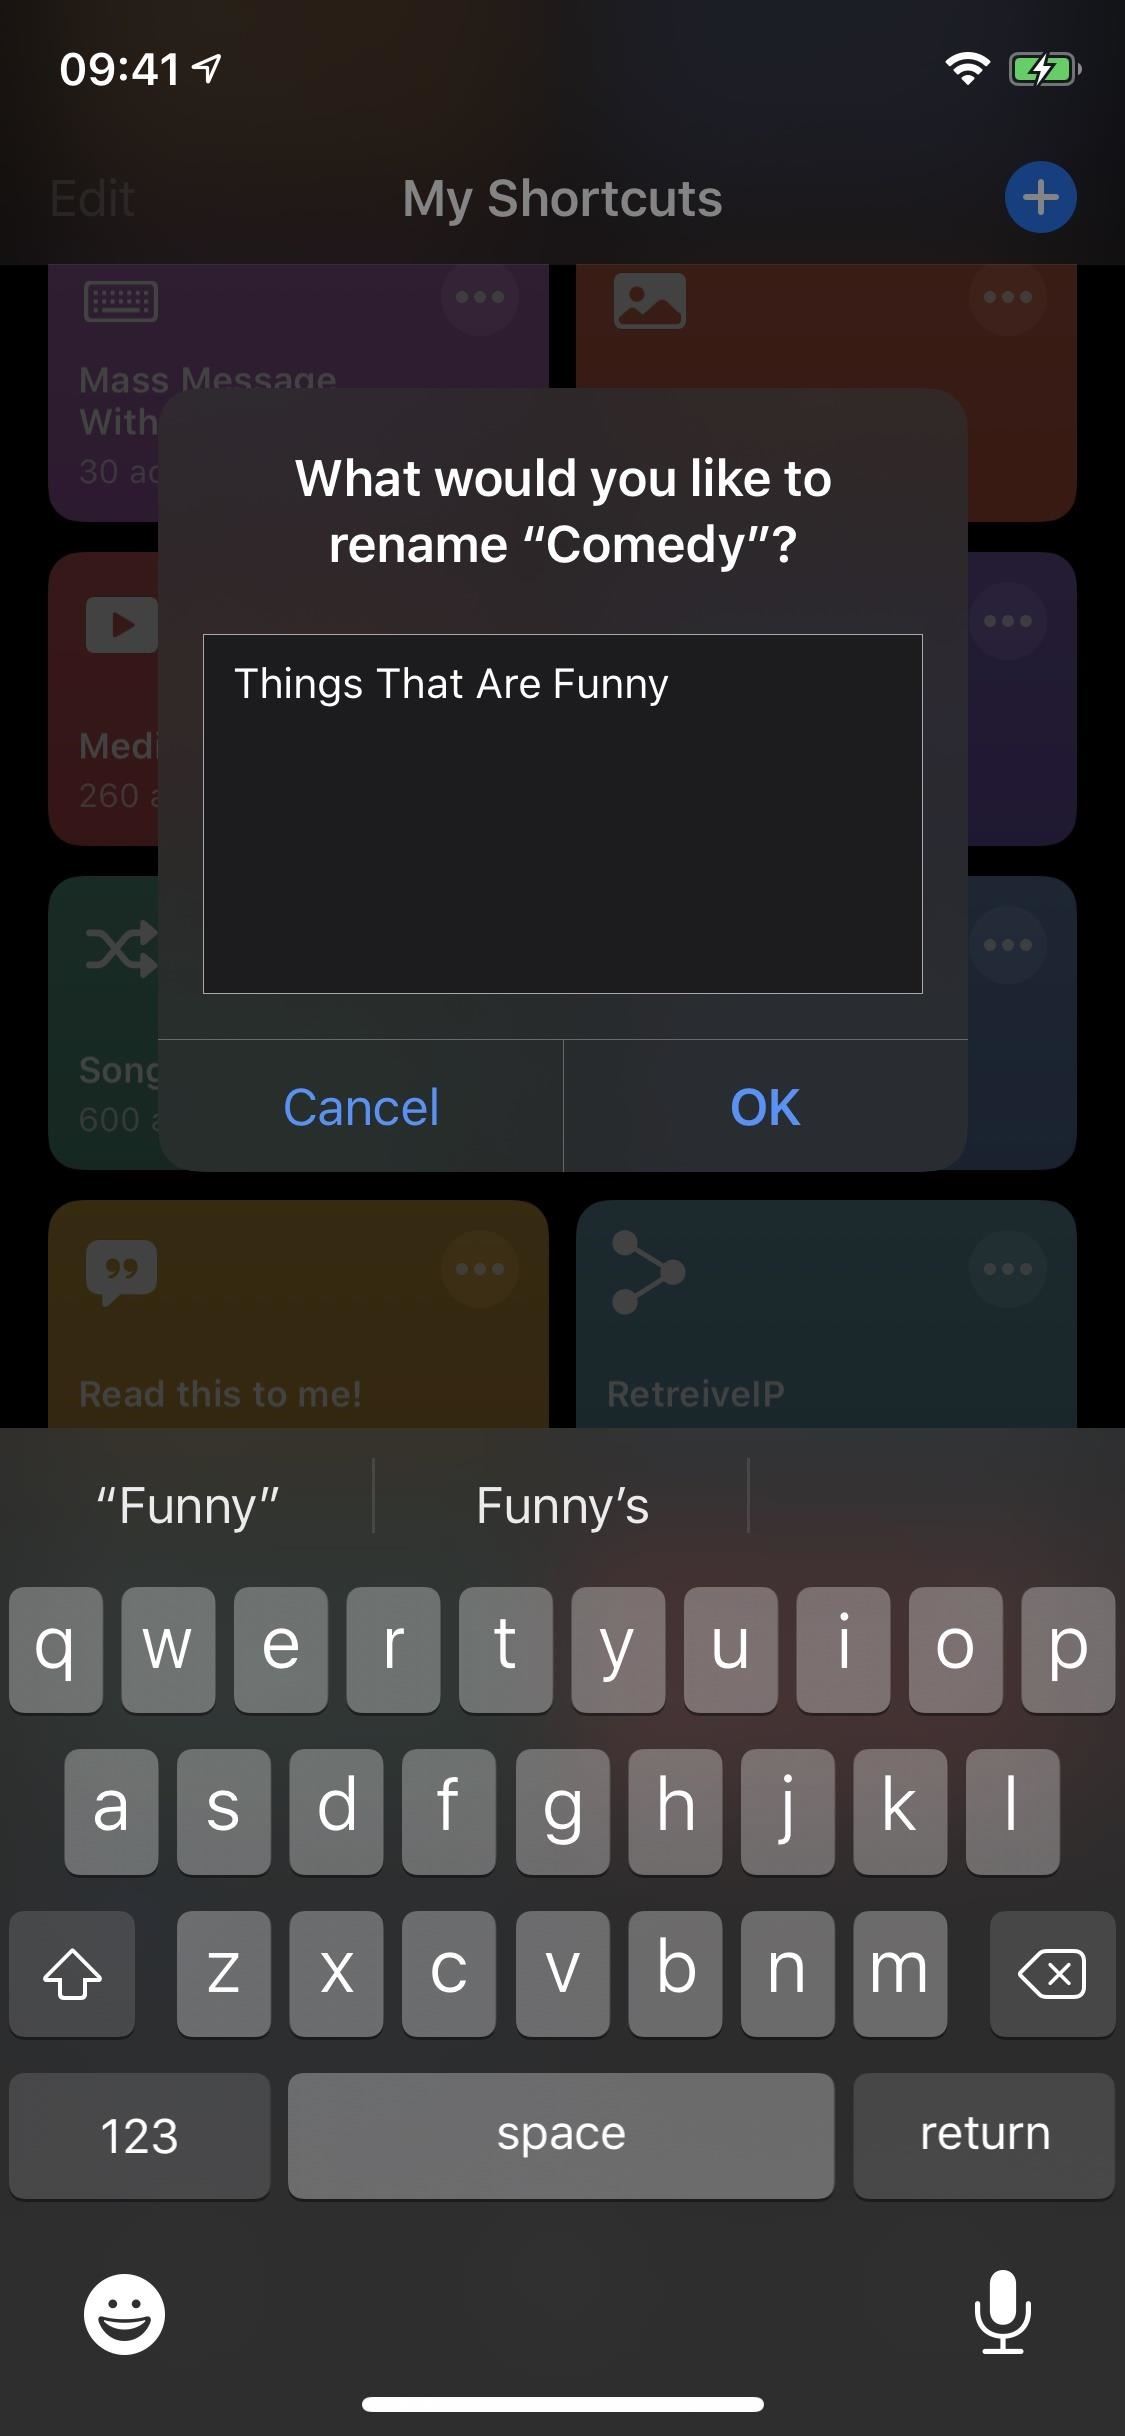
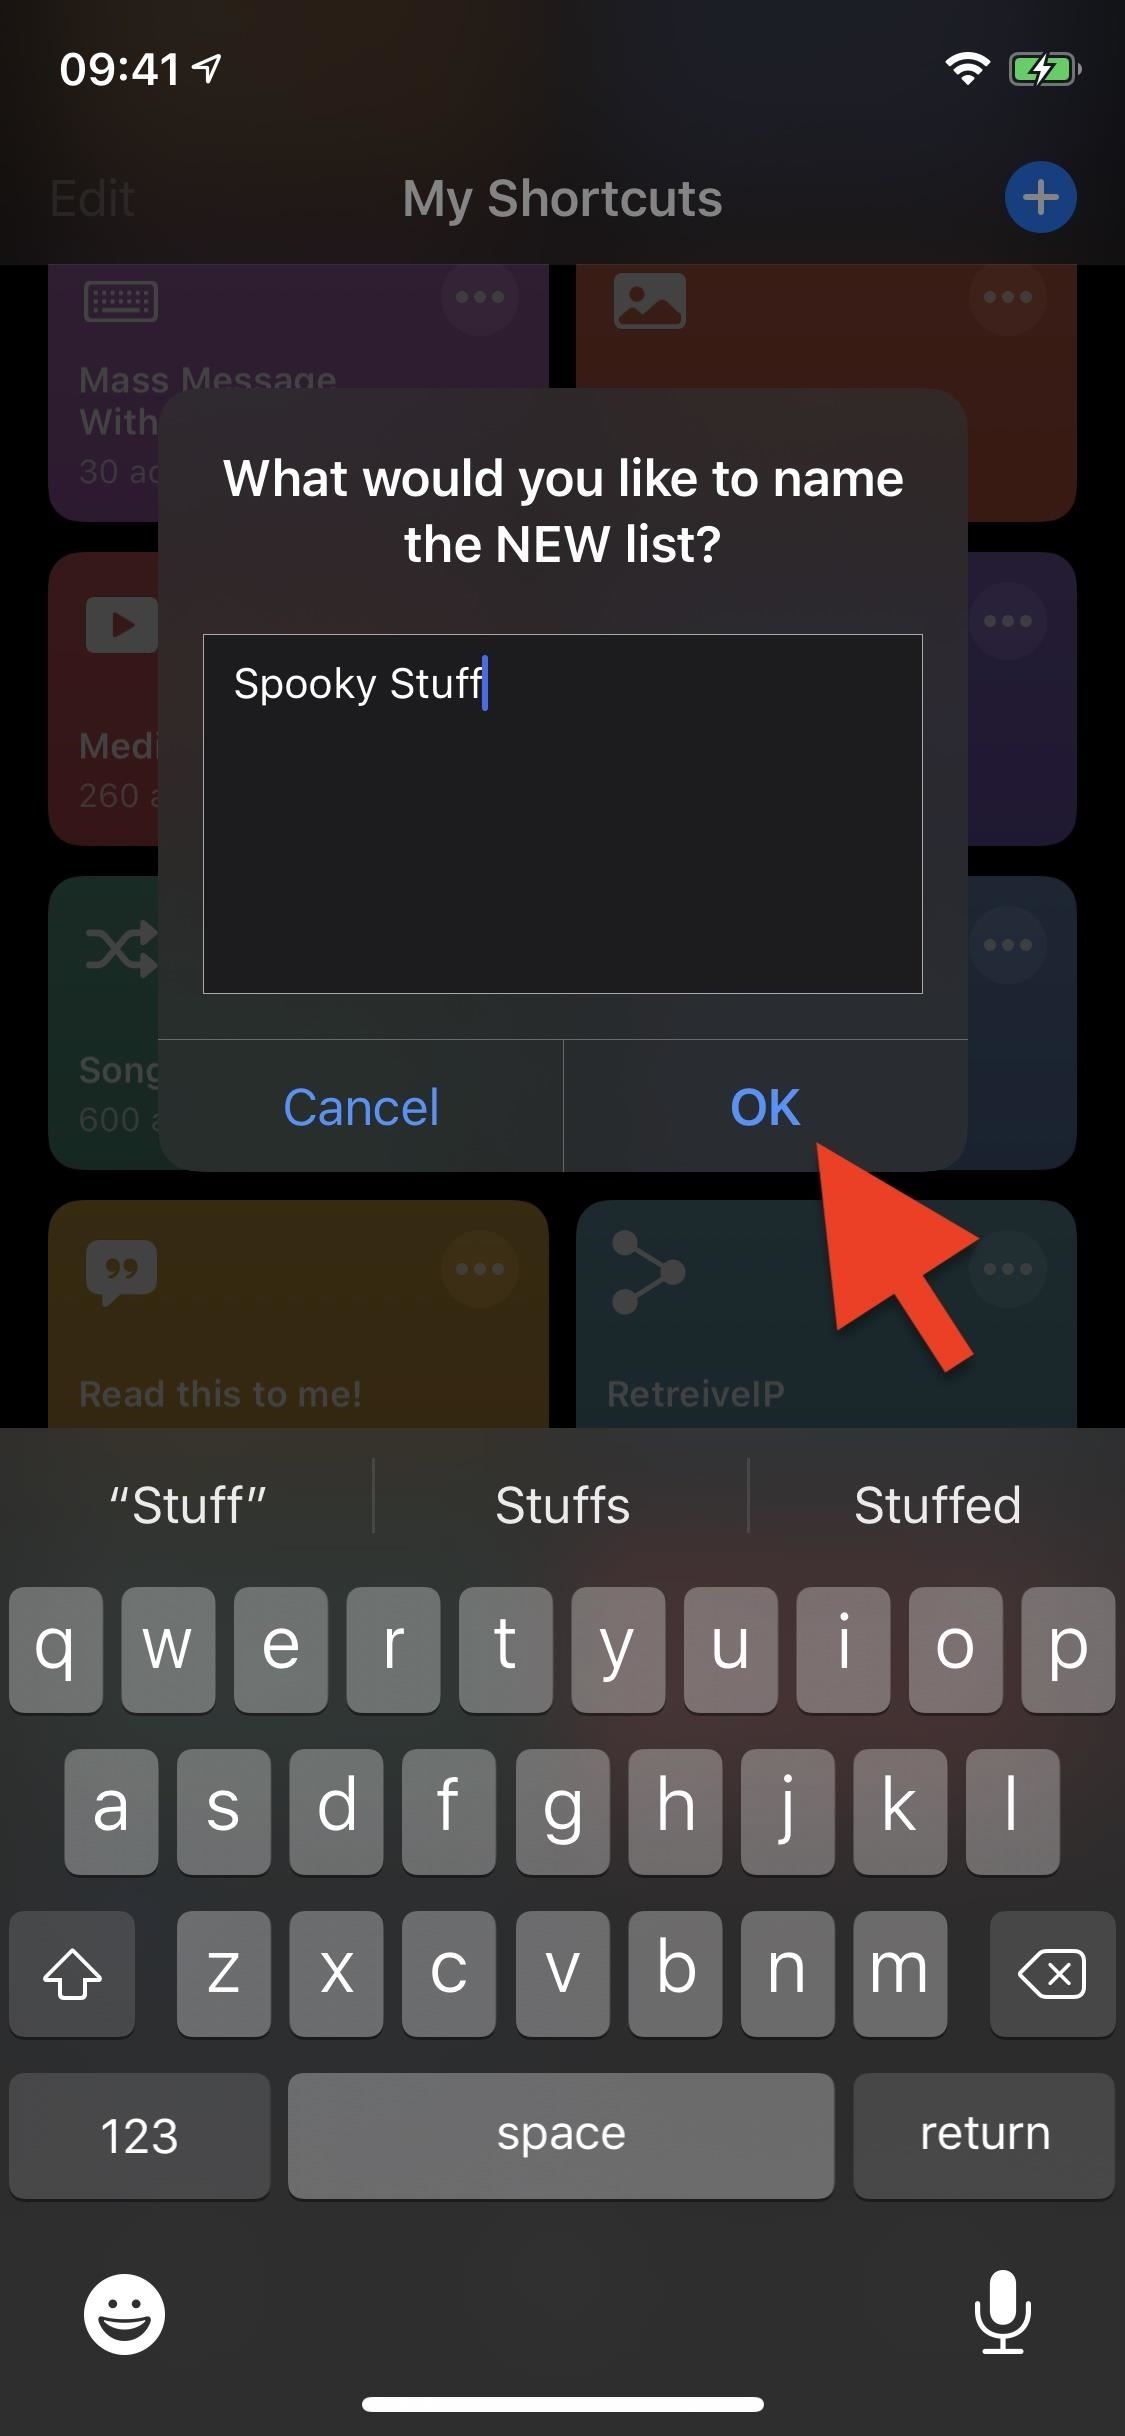
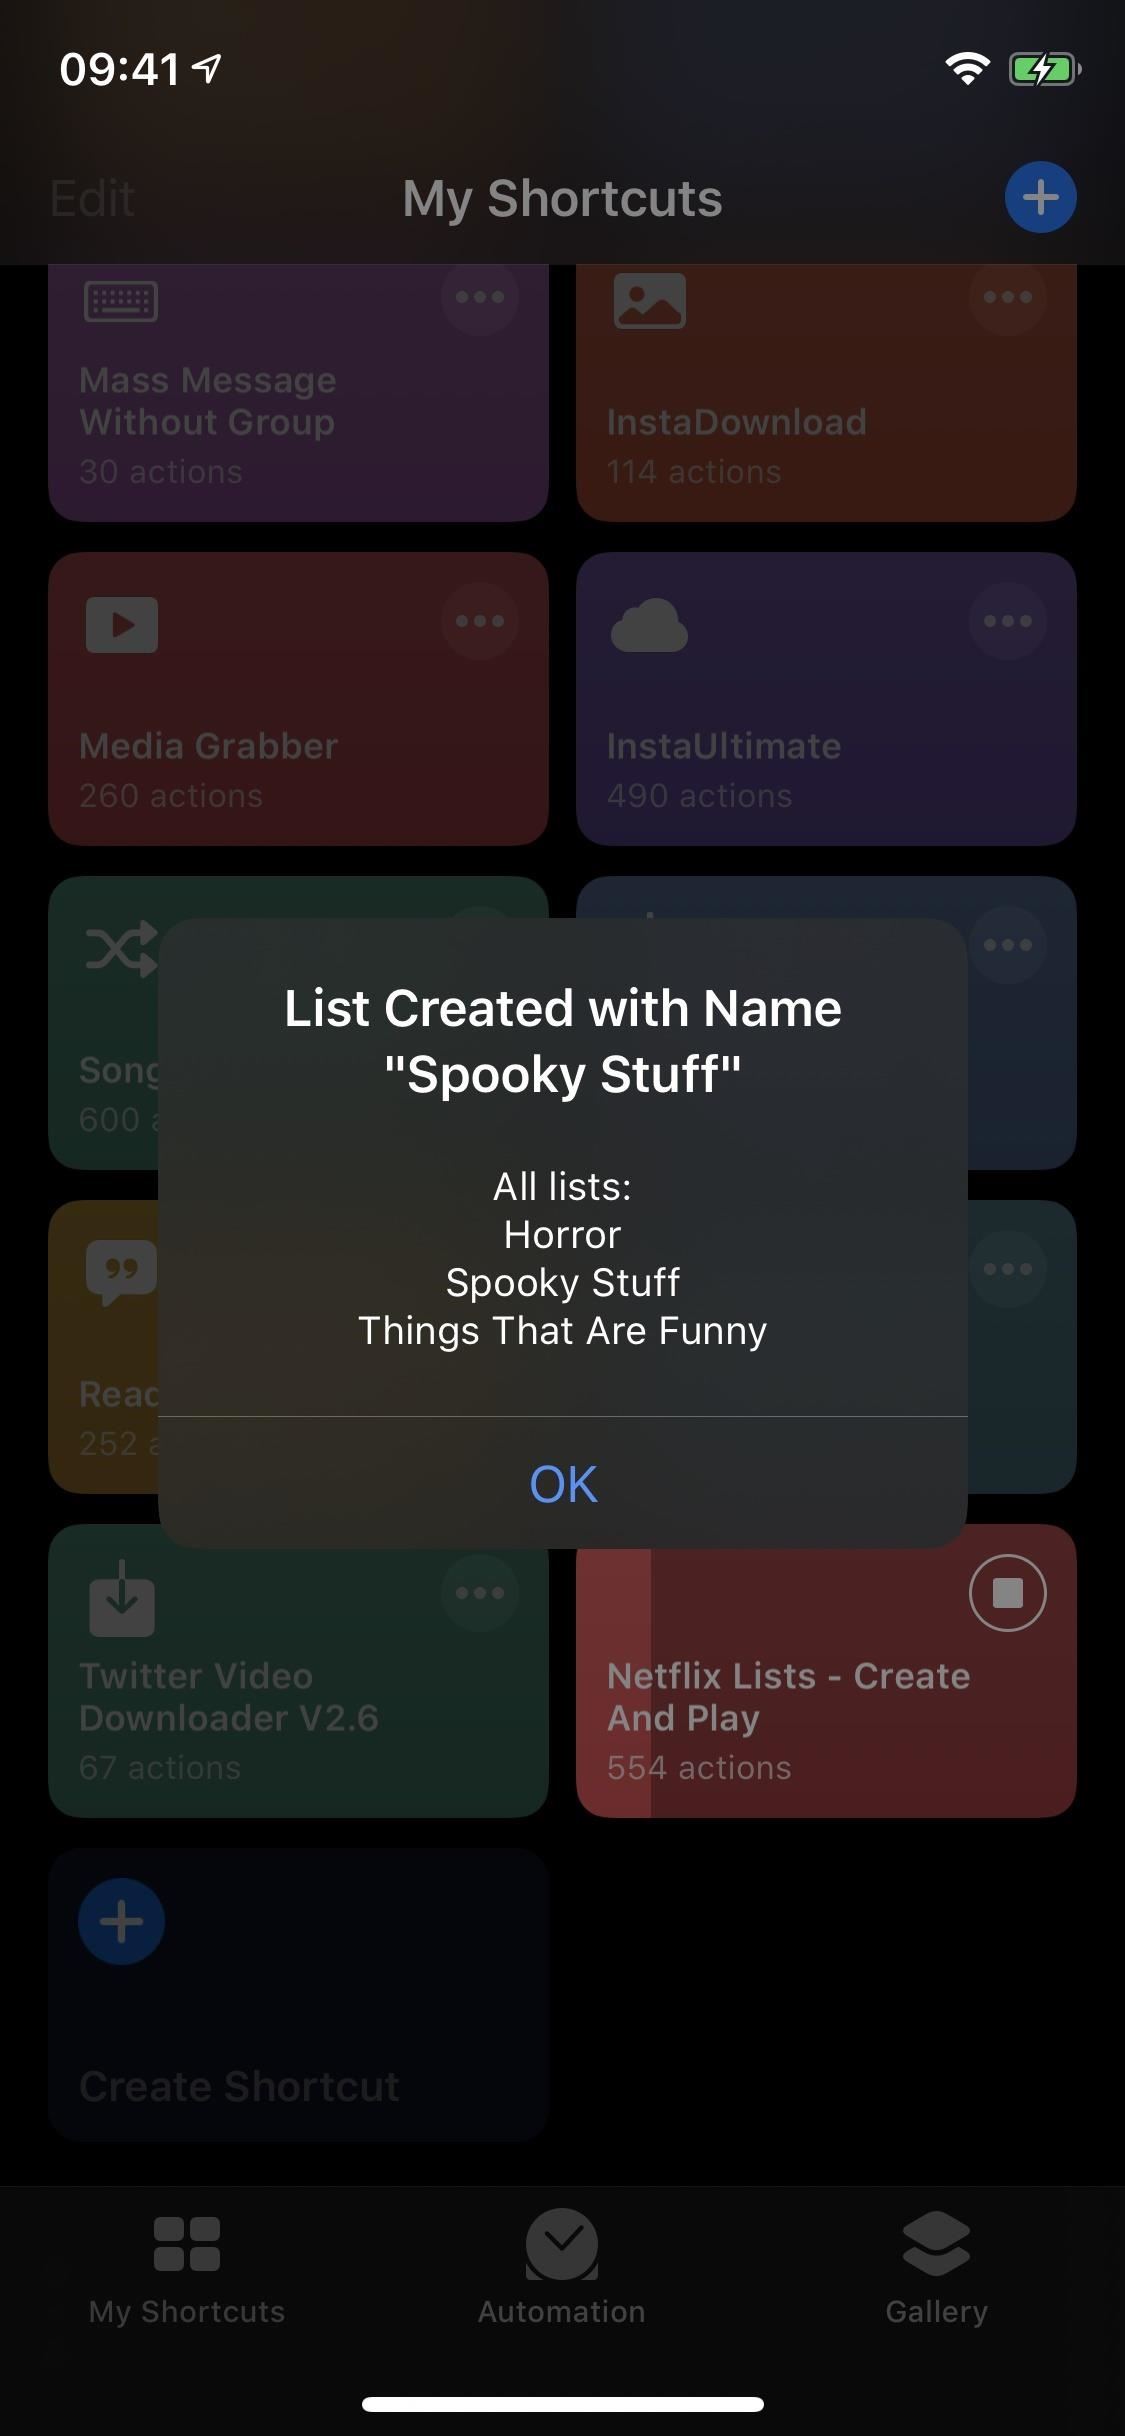
Because you were never able to name your first list, the shortcut will ask you to do so now. Enter the title and tap "OK." Then, you'll be asked to name the new list you just created. Again, enter the title and tap "OK," then "OK" again on the confirmation, and you now have multiple lists to add titles to. Creating additional lists will jump you straight to naming the new list from now on.

Step 4: Add Films & TV Series to Your Custom Lists
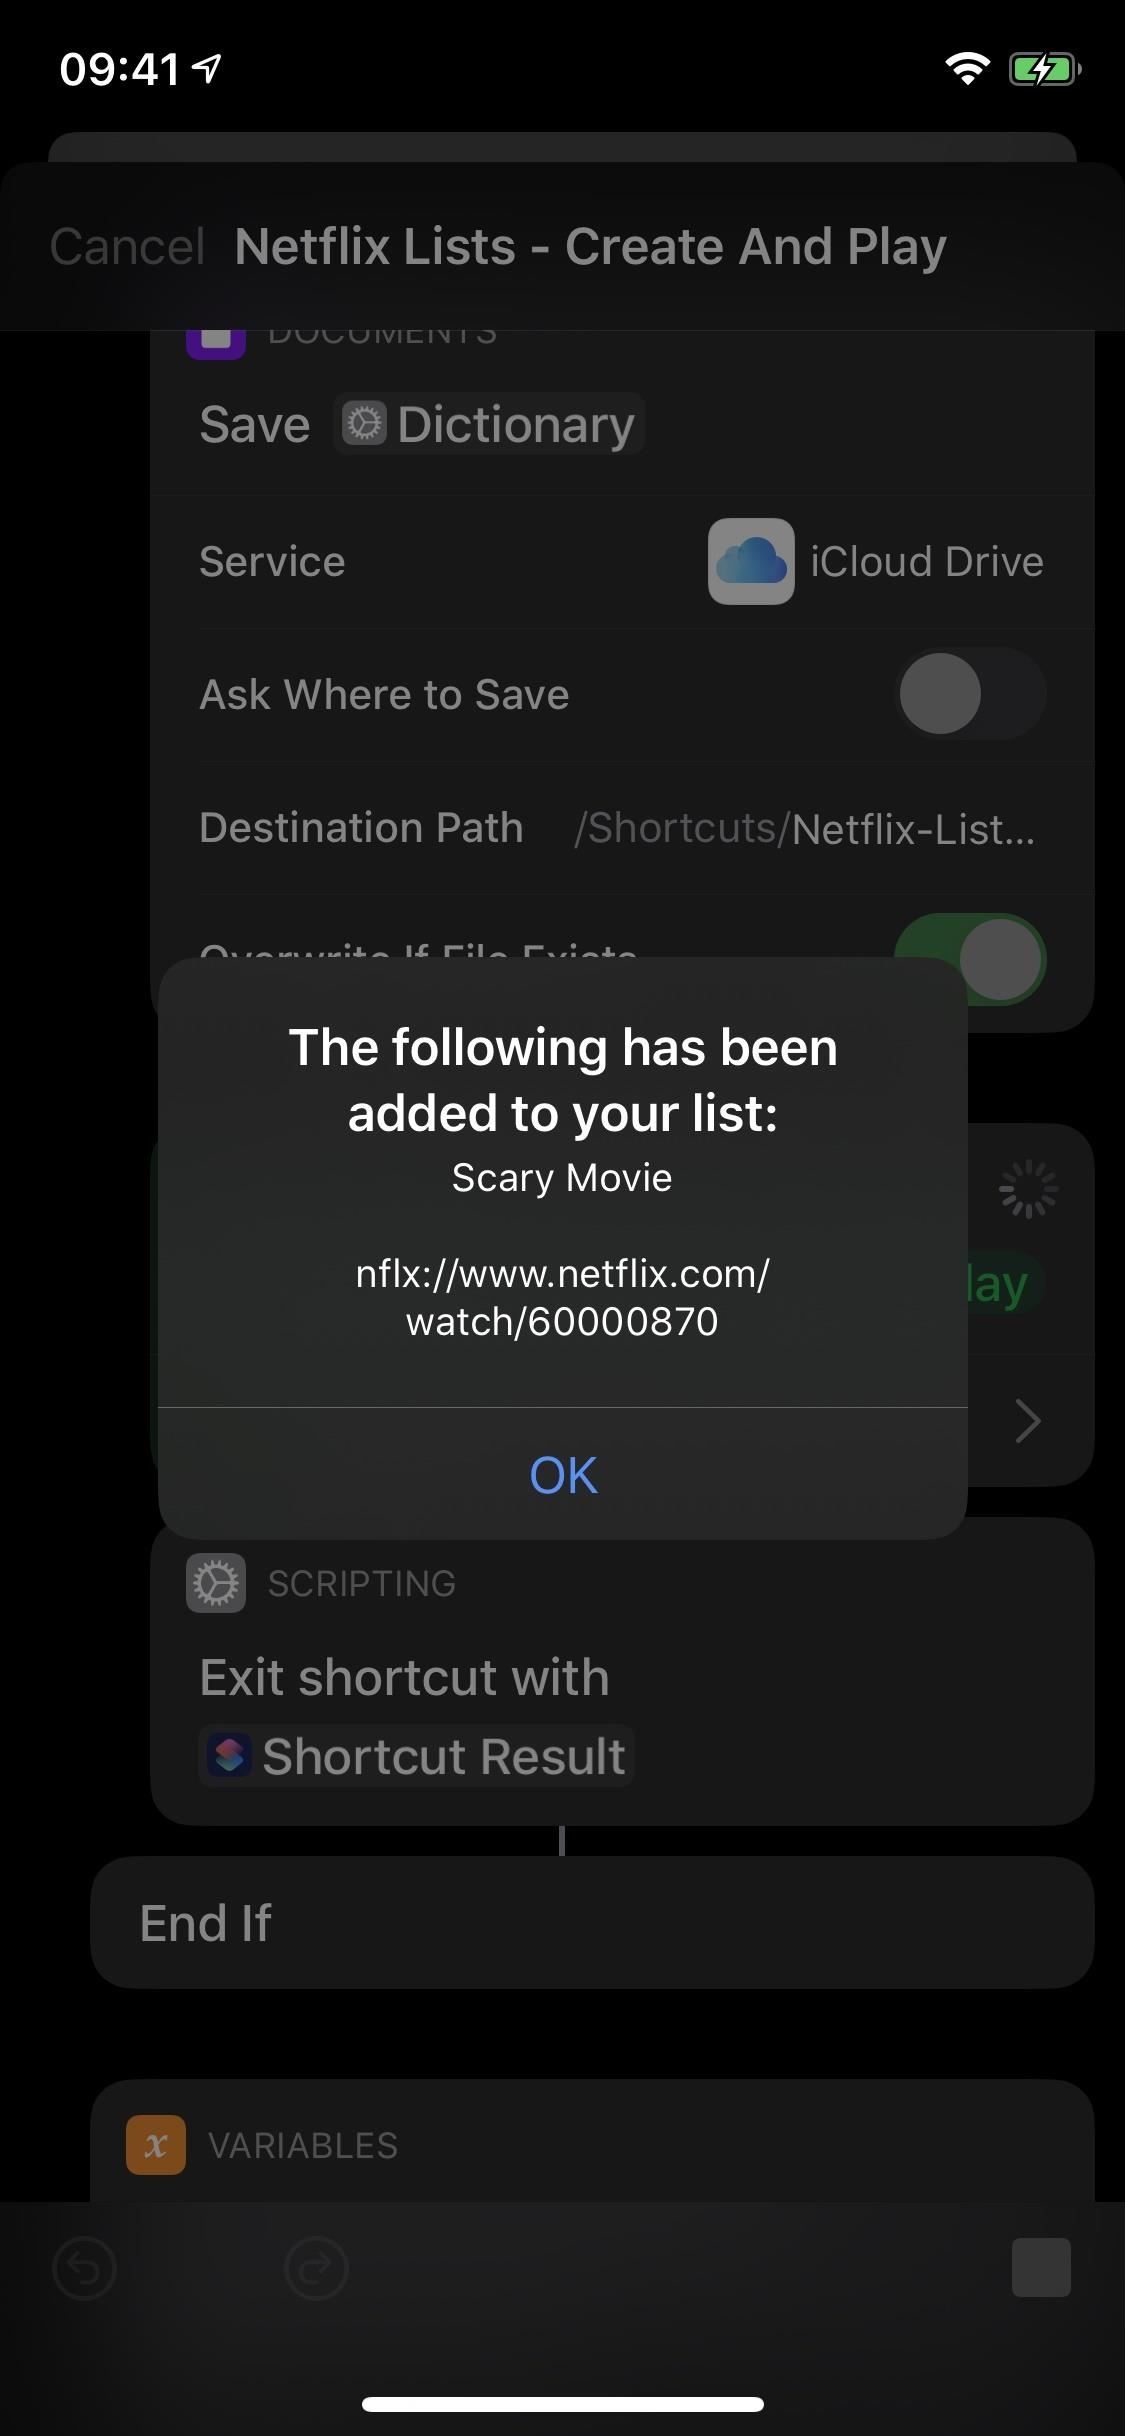
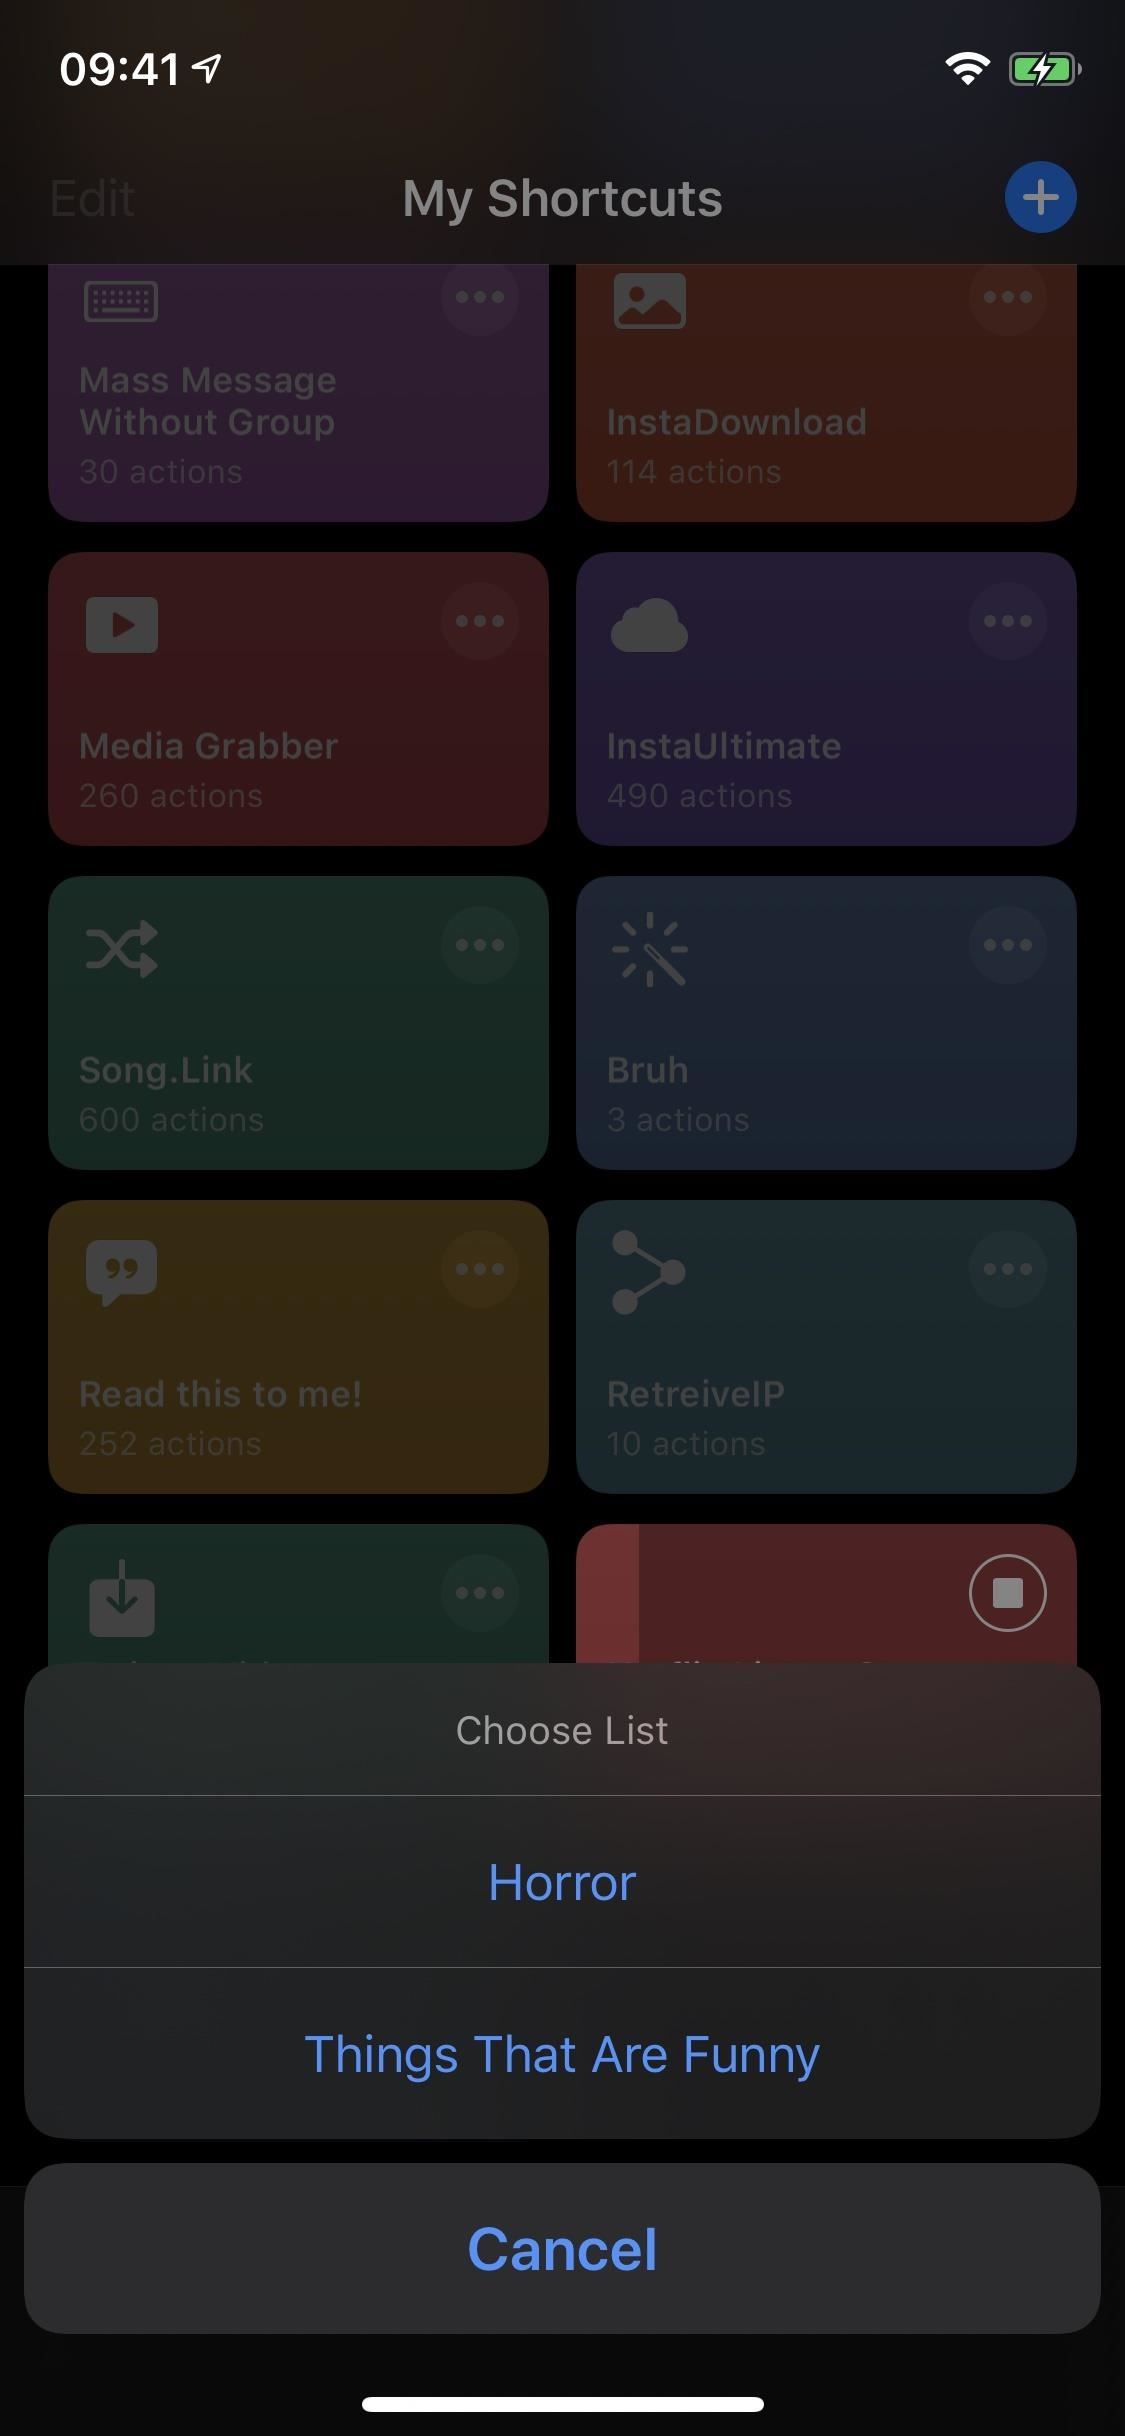
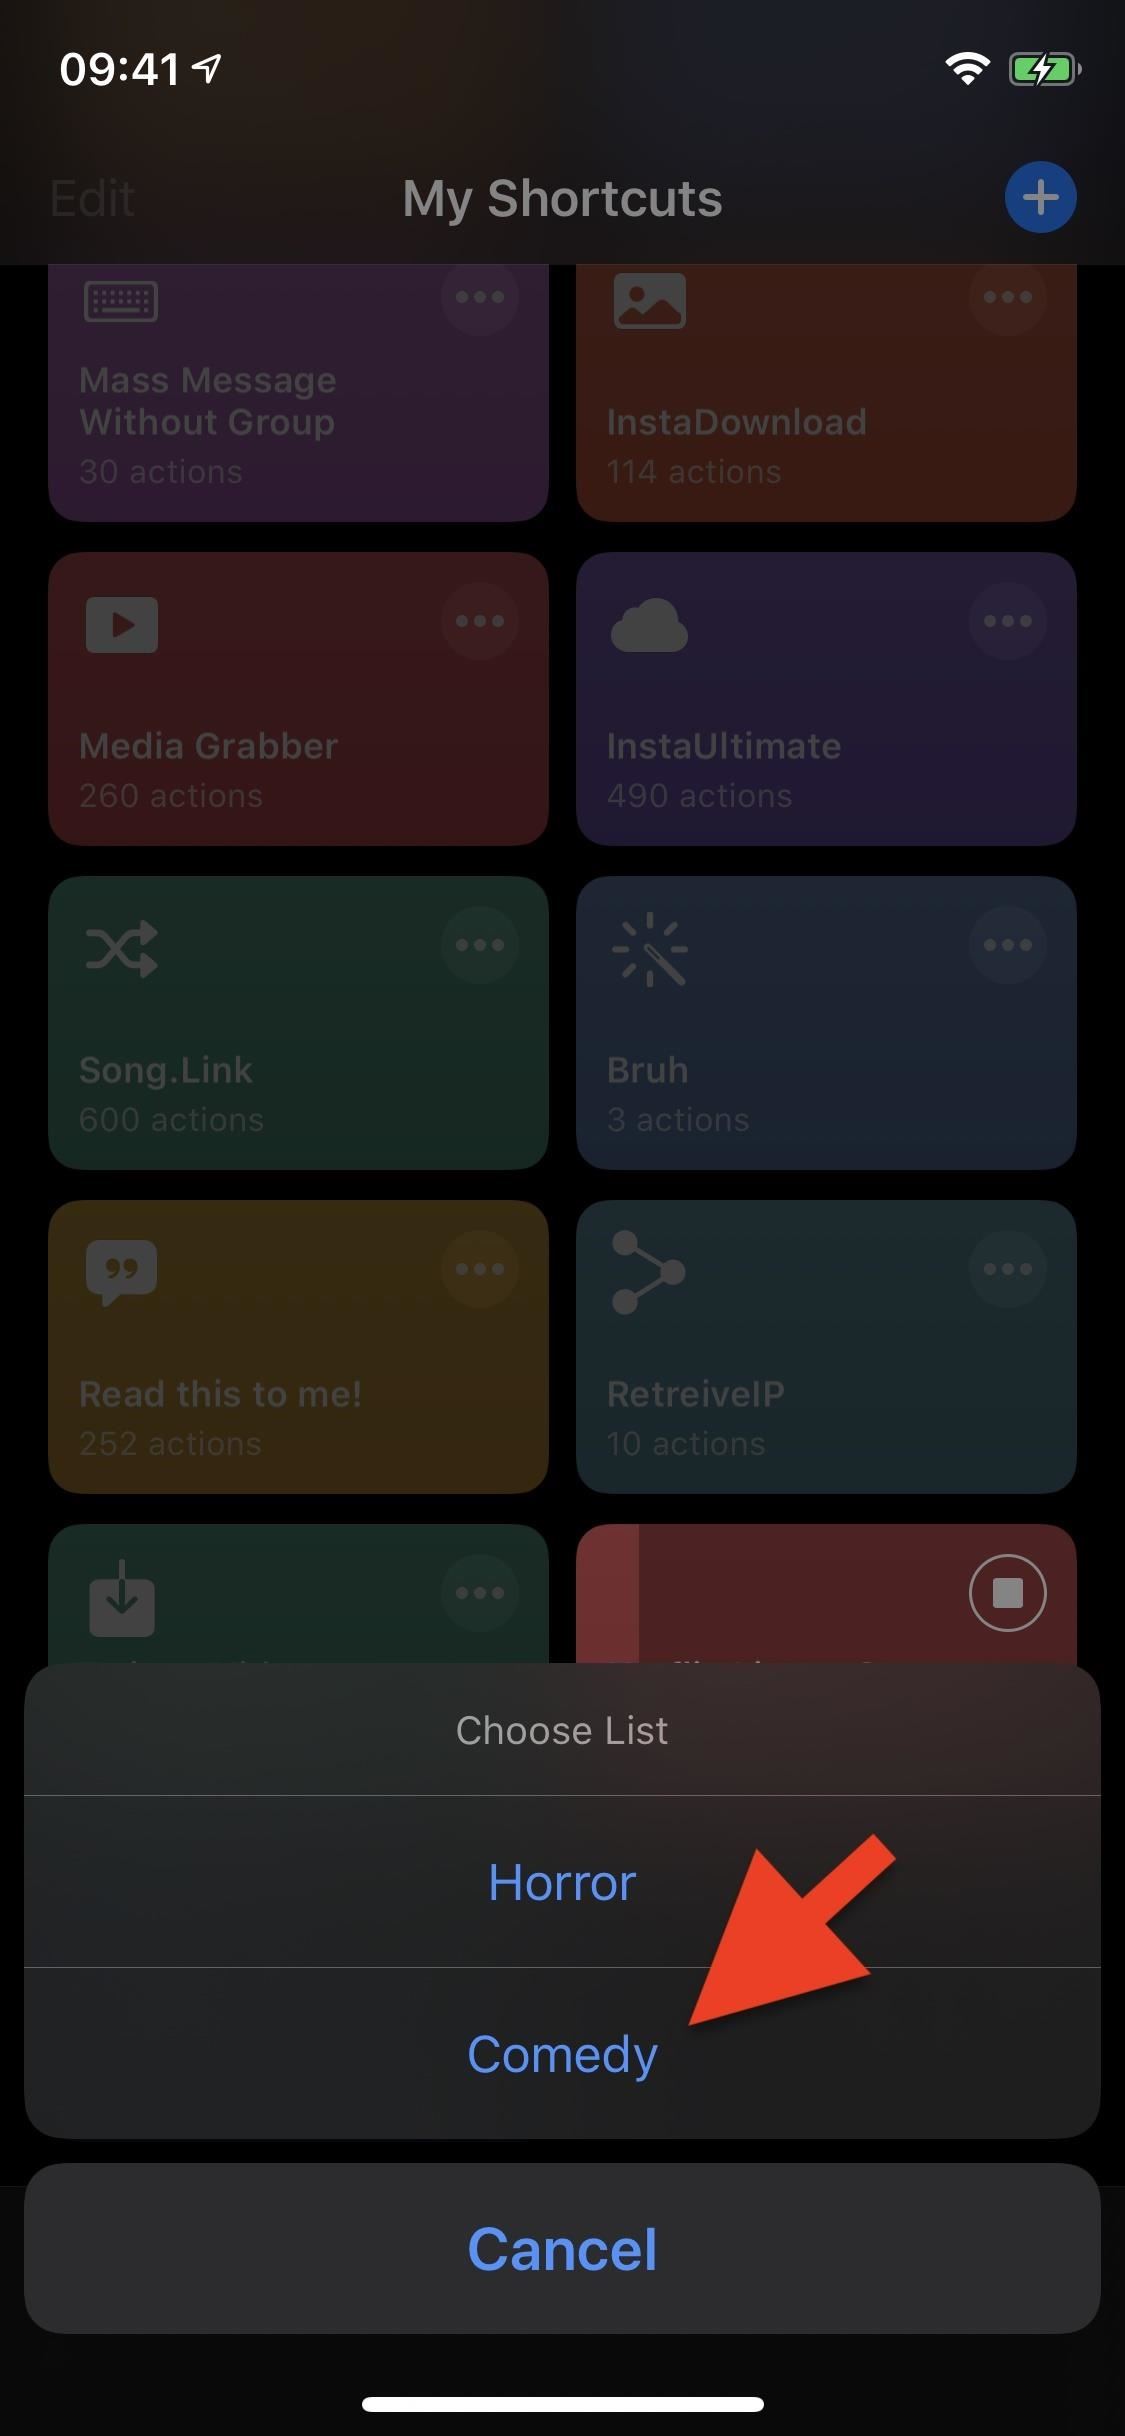
Now, no matter if you use the Netflix Lists shortcut via the share menu or from the Shortcuts app directly, as seen in Step 2, you'll be presented with all your lists when adding a title. Choose the list you want the film or TV series added to.

Step 5: View the Titles in Your Lists
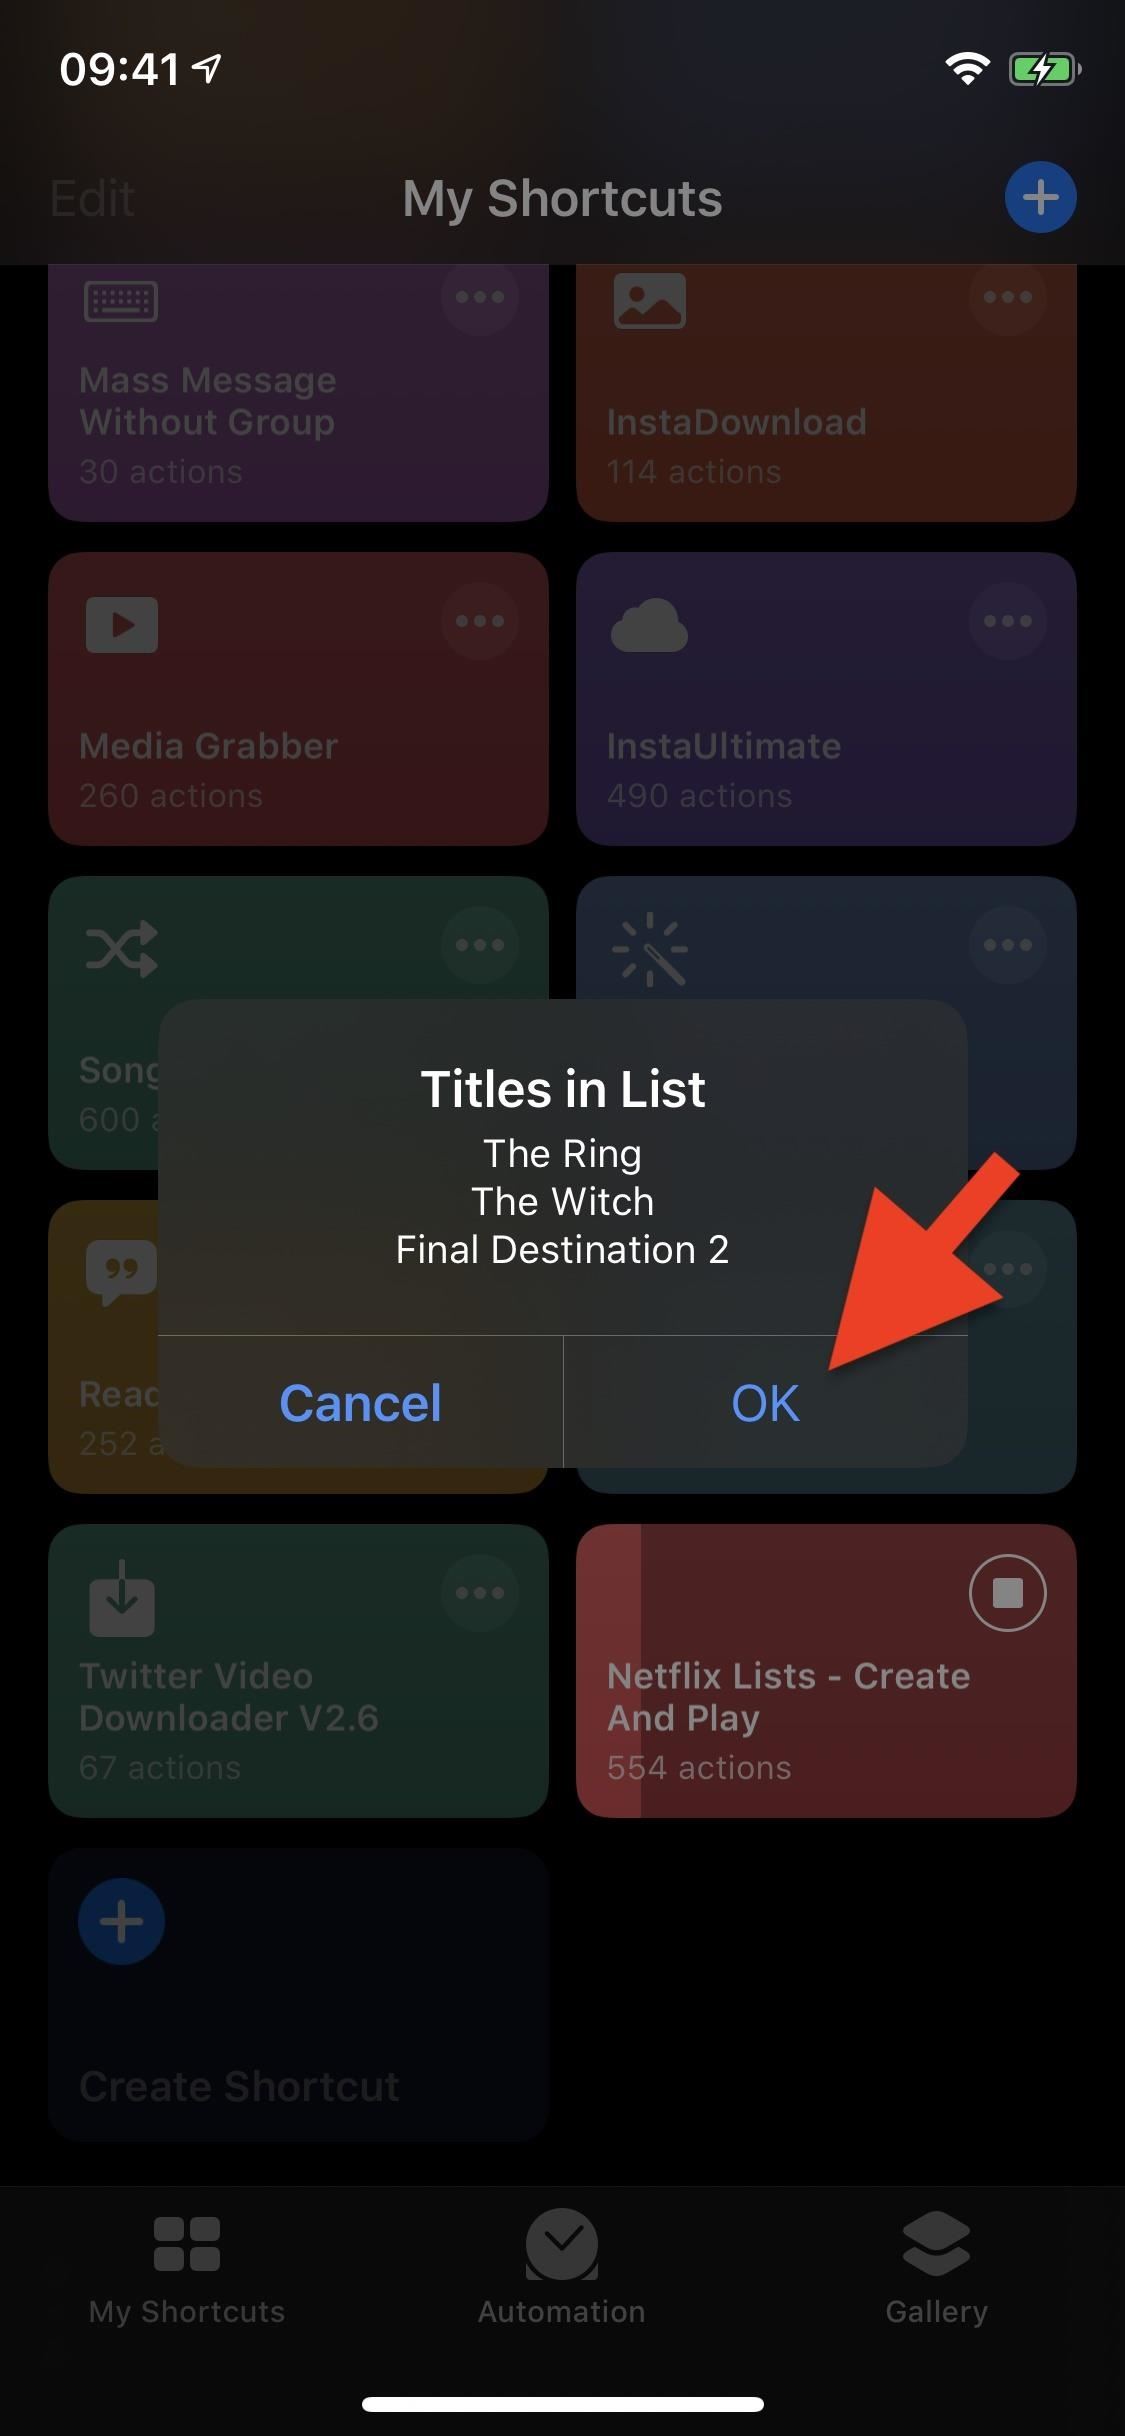
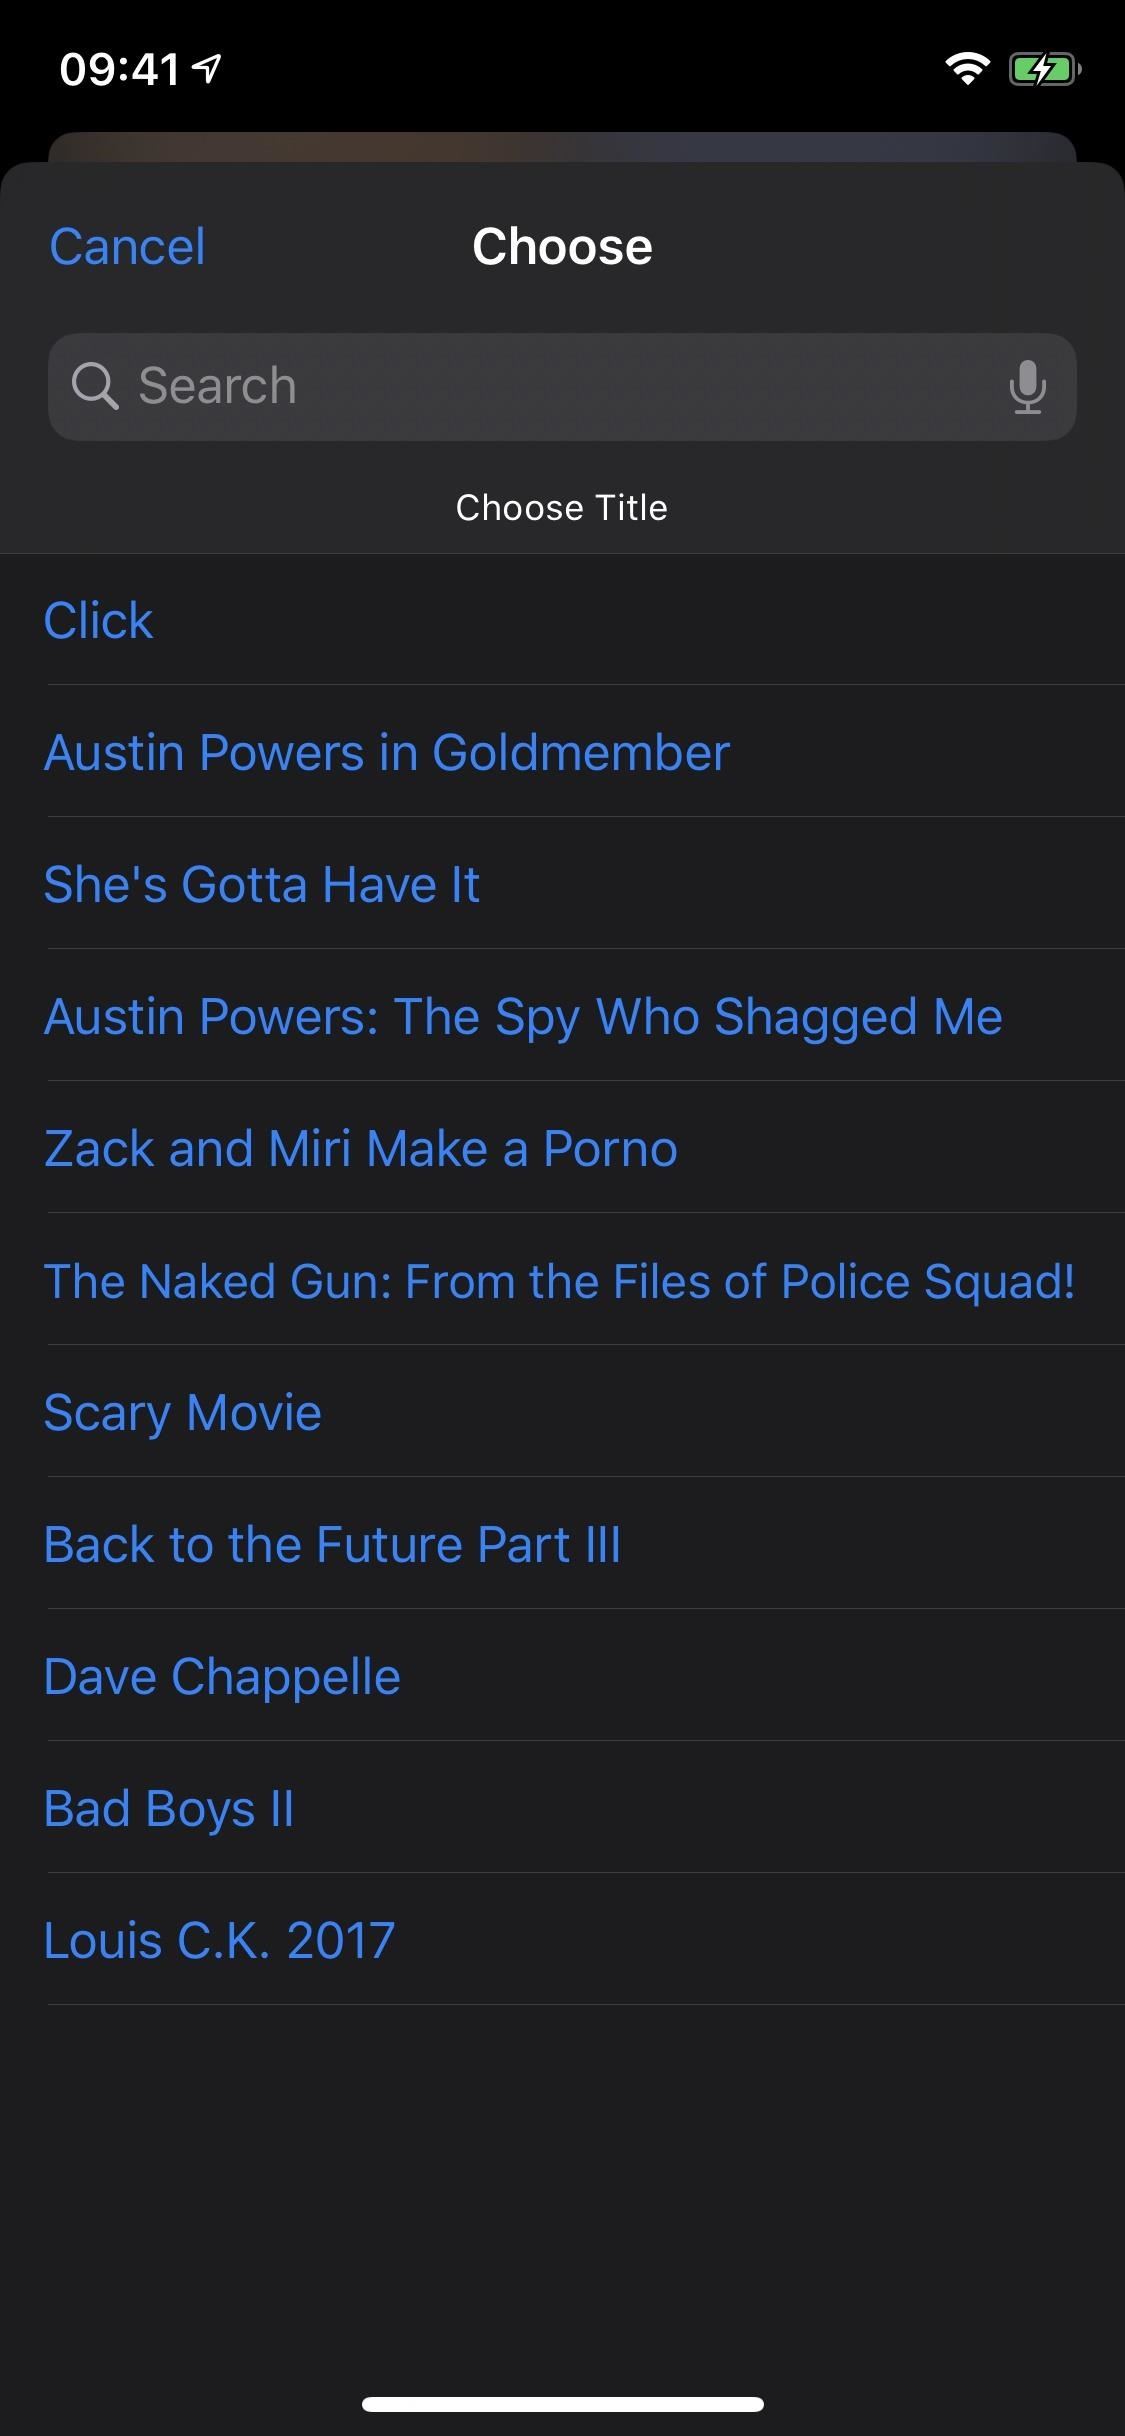
To view the titles in your lists, tap on the Netflix Lists shortcut within Shortcuts, tap "View and Play from List" from the action sheet, then choose a list. All of the movies should appear that you've added to it.
Step 6: Manage Your Custom Netflix Lists
Your lists are filling out nicely, but it's time to fine-tune them, for whatever reason. To manage your lists, tap the Netflix Lists shortcut in the Shortcuts app, and use the following options from the menu that appears:
- Add Title to List: You'll choose a list, then you'll be prompted to add the URL of the movie or series, which you can get via the share menu in Netflix. It's helpful if the shortcut doesn't notice a link in your clipboard or when you haven't copied the link yet.
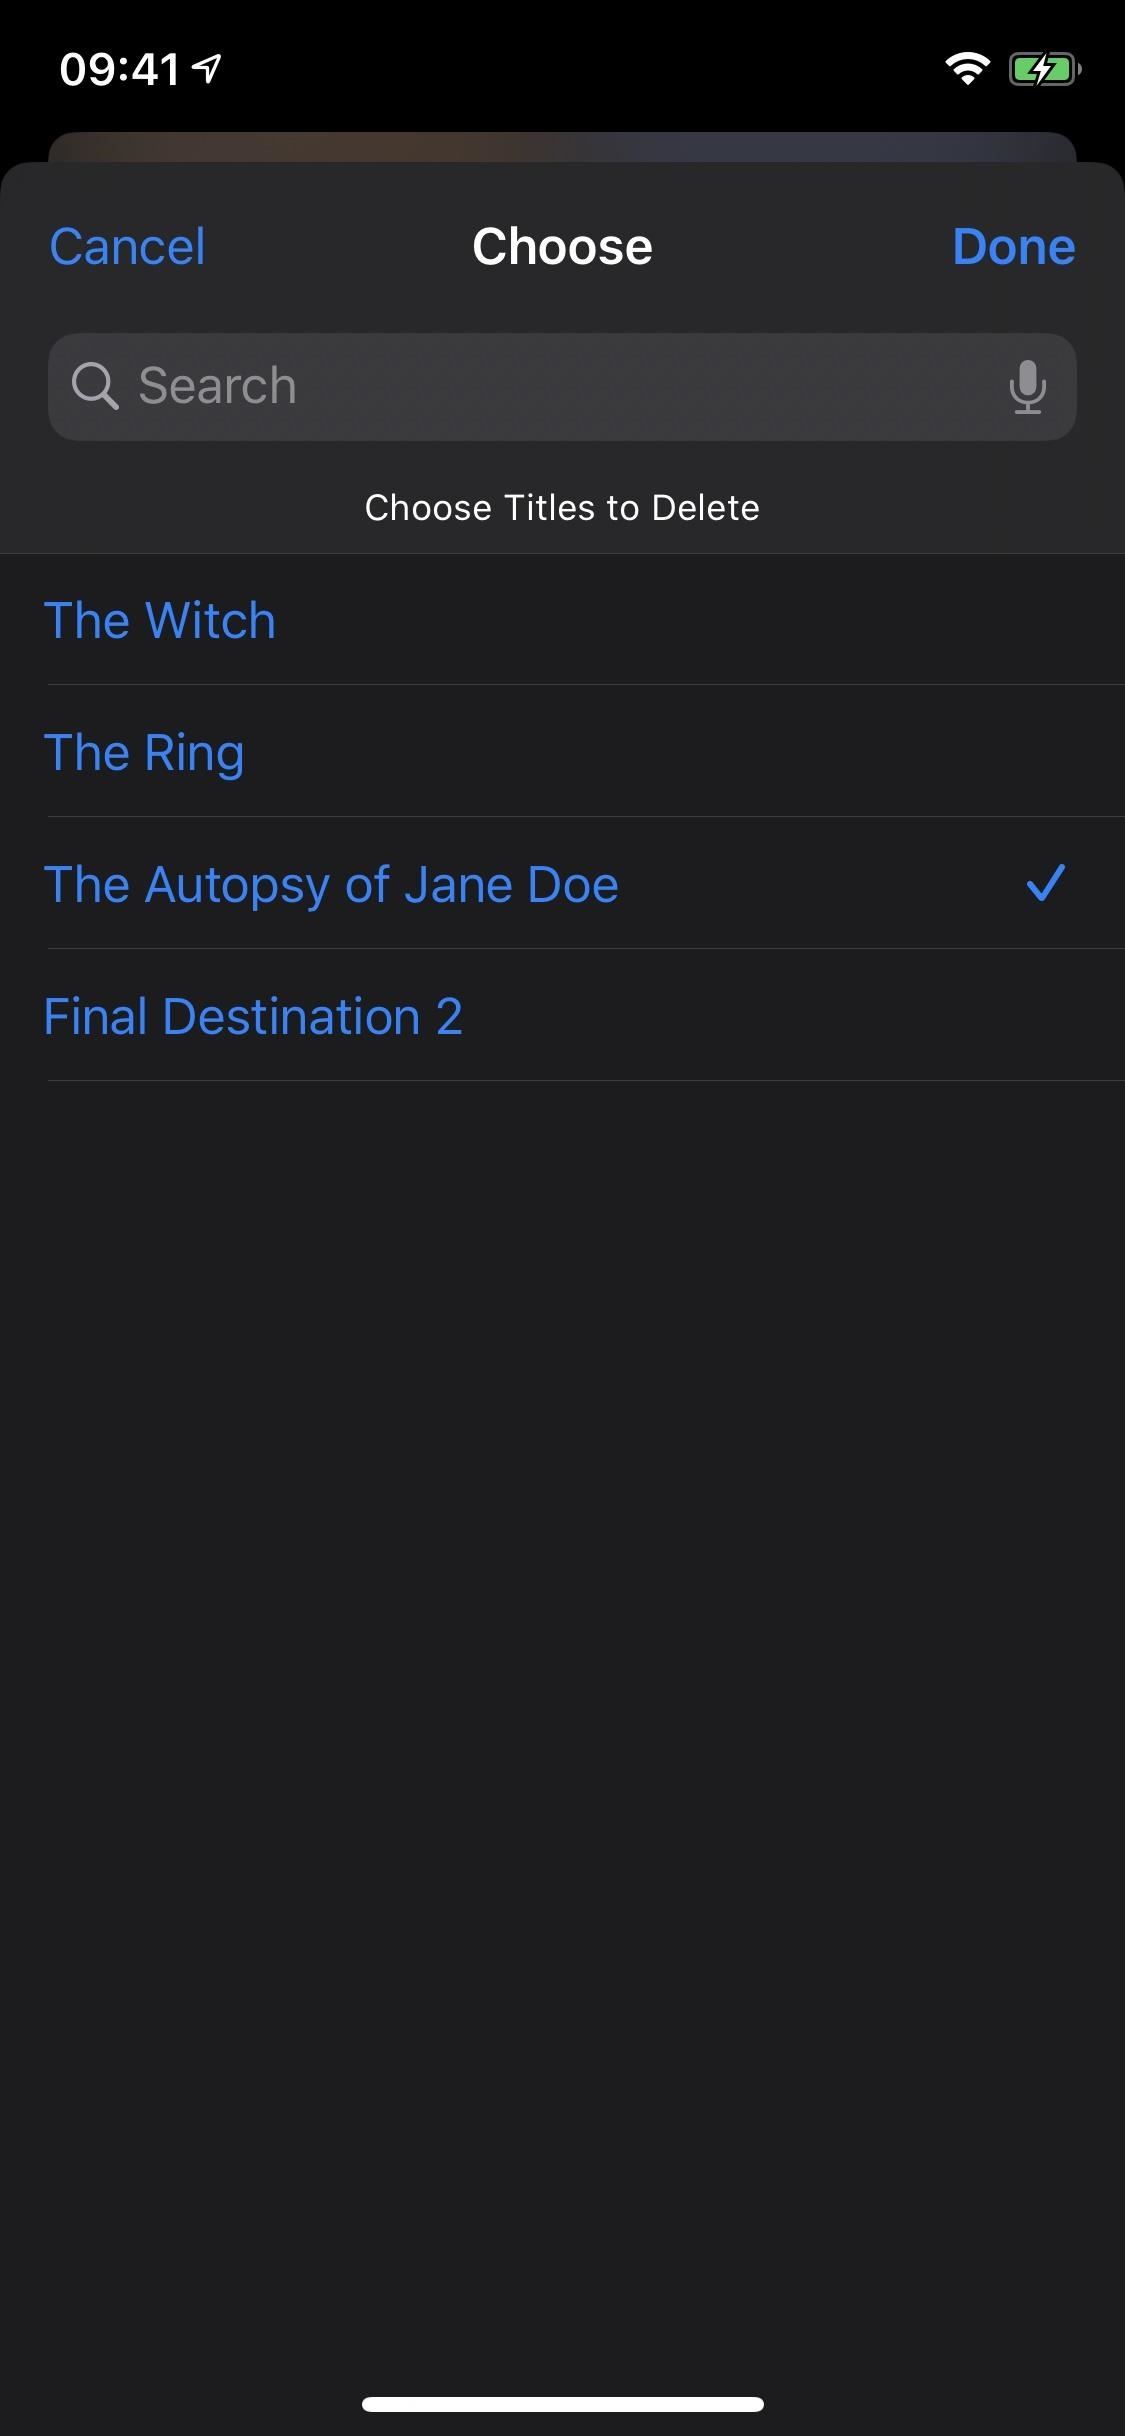
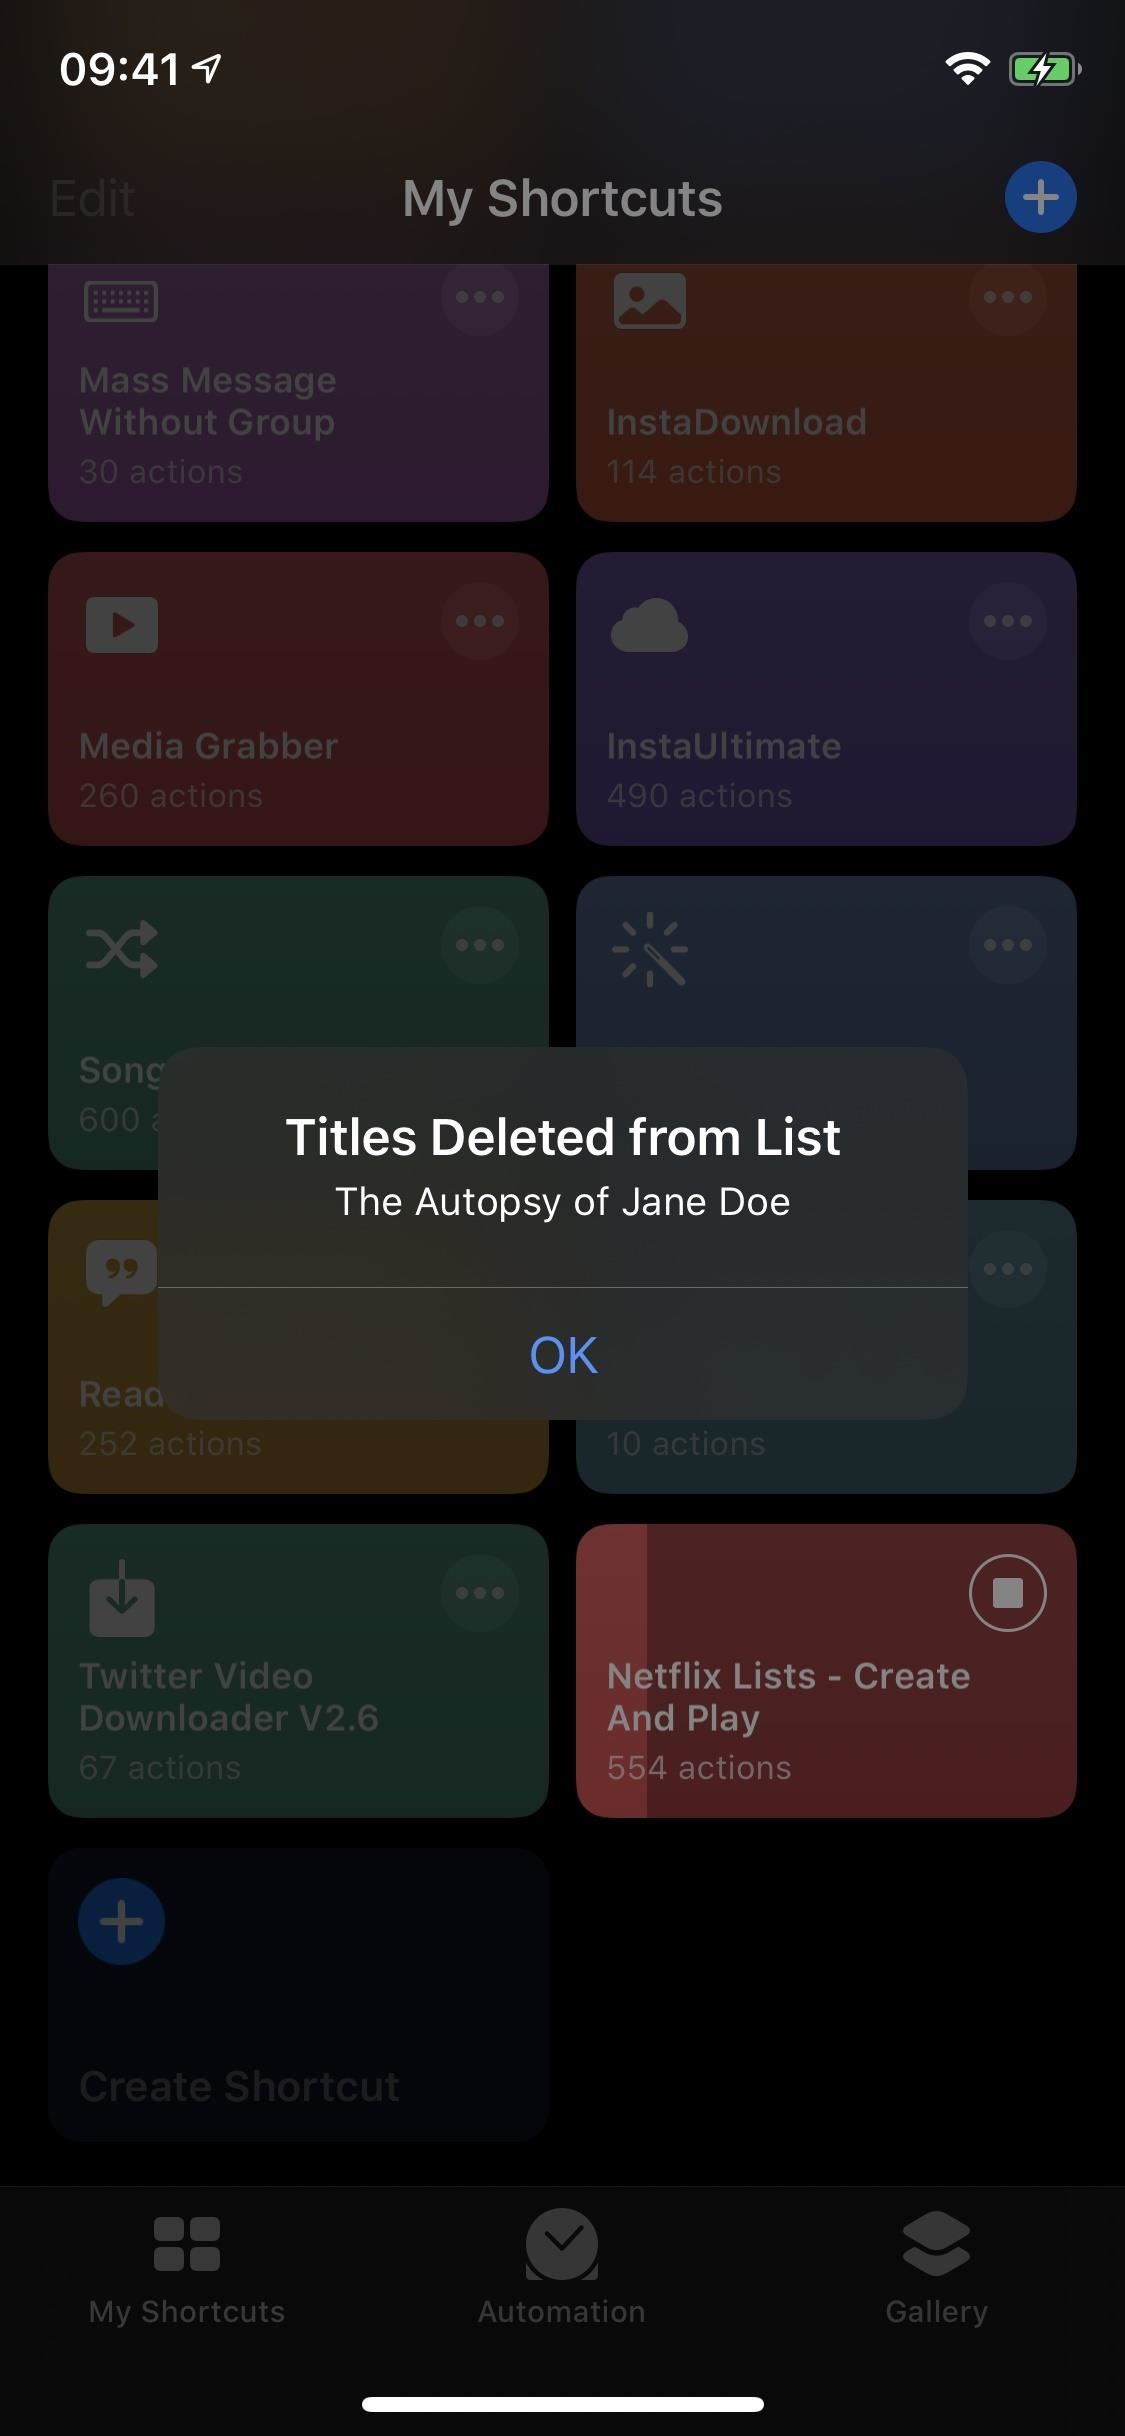
- Remove Title(s) from List: You'll choose a list, then you'll be prompted to check all of the movies that you would like to delete from the list. Tap "Done" to finish.
- Create Empty List: We've already covered this in Step 3 above.
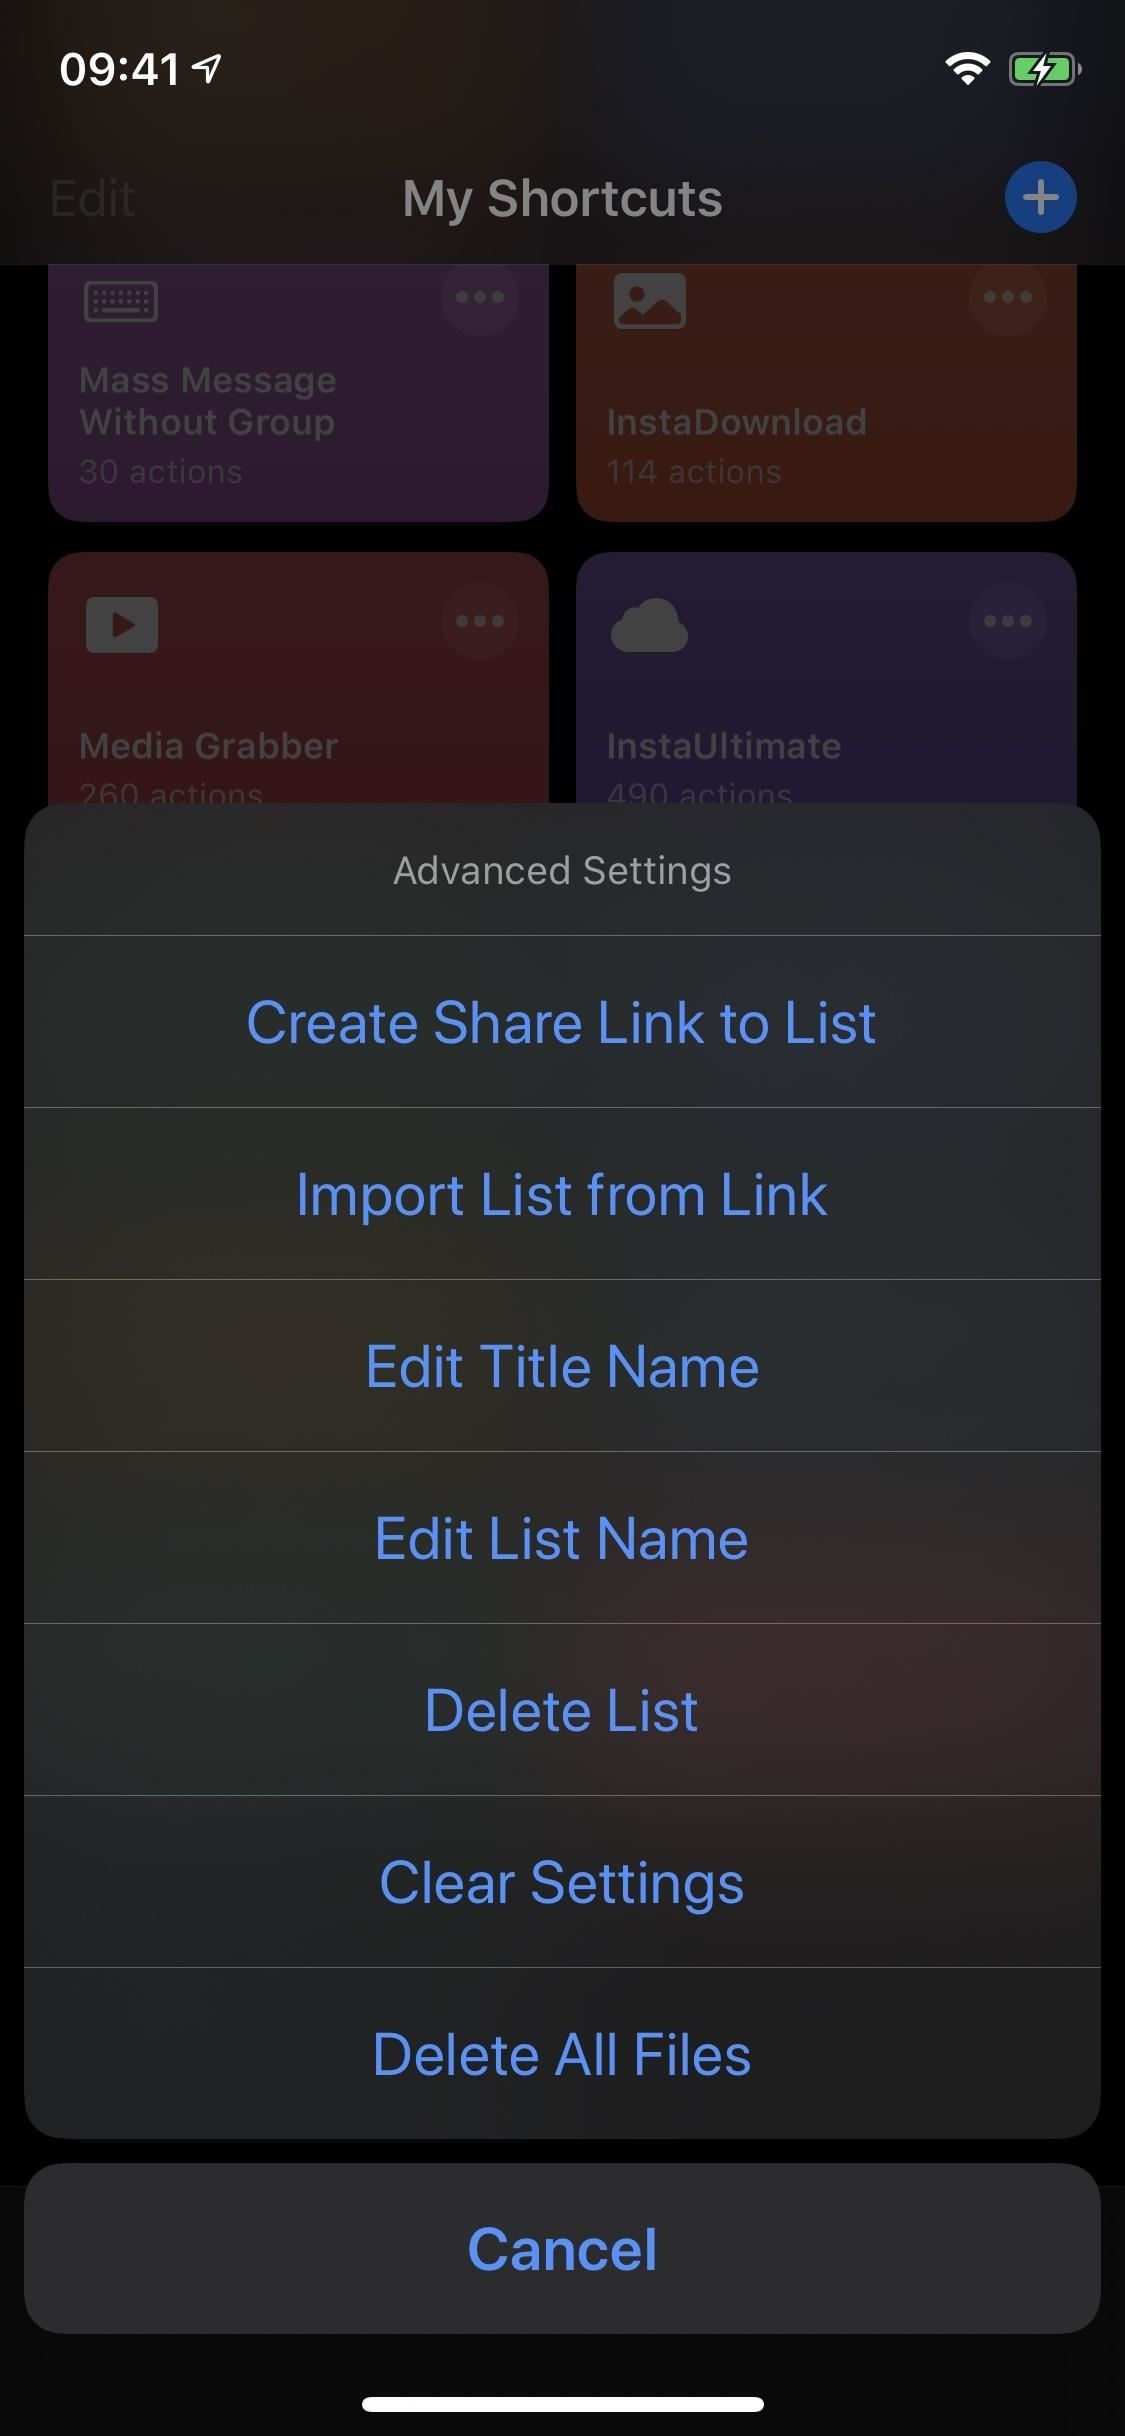
There's also the "Advanced Settings" page, which has several more options you can use to manage your lists:
- Edit Title Name: You'll choose a list, select the title, enter in the new name, and hit "OK." It's helpful if you want to add a tiny description of the movie or rank them with numbers.
- Edit List Name: You'll choose a list, rename it, and hit "OK."
- Delete List: You'll choose a list, then you'll need to hit "Yes" on the confirmation prompt.
- Delete All Files: If you want a clean slate, you can delete everything with this option. Select "Yes" on the prompt to confirm or "No" to back out.

Step 7: Share Netflix Lists with Family & Friends
As long as the other person also has the Netflix Lists shortcut, you can share your newly created lists via text, email, or another share option.
However, not everyone has an iPhone. Since the file is in JSON format, they could view the file in an online JSON viewer, via the JSON Viewer Chrome desktop extension, using the JSON Tool - Editor & Viewer app for Android, or using another tool. They'll see your list of movies with the Netflix link next to each title.
First, you'll need to create a share link for the list. In the shortcut's menu, go to "Advanced Settings," tap on "Create Share Link to List," then choose the list.

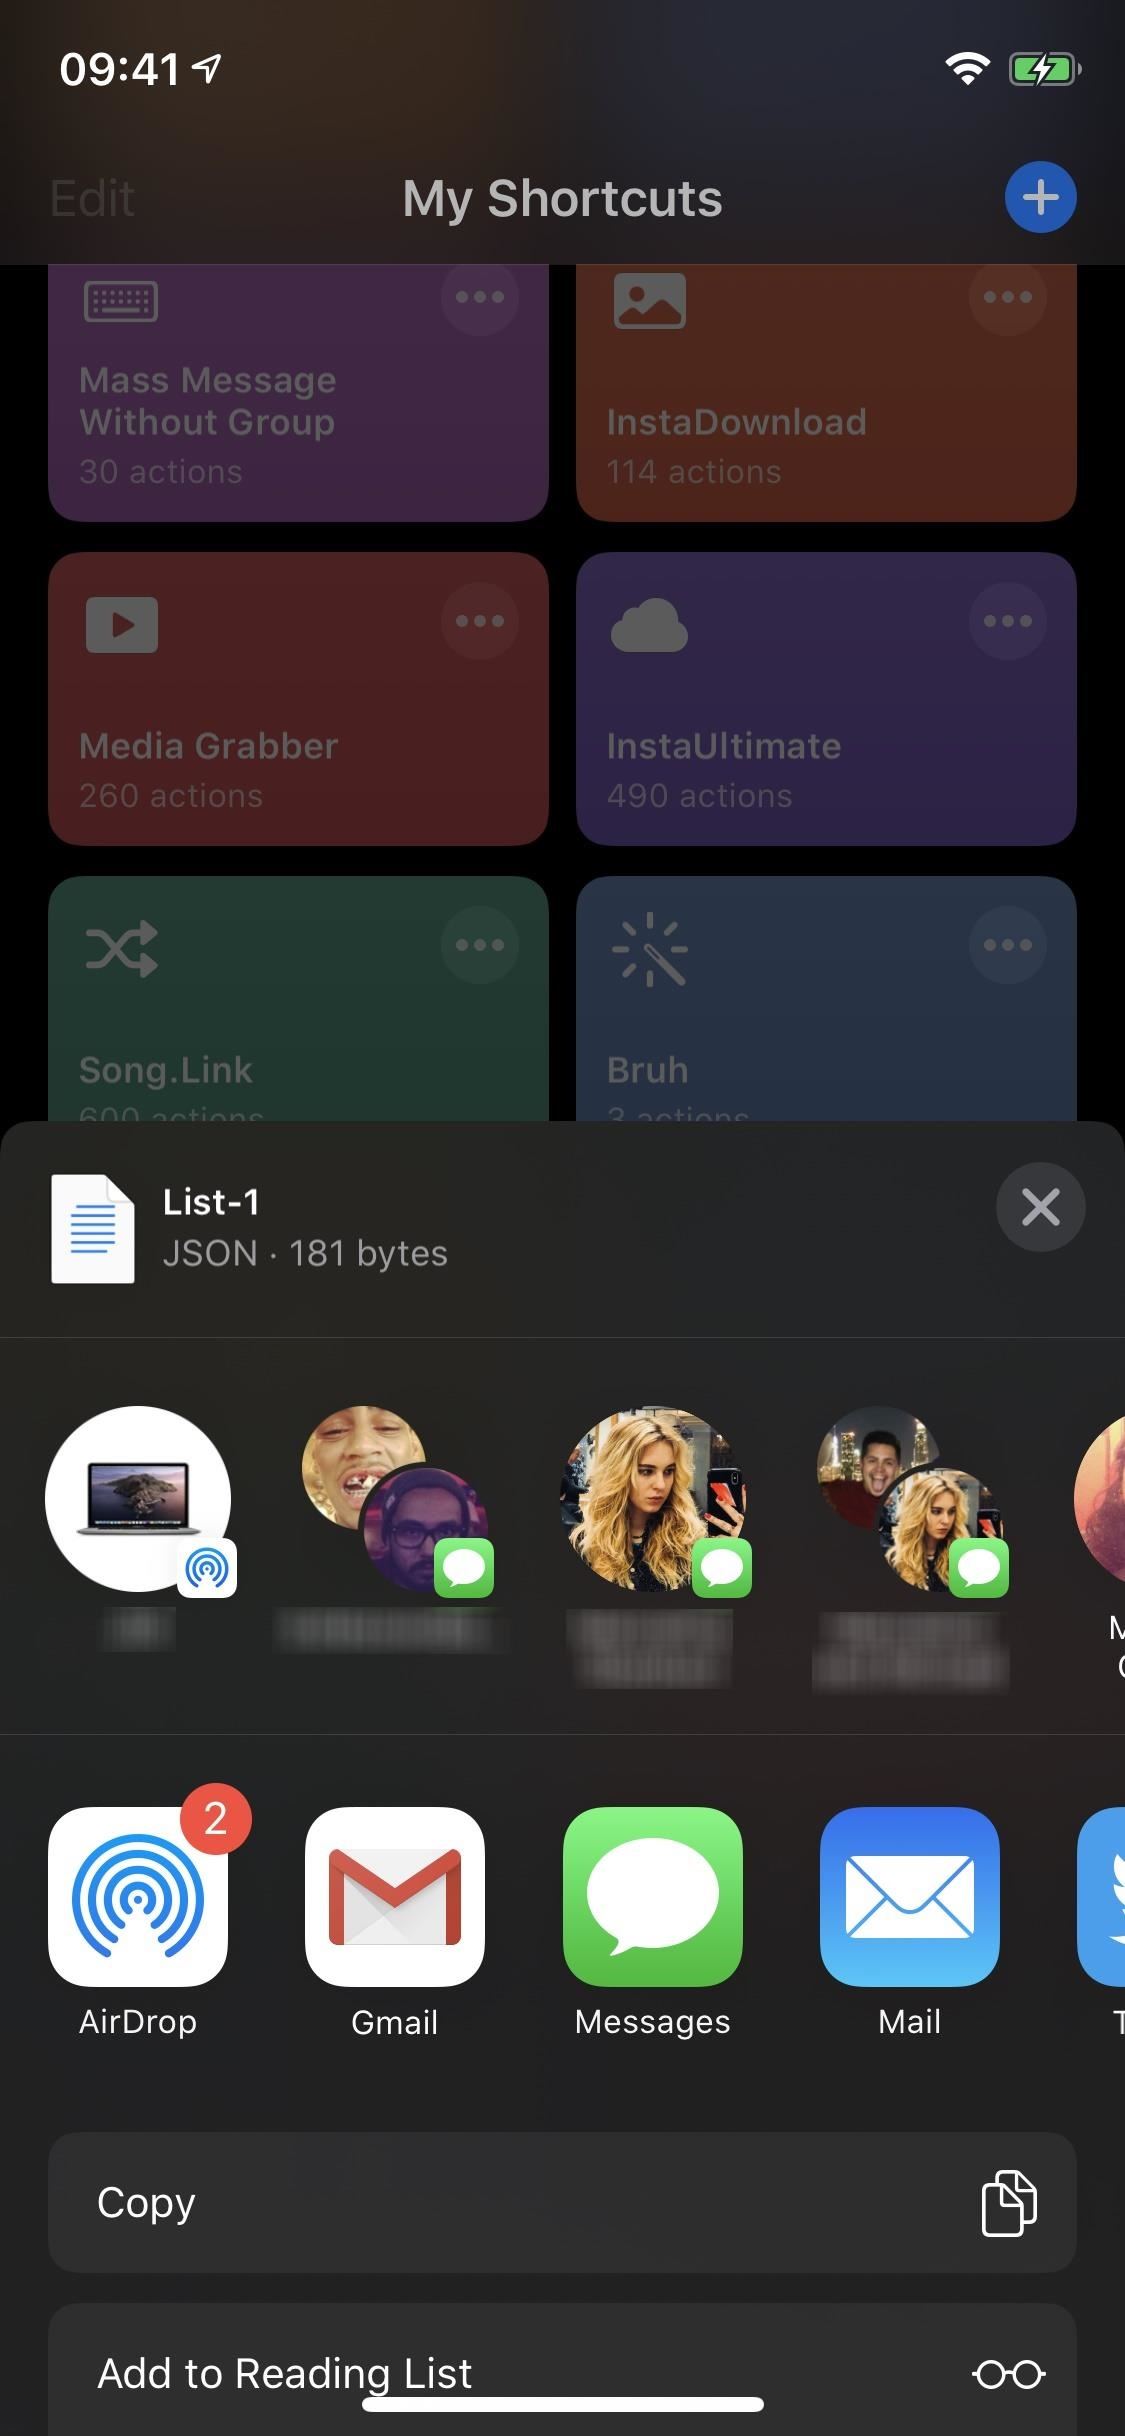
In the share sheet, you can then directly share the link via text, email, or a third-party app, or you can copy the link to your clipboard and paste it wherever needed. The list is in JSON format, which turns complicated code into a string of characters that can be easily read. The link is a direct download for the file from your iCloud Drive account.

Step 8: Import Other People's Netflix Lists
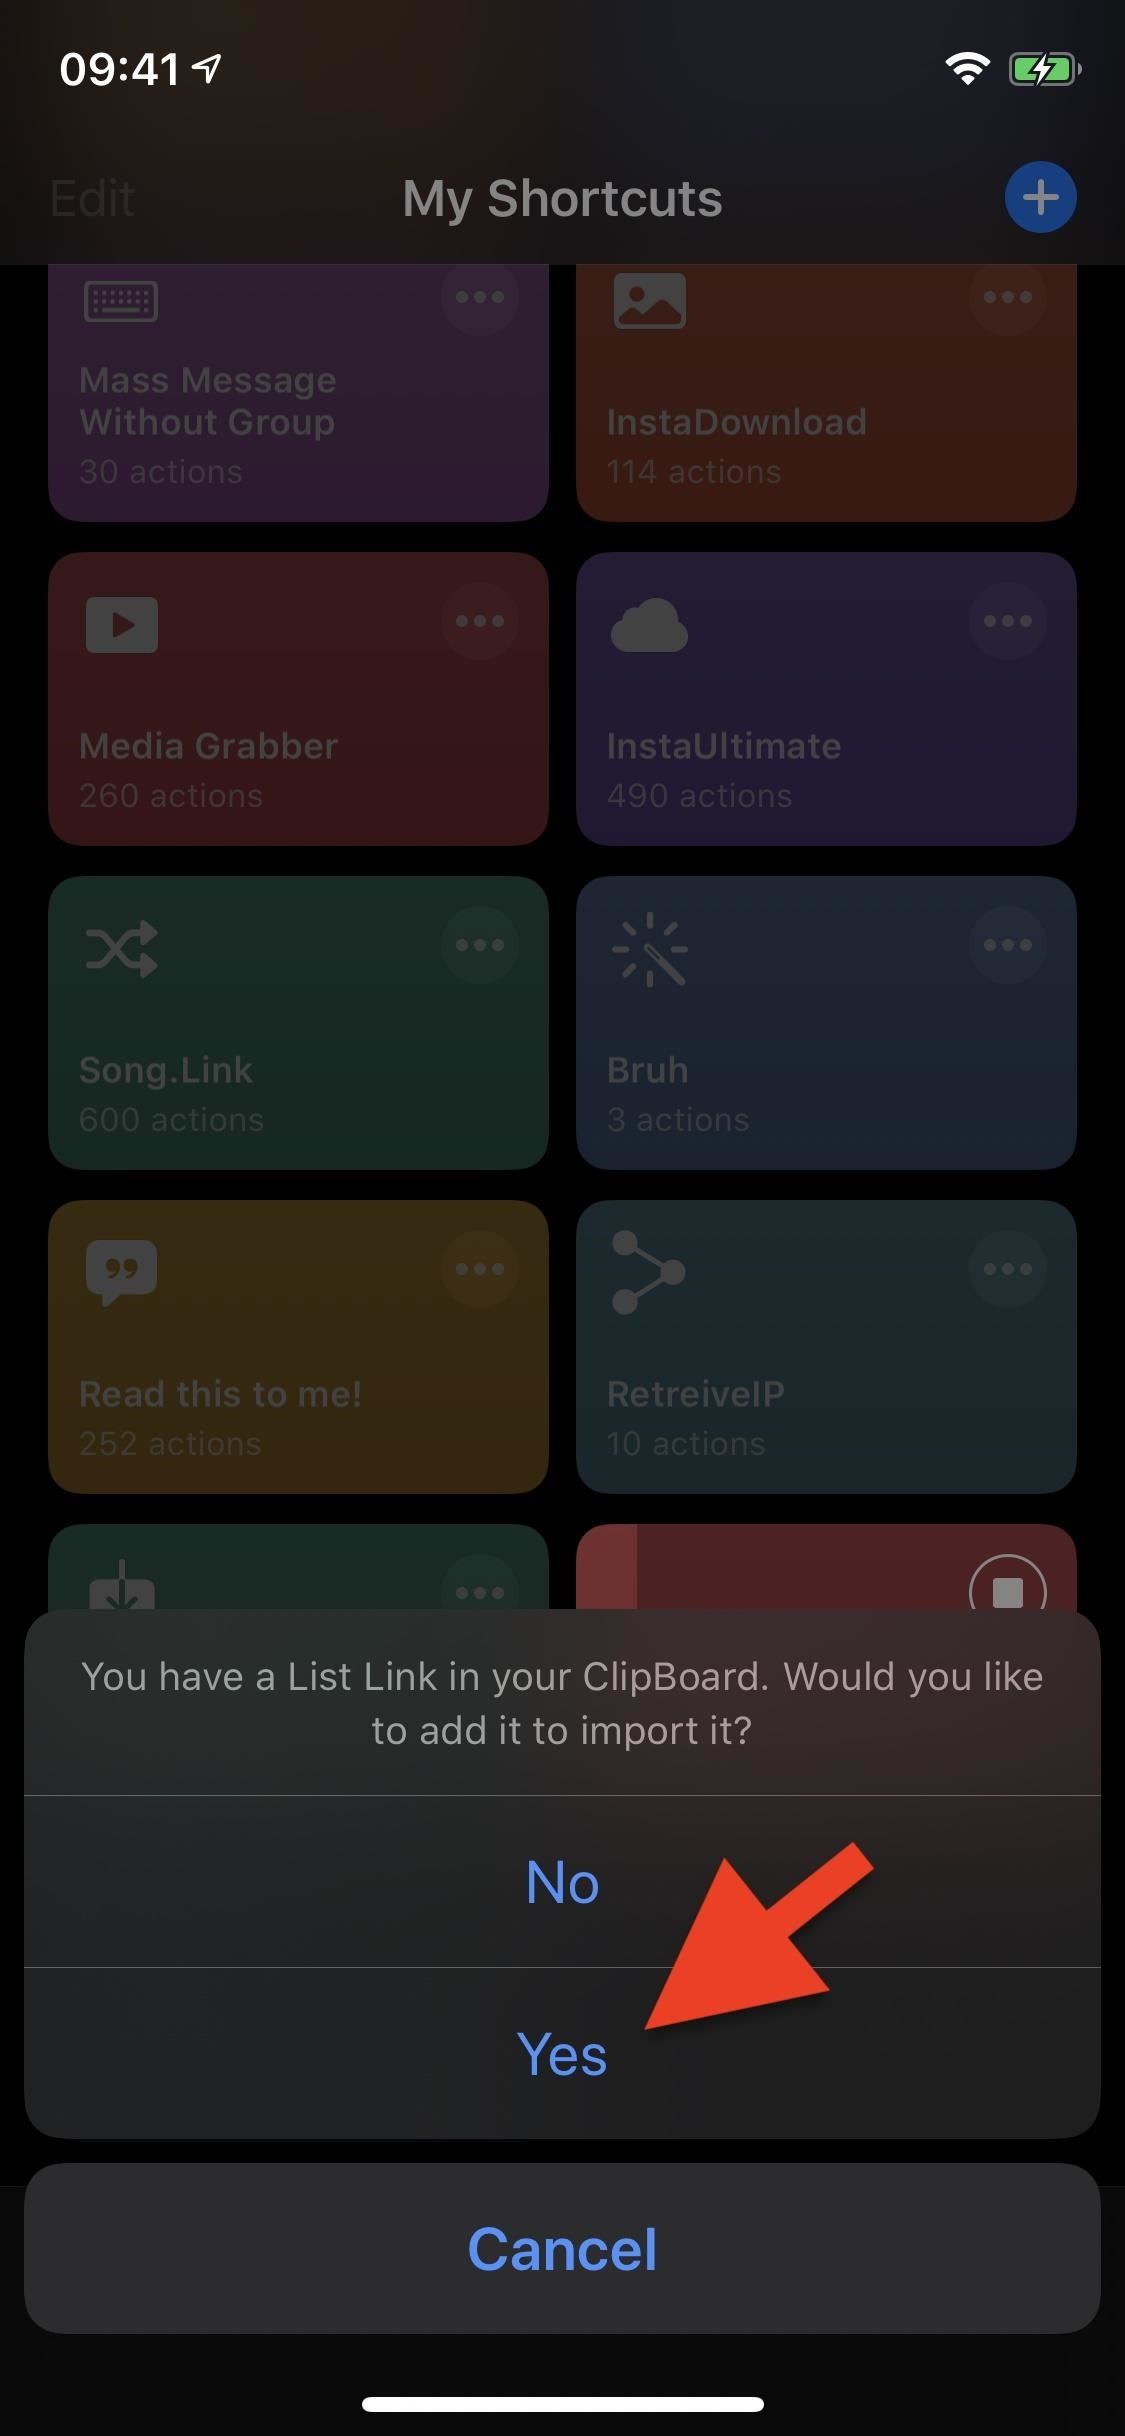
If you're sending and receiving Netflix lists created with the shortcut, you must know how to import them. The first thing you must do is copy the list link to your clipboard. Next, go into Shortcuts and tap on the Netflix Lists shortcut. If the link is correctly copied to your clipboard, a menu will appear asking you if you want to import the list; tap "Yes." The titles in the list will appear next to show you what's inside. If all looks good, tap "OK."
Finally, give the new list a custom name and tap "OK" to finish up. Your new list will be imported, and a pop-up with all of your available Netflix lists will appear.
Additionally, you can go to "Import List from Link" in the shortcut's "Advanced Settings" and paste the list link into the box that appears. It's the same as above, only more steps to get it done.
Step 9: Play Titles Using the Netflix List Shortcut
Now it's time to use the shortcut for what it's mostly intended, which is easily playing Netflix titles from your various lists. To do so, tap on the Netflix List shortcut in the Shortcuts app, then tap on one of the following options.
- View and Play from List: You'll see all of your lists. Tap one, then select a title to jump to it on Netflix.
- Play Random Title from List You'll see all of your lists. Tap one, and a random title will open on Netflix.
If this is your first time playing a movie using Netflix Lists, you'll have to answer a couple of questions for settings, including:
- Would you like to be asked every time to "Set the Start Time"?
- Would you like to be asked every time to "Play in the Background"?
No matter which option you pick, you can later use "Clear Settings" in the "Advanced Settings" menu to reset everything if you change your mind and want it to react differently. Then, the prompts will appear again, where you can select a different choice.

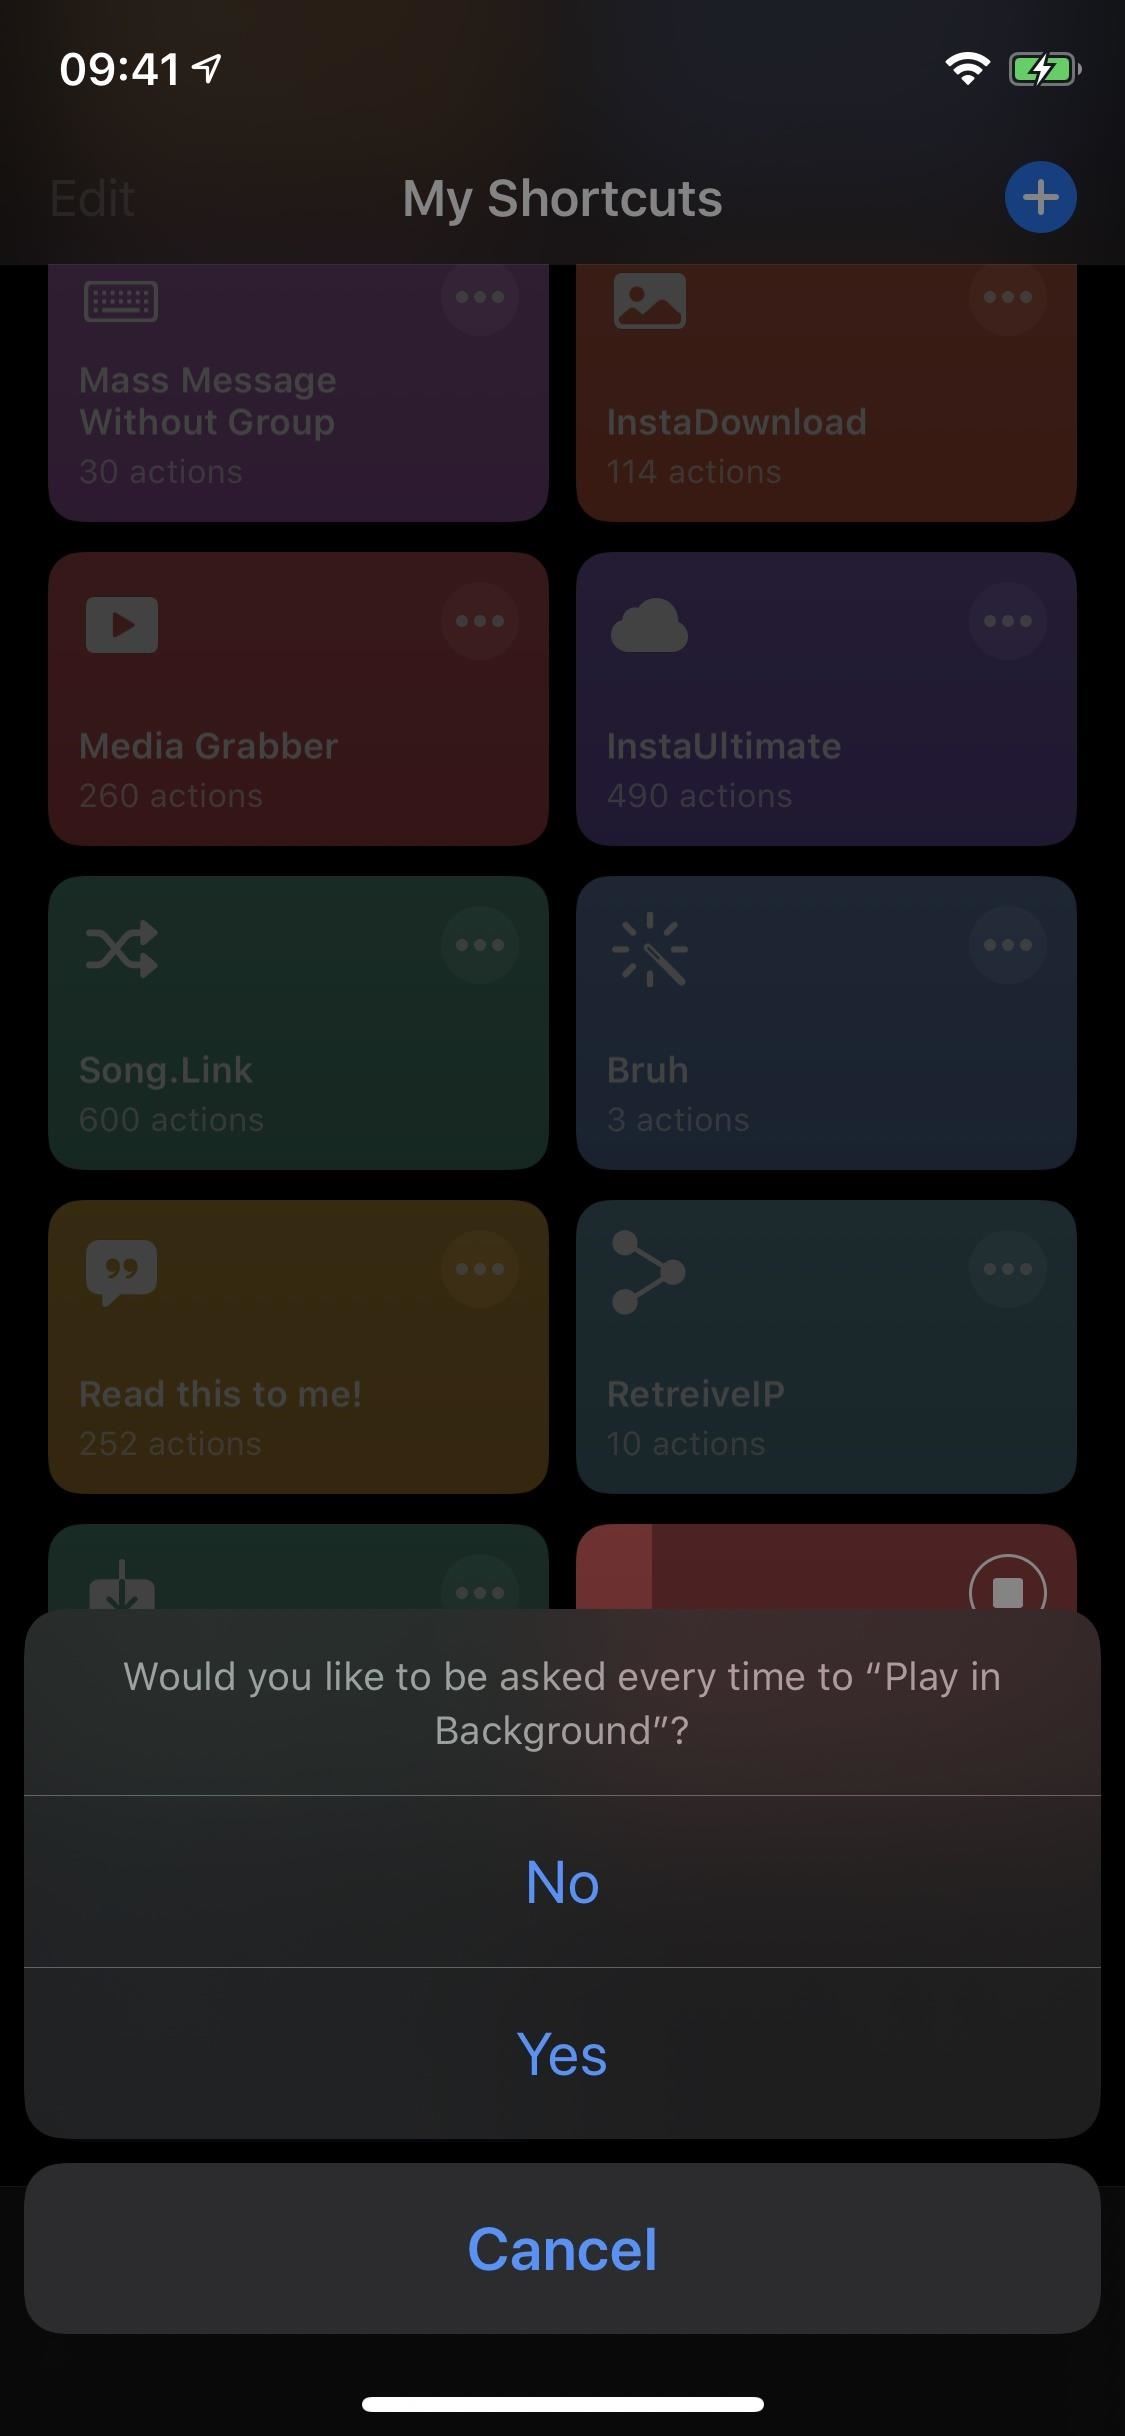
If you tap on "No," you'll be asked to answer the following questions only once, and you'll then have them automatically chosen for you. If you tap on "Yes," the following questions will appear every time you play a title using the shortcut.
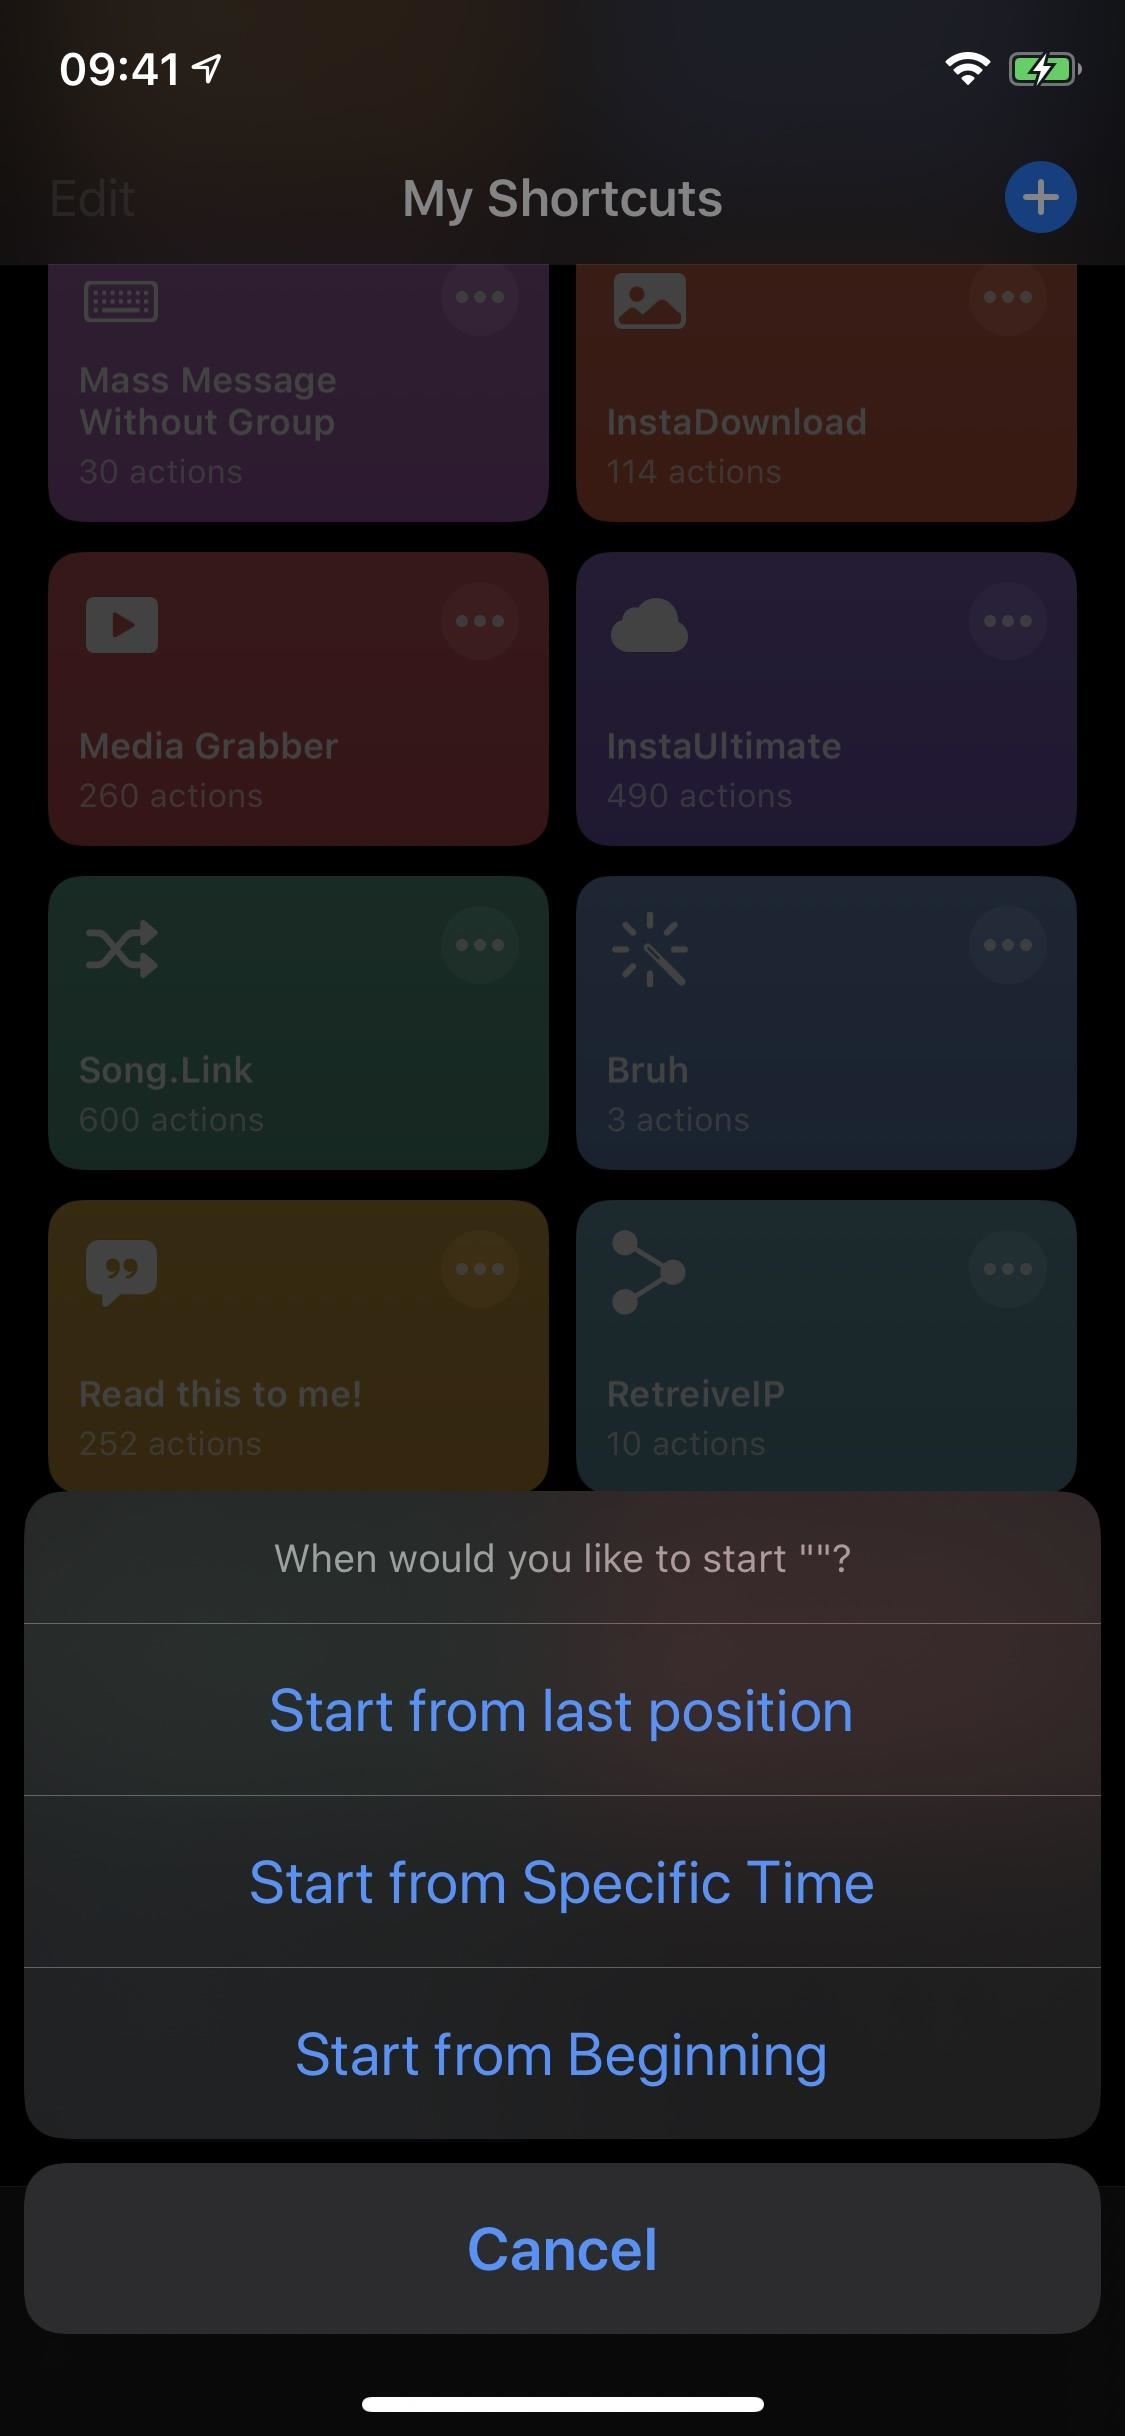
- When Would You Like to Start?: You can choose between "Start from last position," "Start from Specific Time," or "Start from Beginning."
- Would You Like Netflix to Play in the Background?: It's a simple "Yes" or "No" response. It opens the Netflix app to start playing, then jumps back to the Shortcuts app. In our experience, we get the "Something went wrong" warning, but Netflix should still be playing in the background, so you'll hear it but won't see it until you go back to Netflix.

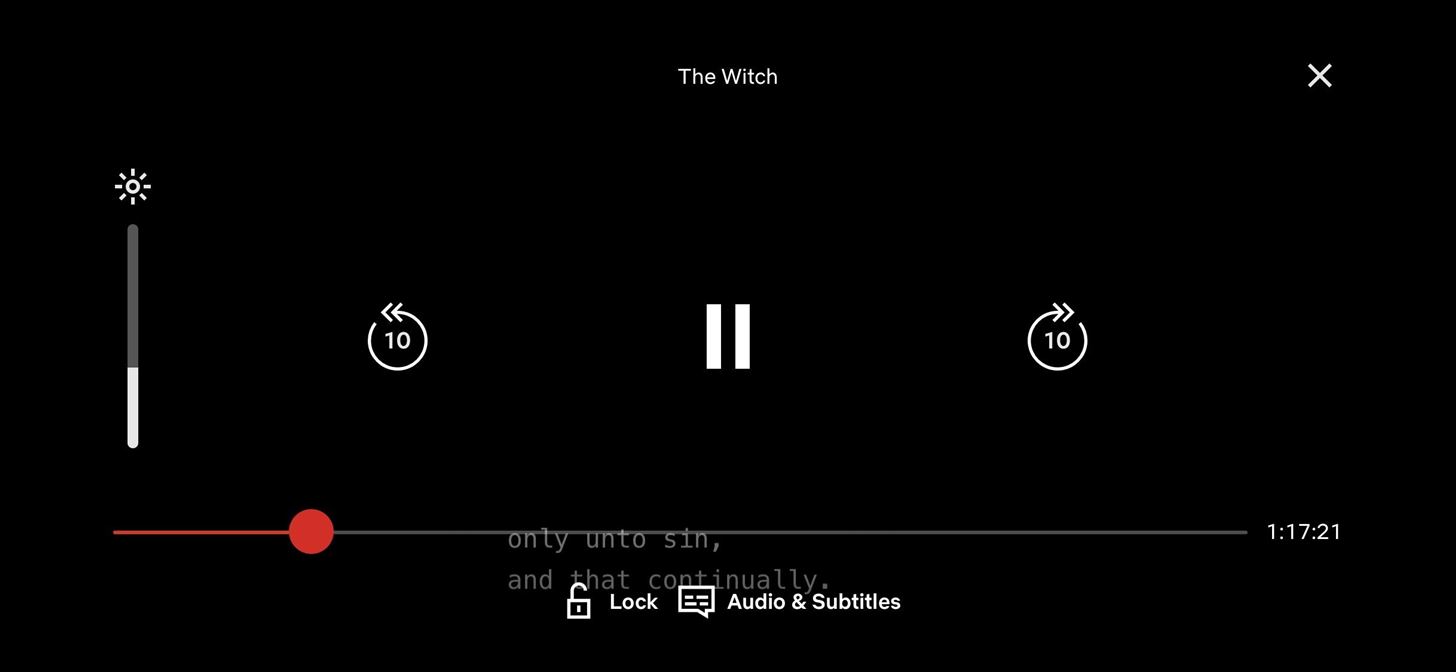
Once you've chosen your options, you'll be redirected to the Netflix app where the movie, TV show, documentary, comedy special, talk show, or another title will play.
Just updated your iPhone? You'll find new emoji, enhanced security, podcast transcripts, Apple Cash virtual numbers, and other useful features. There are even new additions hidden within Safari. Find out what's new and changed on your iPhone with the iOS 17.4 update.


Be the First to Comment
Share Your Thoughts